Lesson Plan Slideshow
Teachers already write lesson plans — the problem is duplicating them into slides. This project turns your Craft document into the single source: update the plan, and the slides update automatically. Your substitute teacher always sees the latest version.

Creato da Mikail Kraft con Craft e Lovable
Costruiscilo tu
Passaggio 1 — Organize Your Lesson Plans in Craft
Create a Craft document for each week of lessons. Structure it with:
- Metadata at the top (date, module, duration, lesson goal)
- Benchmarks and learning standards (tagged for filtering)
- One subpage for each day’s lesson
- Subtitles for each section (these become slides)
- Ordered lists for detailed steps (these expand into multiple slides)
Passaggio 2 — Enable the Craft API
Generate an API endpoint for your lesson plan document. Each week’s document gets its own API link – this is how the slideshow will pull your content.
Passaggio 3 — Set Up Your Dashboard
Use Lovable, Cursor, or your preferred tool to create a simple dashboard. Lovable makes this easiest – just give it this prompt:
I need a landing page that functions as a resource for students and a slidedeck for me using my Craft lesson plans. The lesson plans should populate slides, be organized by date, lesson name, and module, and contain a list of resources used.
Then paste in your Craft API link. The tool will build the dashboard for you.
Passaggio 4 — Deploy Your Site
Host your dashboard on GitHub Pages, Vercel, or any hosting service. Add your domain through Cloudflare or your registrar so you have a professional URL.
Passaggio 5 — Configure Your Settings
In the dashboard settings, you can:
- Change the theme and colors
- Create blacklists to hide certain sections from slides
- Filter out resource images so they don’t clutter your presentation
- Customize what appears for students vs. what you see
Passaggio 6 — Import Your Lessons
Click the “Import Lessons” button in your dashboard. The system recursively goes through your Craft document and creates slides from every subtitle. If a subtitle has an ordered list, it breaks that into separate slides automatically.
Passaggio 7 — Present and Update
Present your slides directly from the dashboard. Here’s the magic part: if you update your Craft lesson plan, the slides update automatically – no re-importing needed. Your substitute teacher sees the changes in real-time.
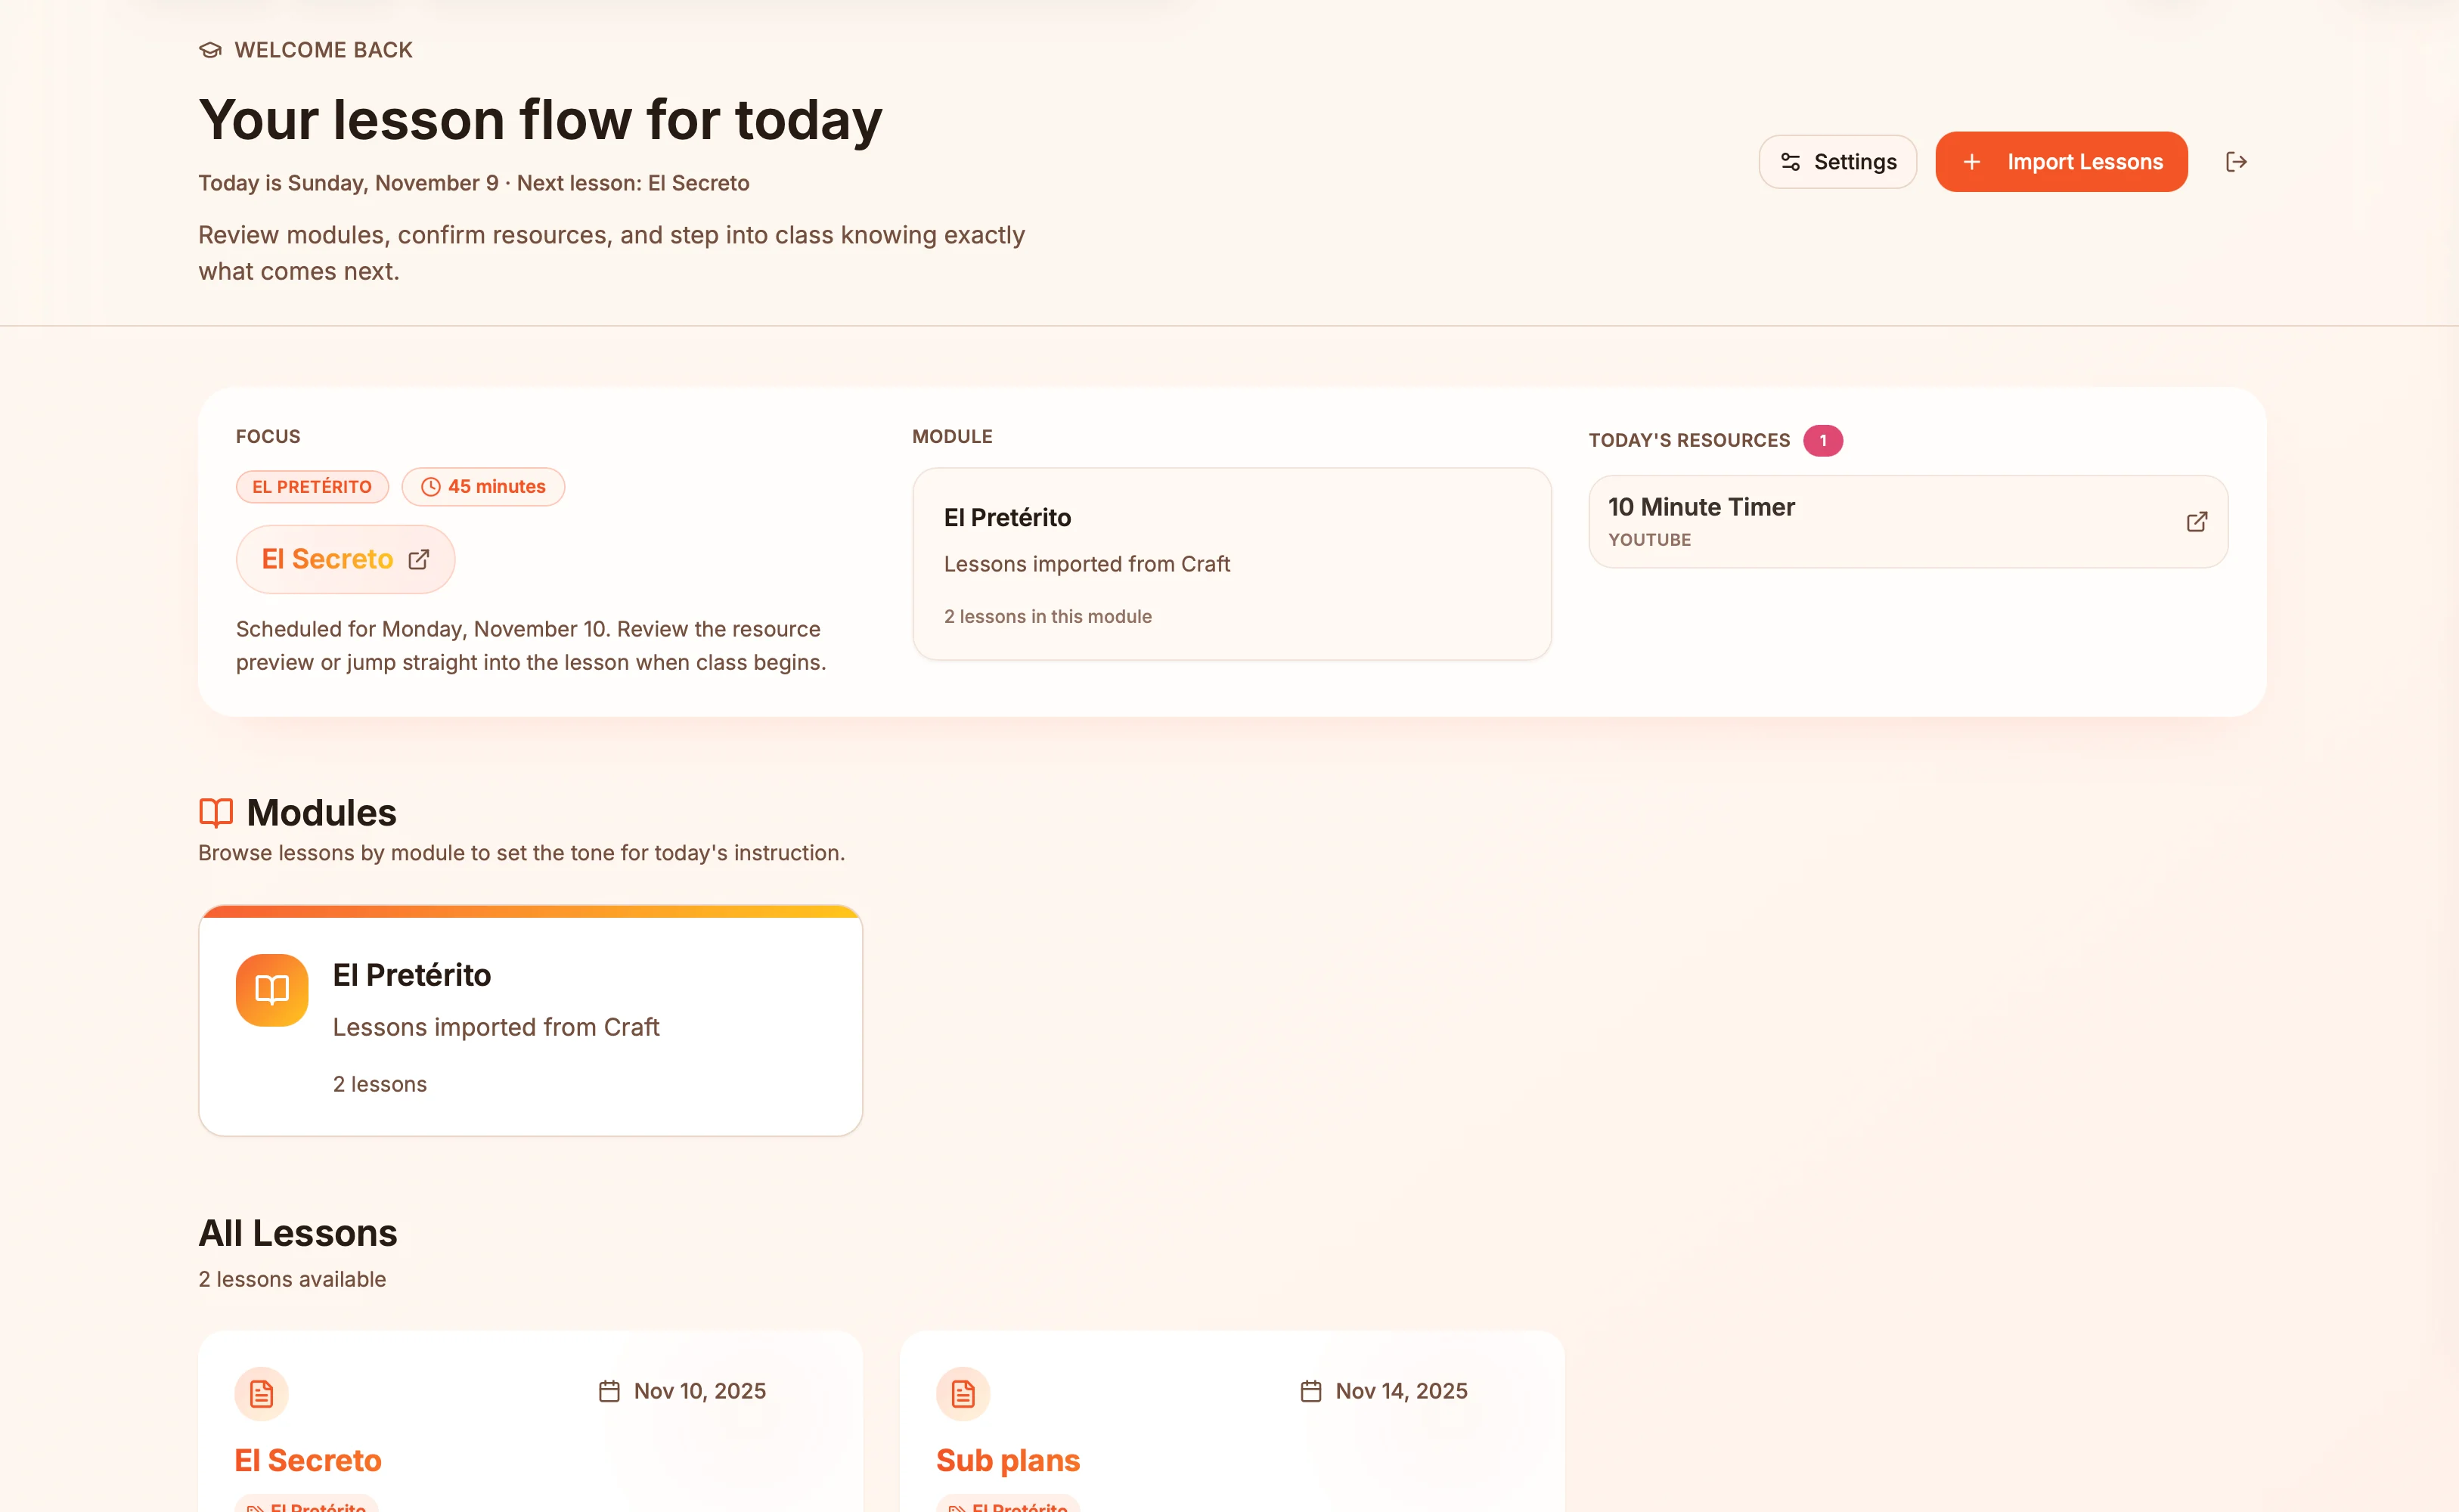
What Your Students See
A clean, professional resource page with:
- Today’s lesson – Quick link to the current lesson with resources
- Unit overview – What module you’re currently teaching
- Resource list – All materials used in today’s lesson
- Upcoming lessons – What’s coming next
- Archive – Past lessons organized by date
What You See When Teaching
Your presentation slides, automatically generated from your lesson plan:
- Everything stays in sync with your Craft document
- Each subtitle becomes a slide
- Ordered lists expand into multiple slides
- YouTube videos embed automatically
- A timer is available for pacing
The Result
You spend less time on administrative tasks and more time on what actually matters – teaching and supporting your students. Your lesson plans stay organized in Craft, your slides stay in sync automatically, and your substitute teachers have everything they need to teach your class while you’re away. The same pattern works for any Craft document you want to present — meeting notes, project briefs, or training materials.
Altre idee da provare
Torna alla galleria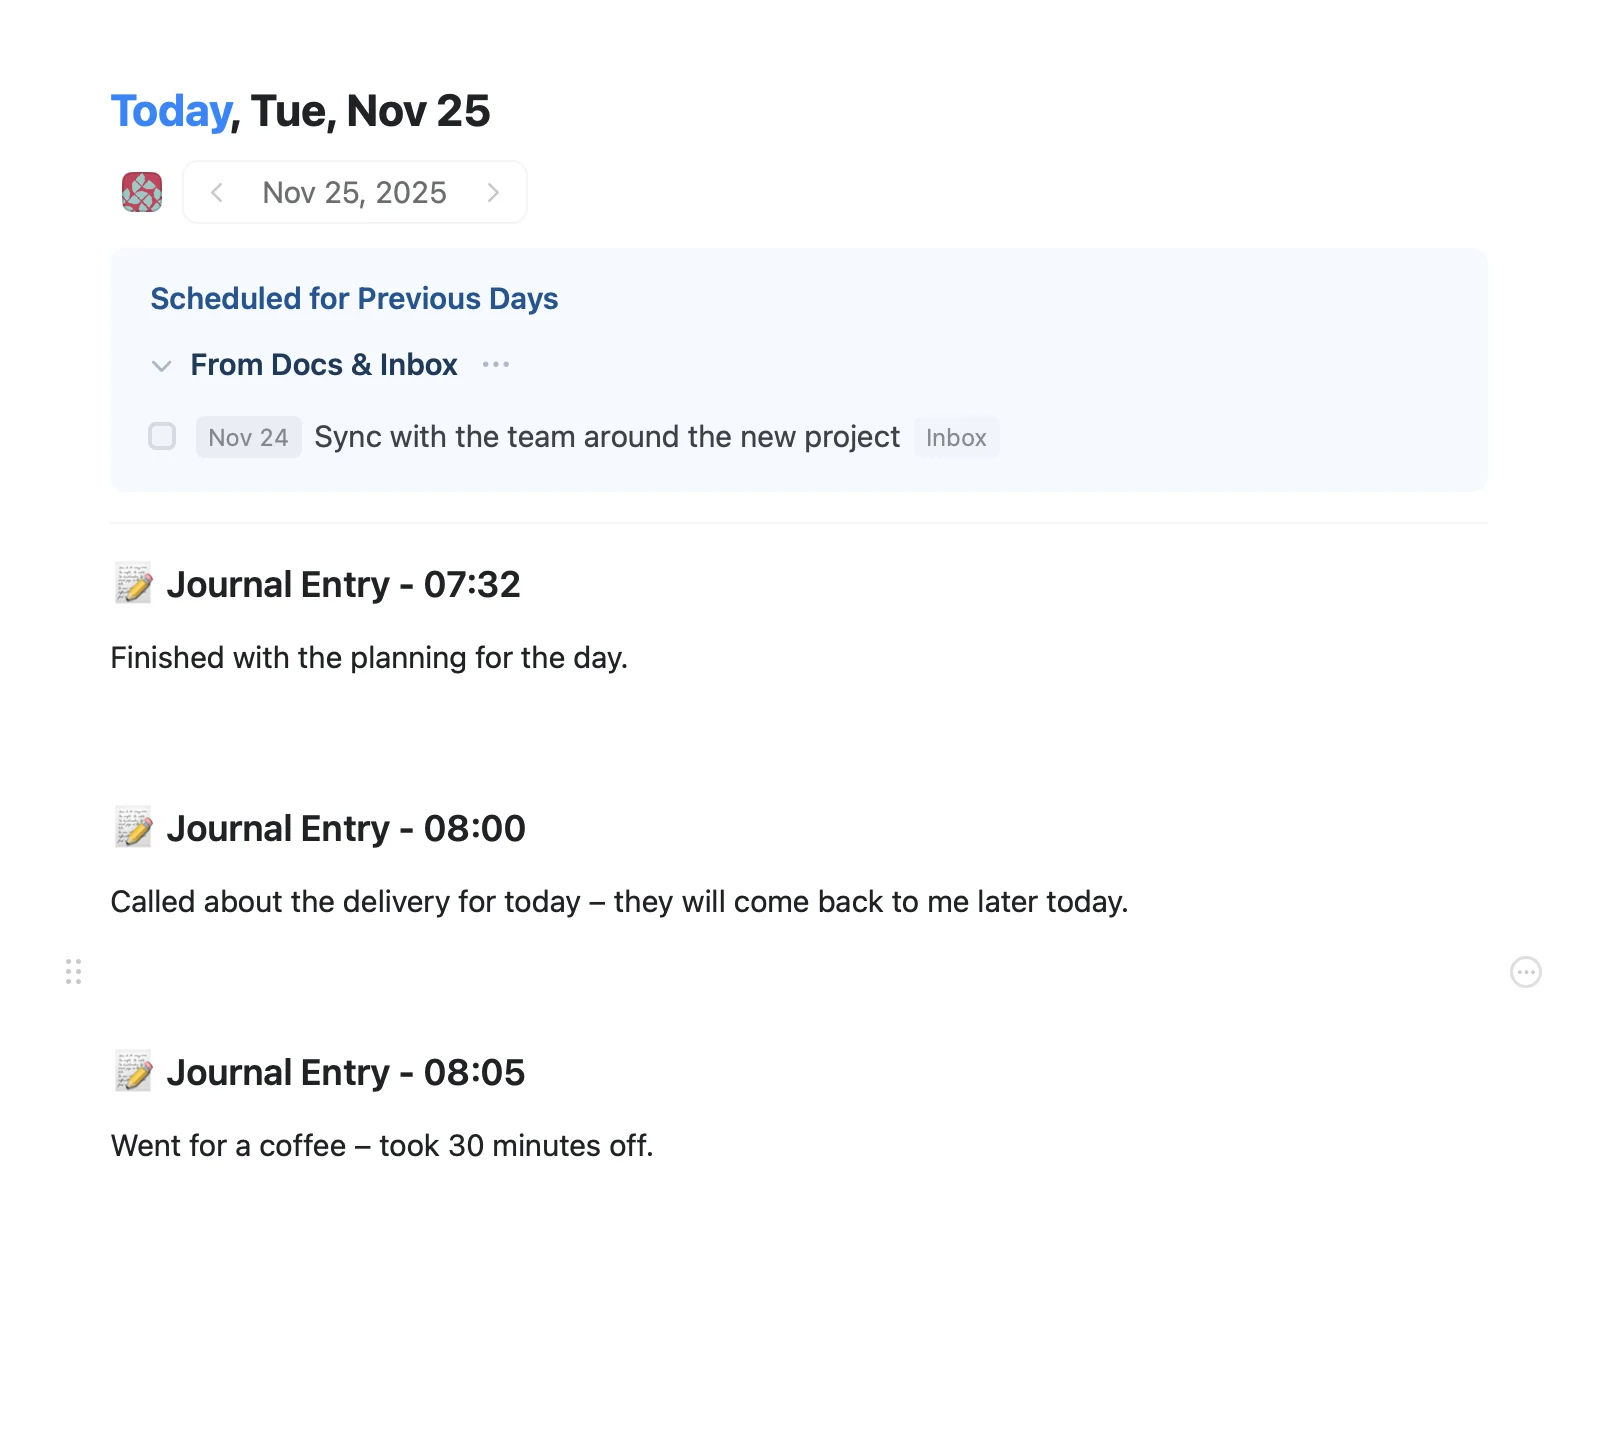
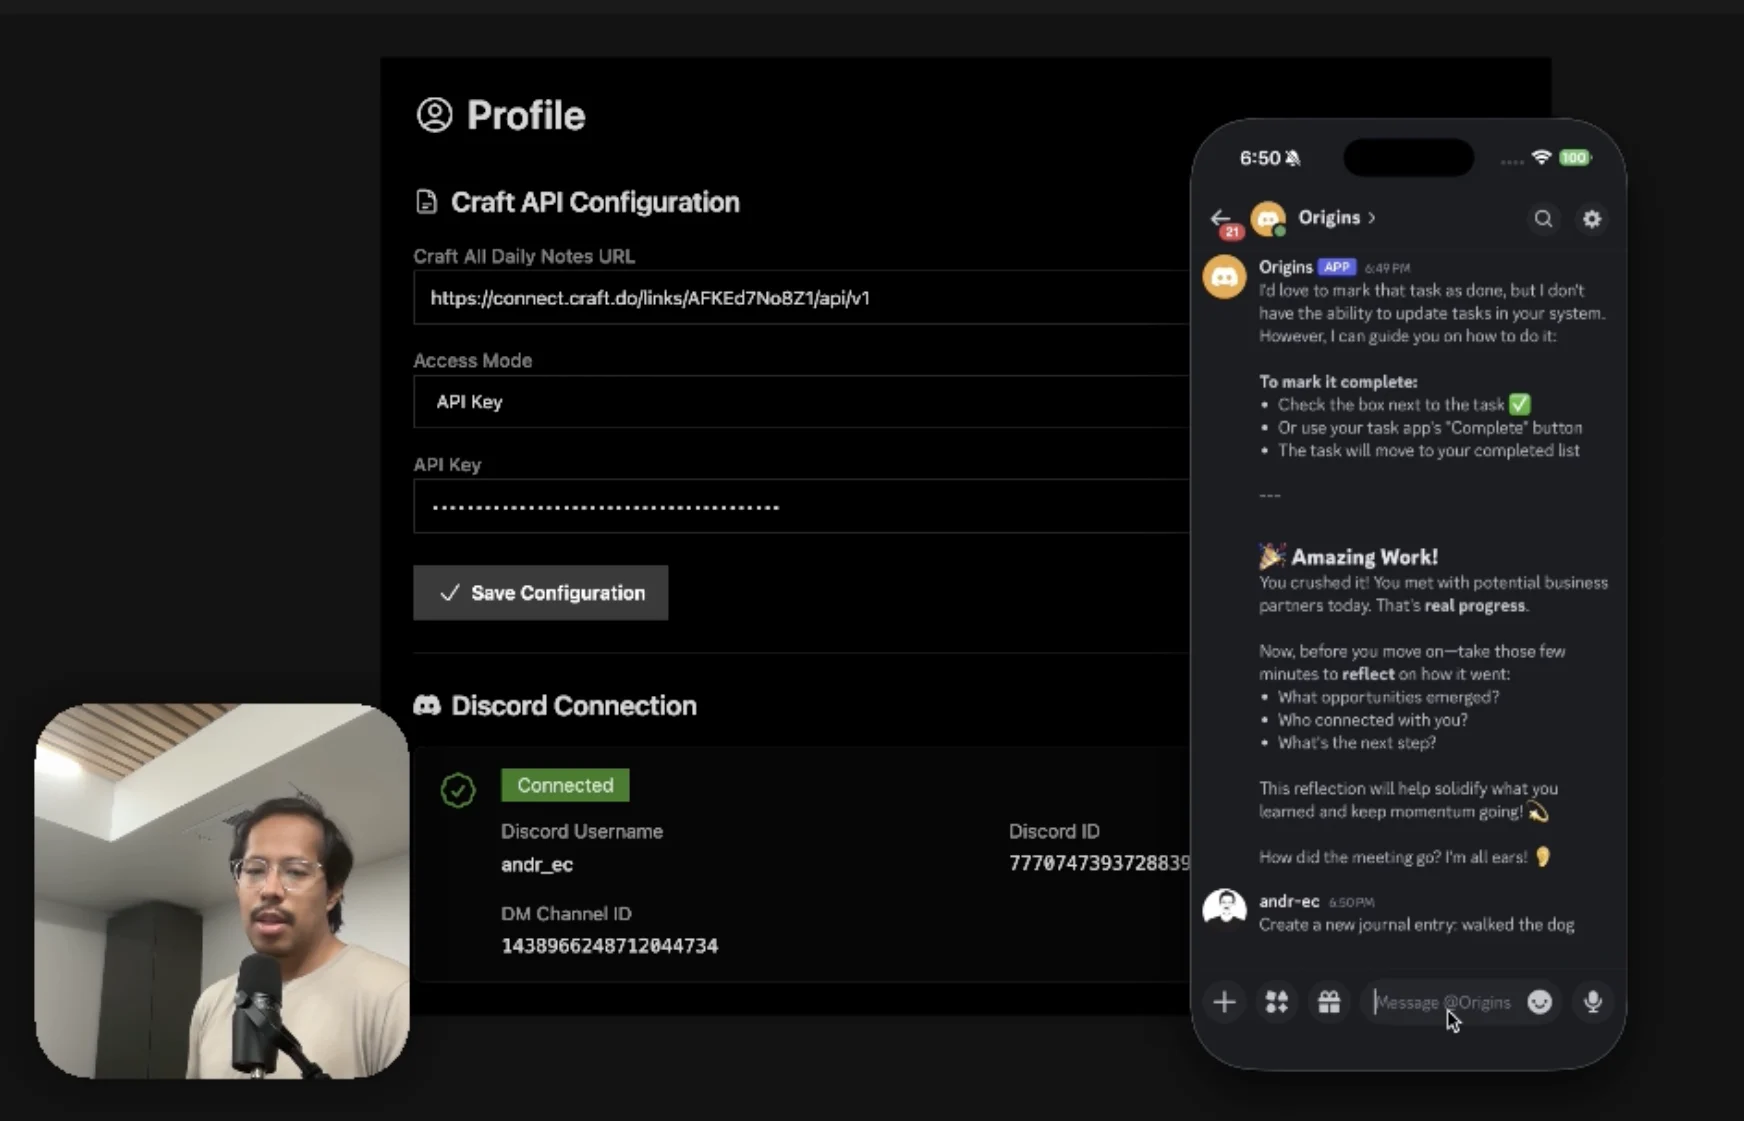
An AI accountability coach that reads your Craft goals and follows up in Discord.
Scopri di più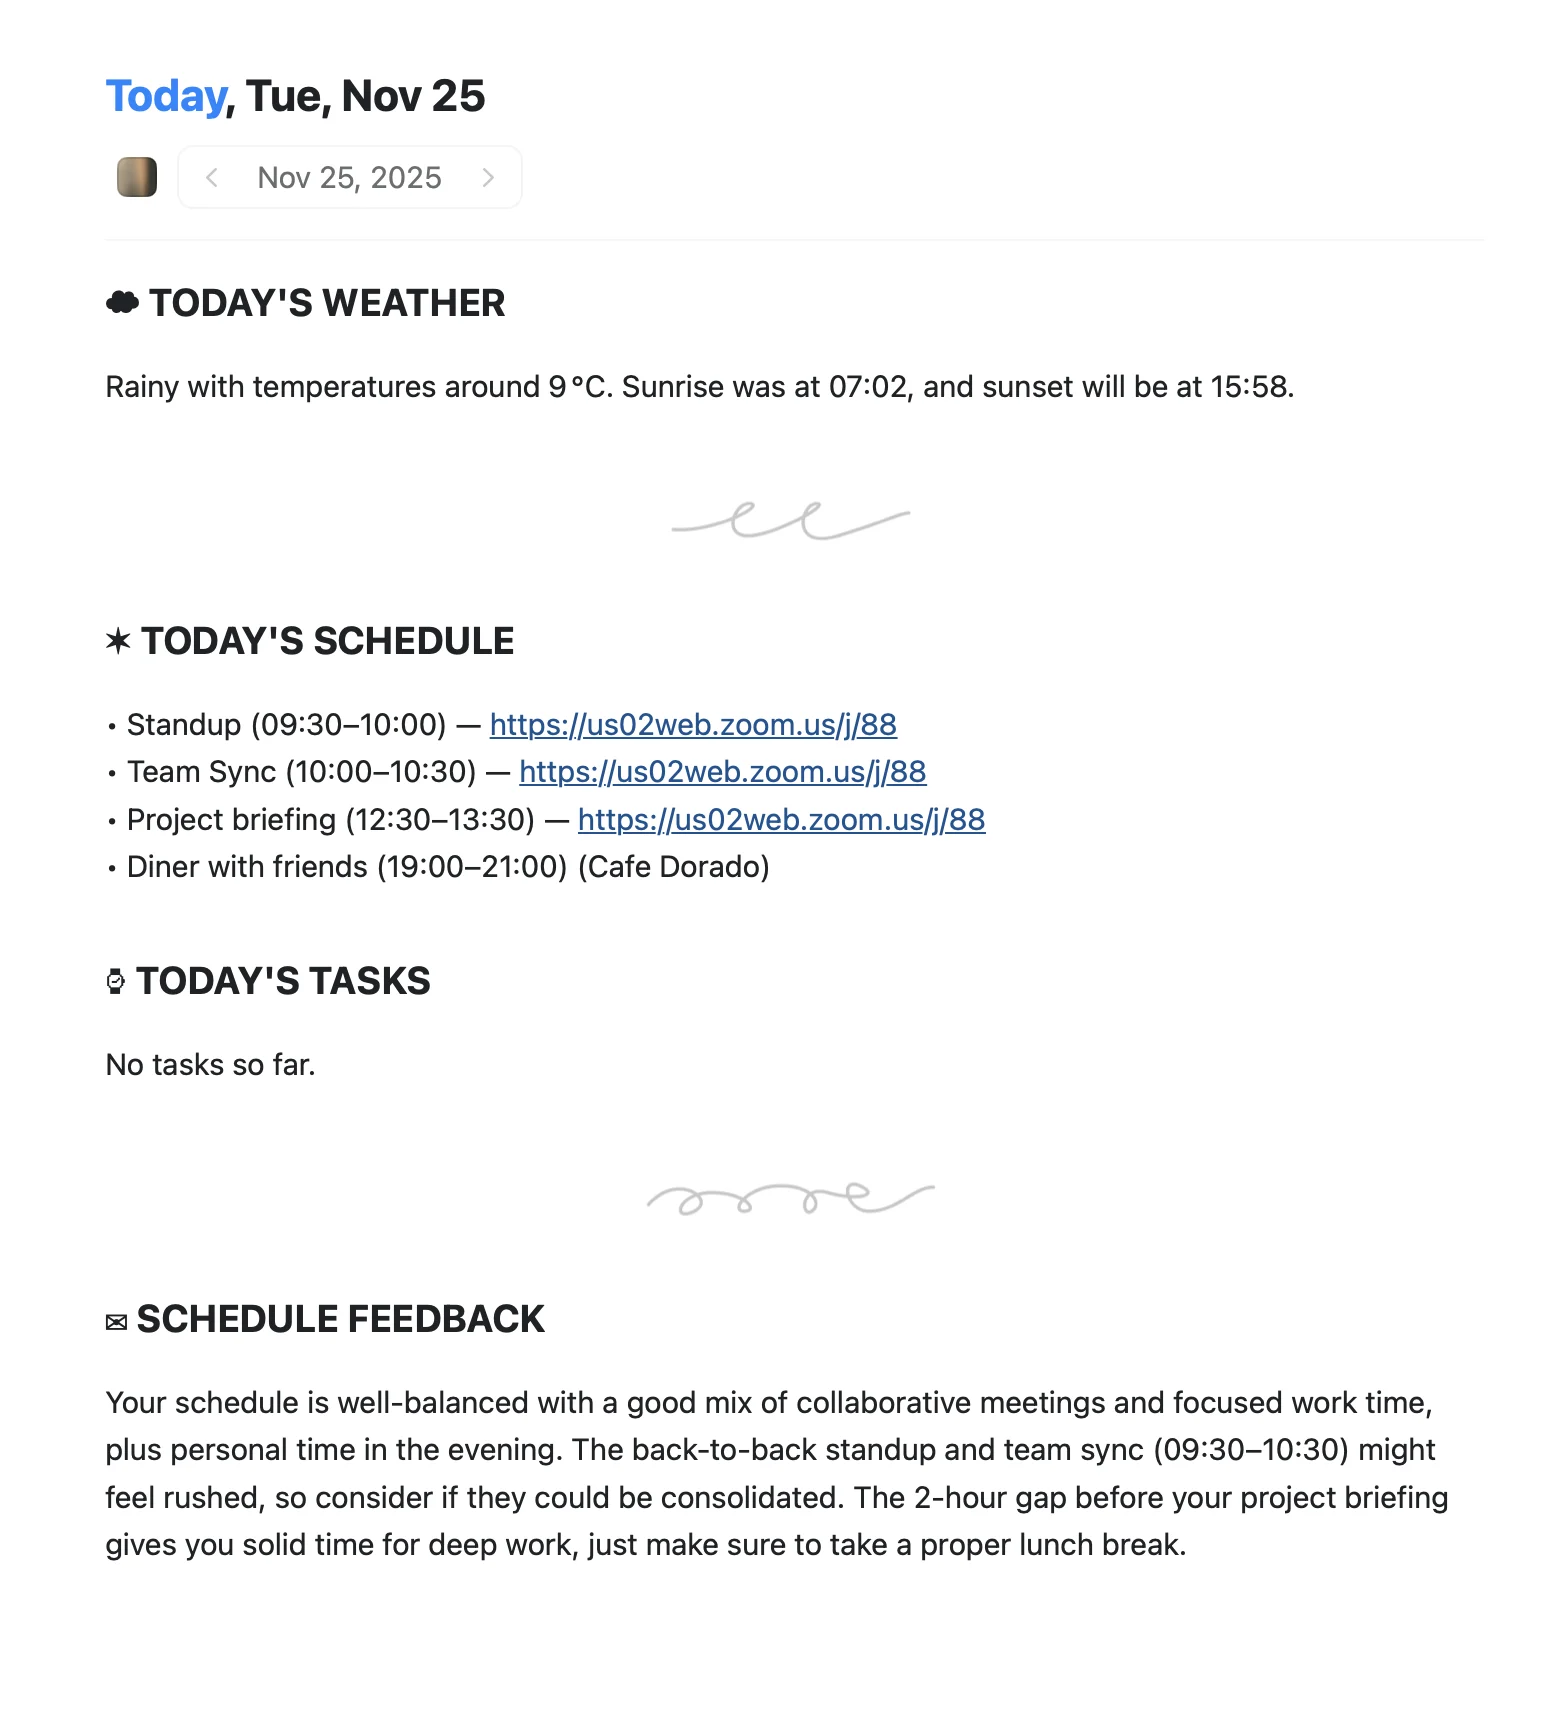
An Apple Shortcut that writes your morning agenda directly into Craft Daily Notes.
Scopri di più
Capture photos, PDFs, and screenshots as formatted Craft documents via Apple Intelligence.
Scopri di più