Come connettere Craft al Windsurf con MCP
Puoi abilitare un server MCP per i tuoi documenti, permettendo a Windsurf di interagire direttamente con i tuoi contenuti. Questa guida ti accompagna nella configurazione della connessione tra Craft e Windsurf tramite MCP.
Aggiungere un connettore MCP in Windsurf
Crea un nuovo connettore in Windsurf e usa l'URL MCP per collegare i due servizi.
Passaggio 1
Passaggio 2
{
  "mcpServers": {
    "craft": {
      "url": "https://mcp.craft.do/my/mcp"
    }
  }
}Passaggio 3
craft con un nome descrittivo per il tuo server MCP.Sostituisci <MCP_URL> con l'URL MCP.Salva il file.Passaggio 4
Passaggio 5
Ora puoi chiedere a Windsurf informazioni sui tuoi documenti e persino farli aggiornare. Prova qualcosa del genere per iniziare:
Fai clic su un esempio per copiare il prompt negli appunti
Alcune idee per iniziare
Sfoglia gli esempi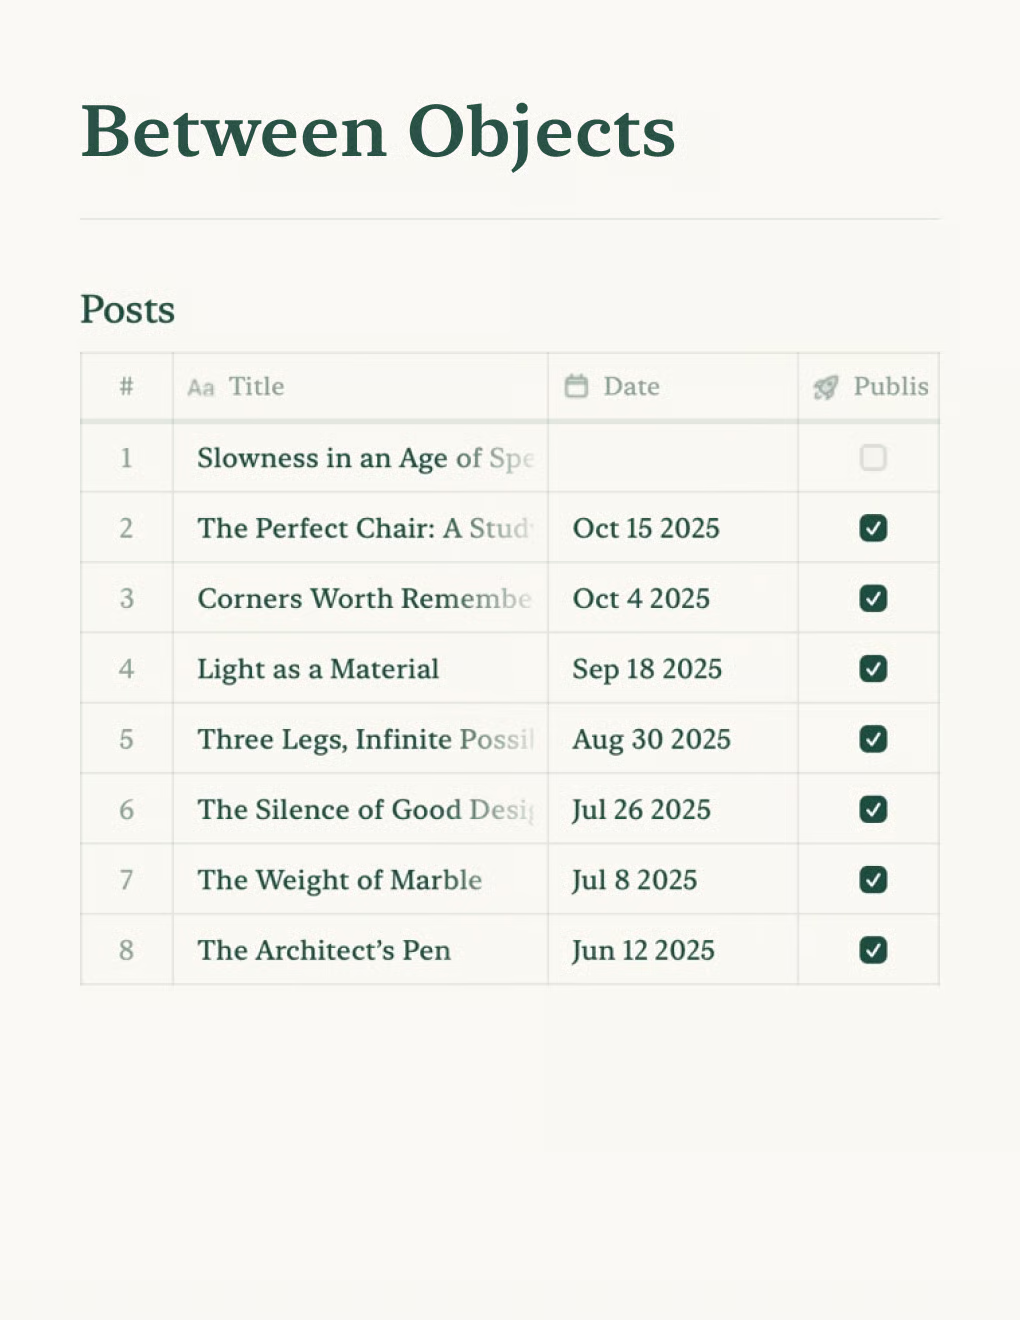
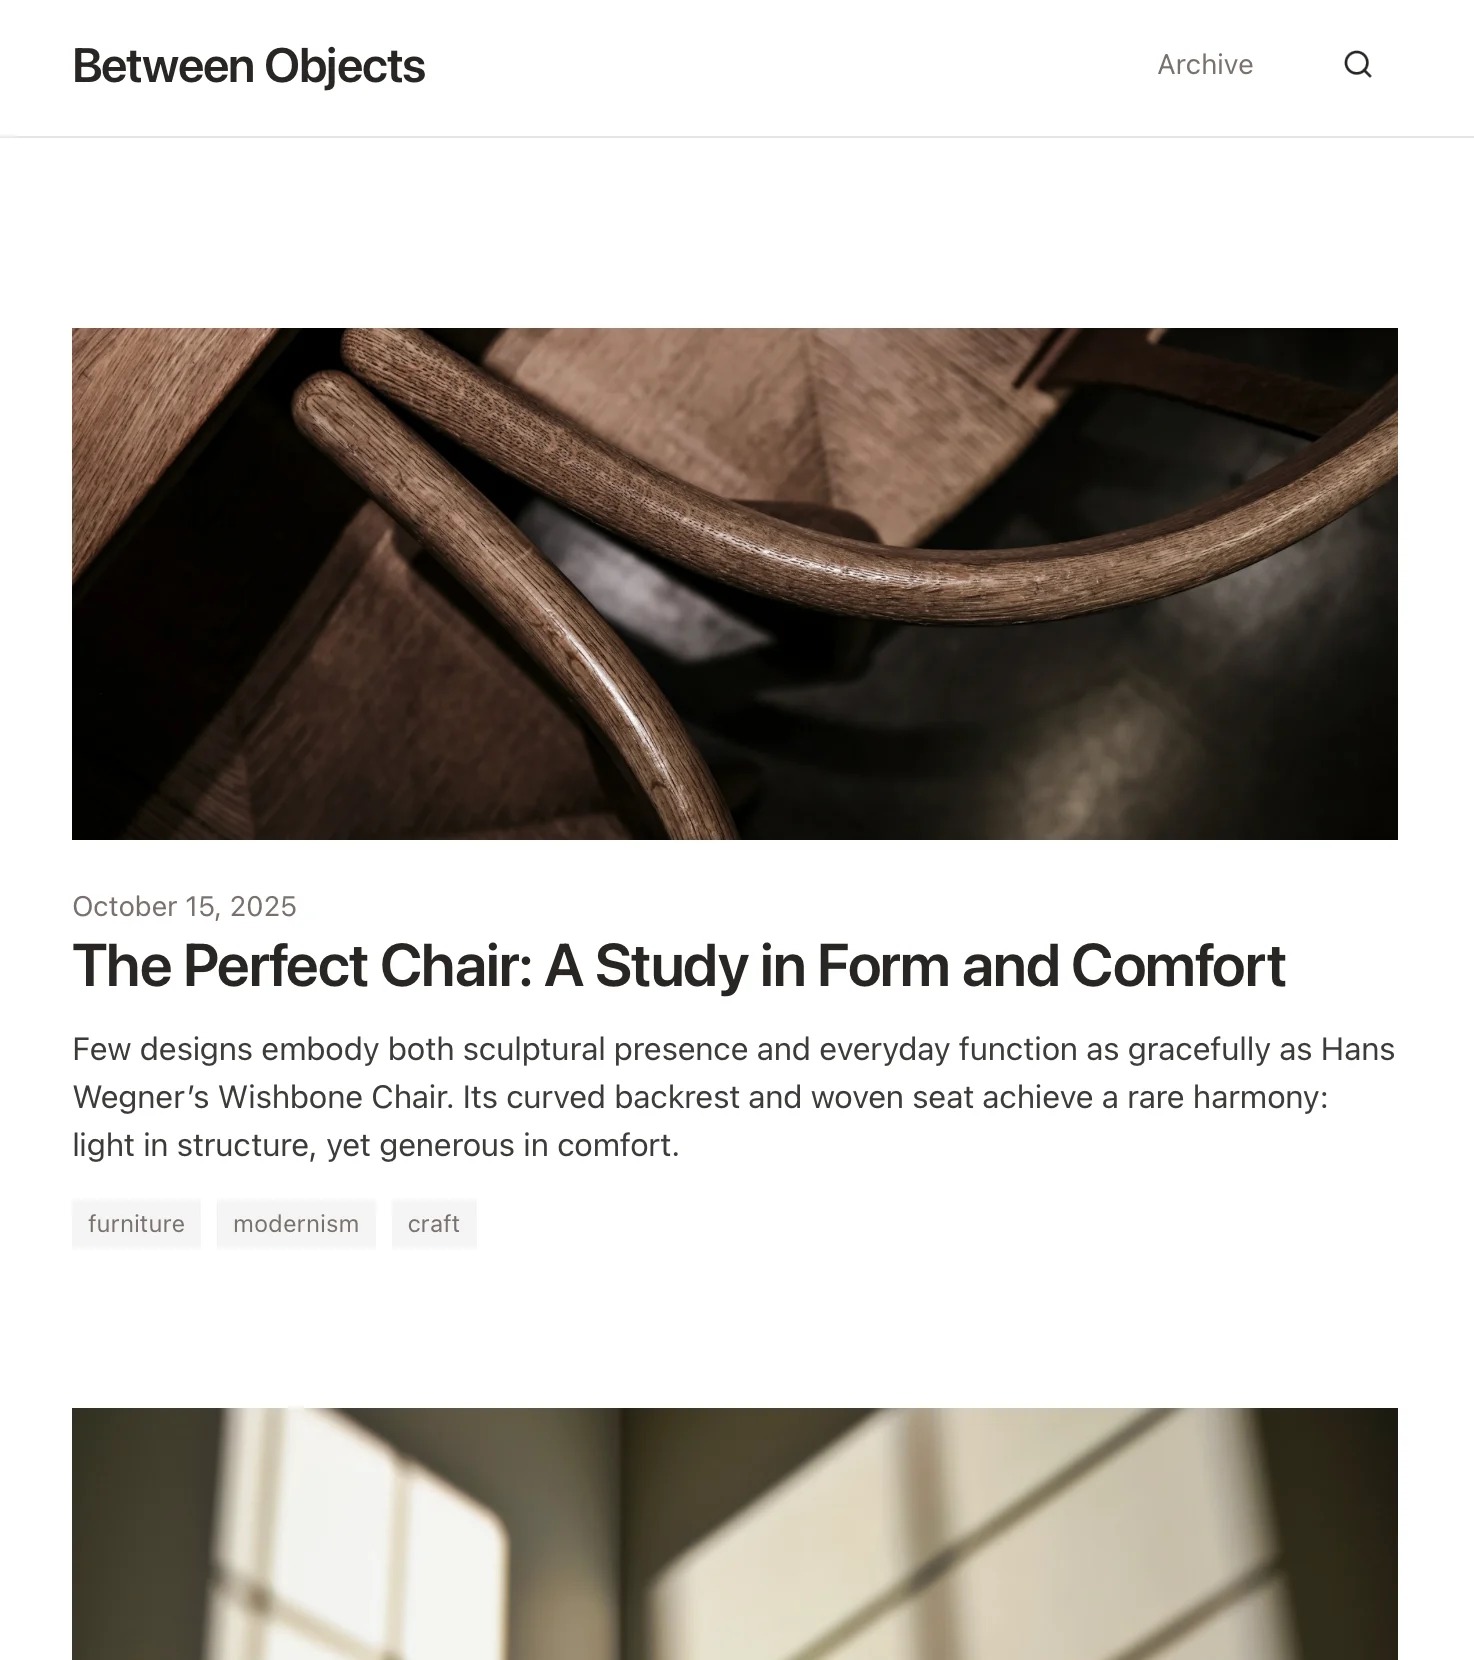
Crea un blog personale basato sui documenti Craft. Sincronizza automaticamente i contenuti via API — pubblica dalla tua app per gli appunti.
Scopri di più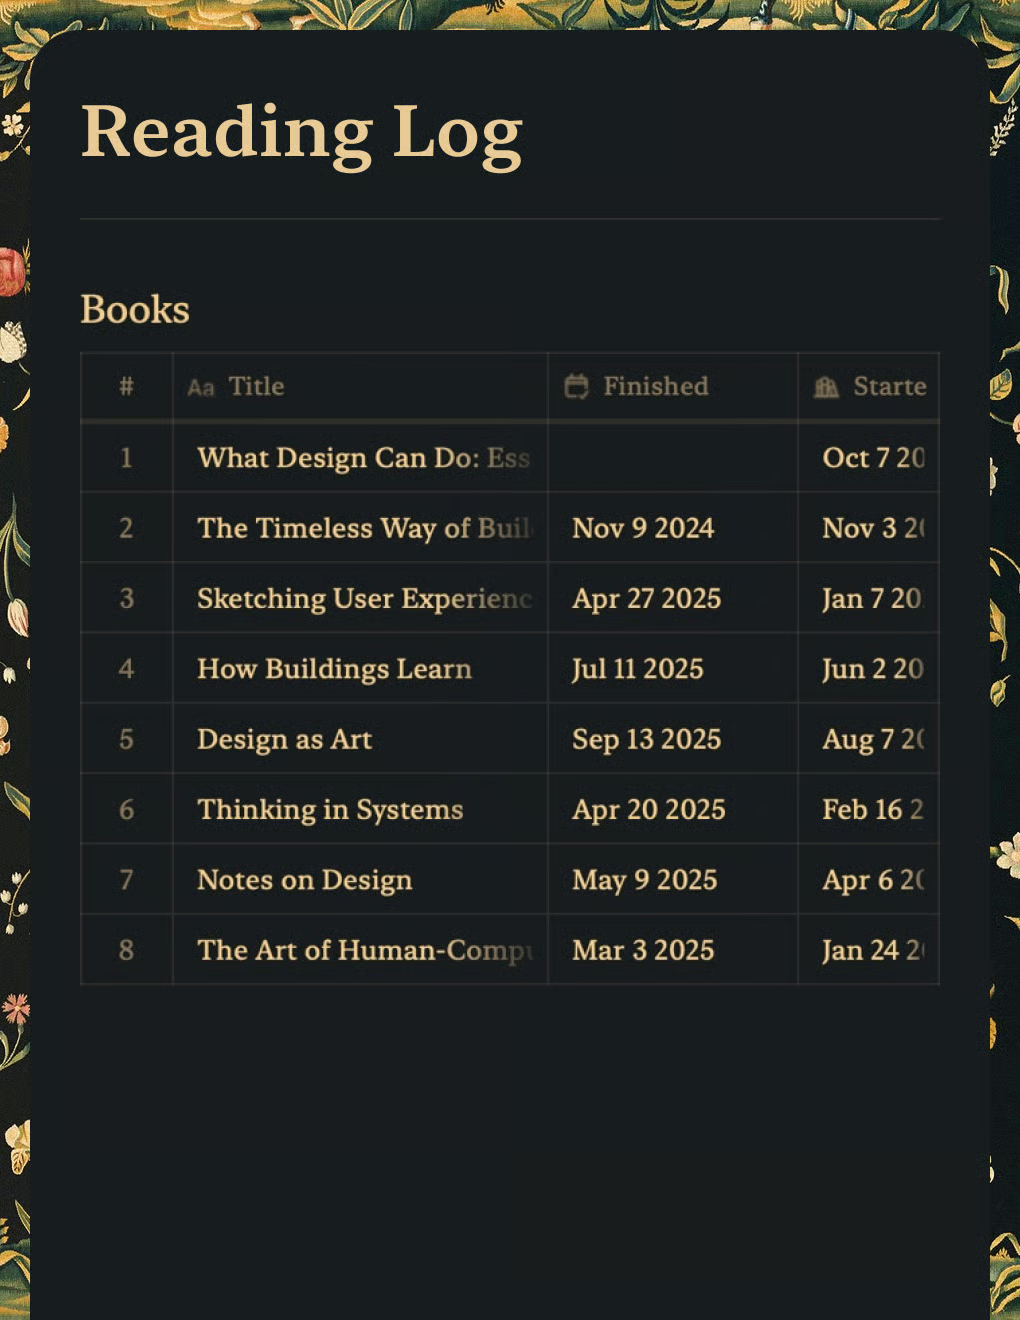
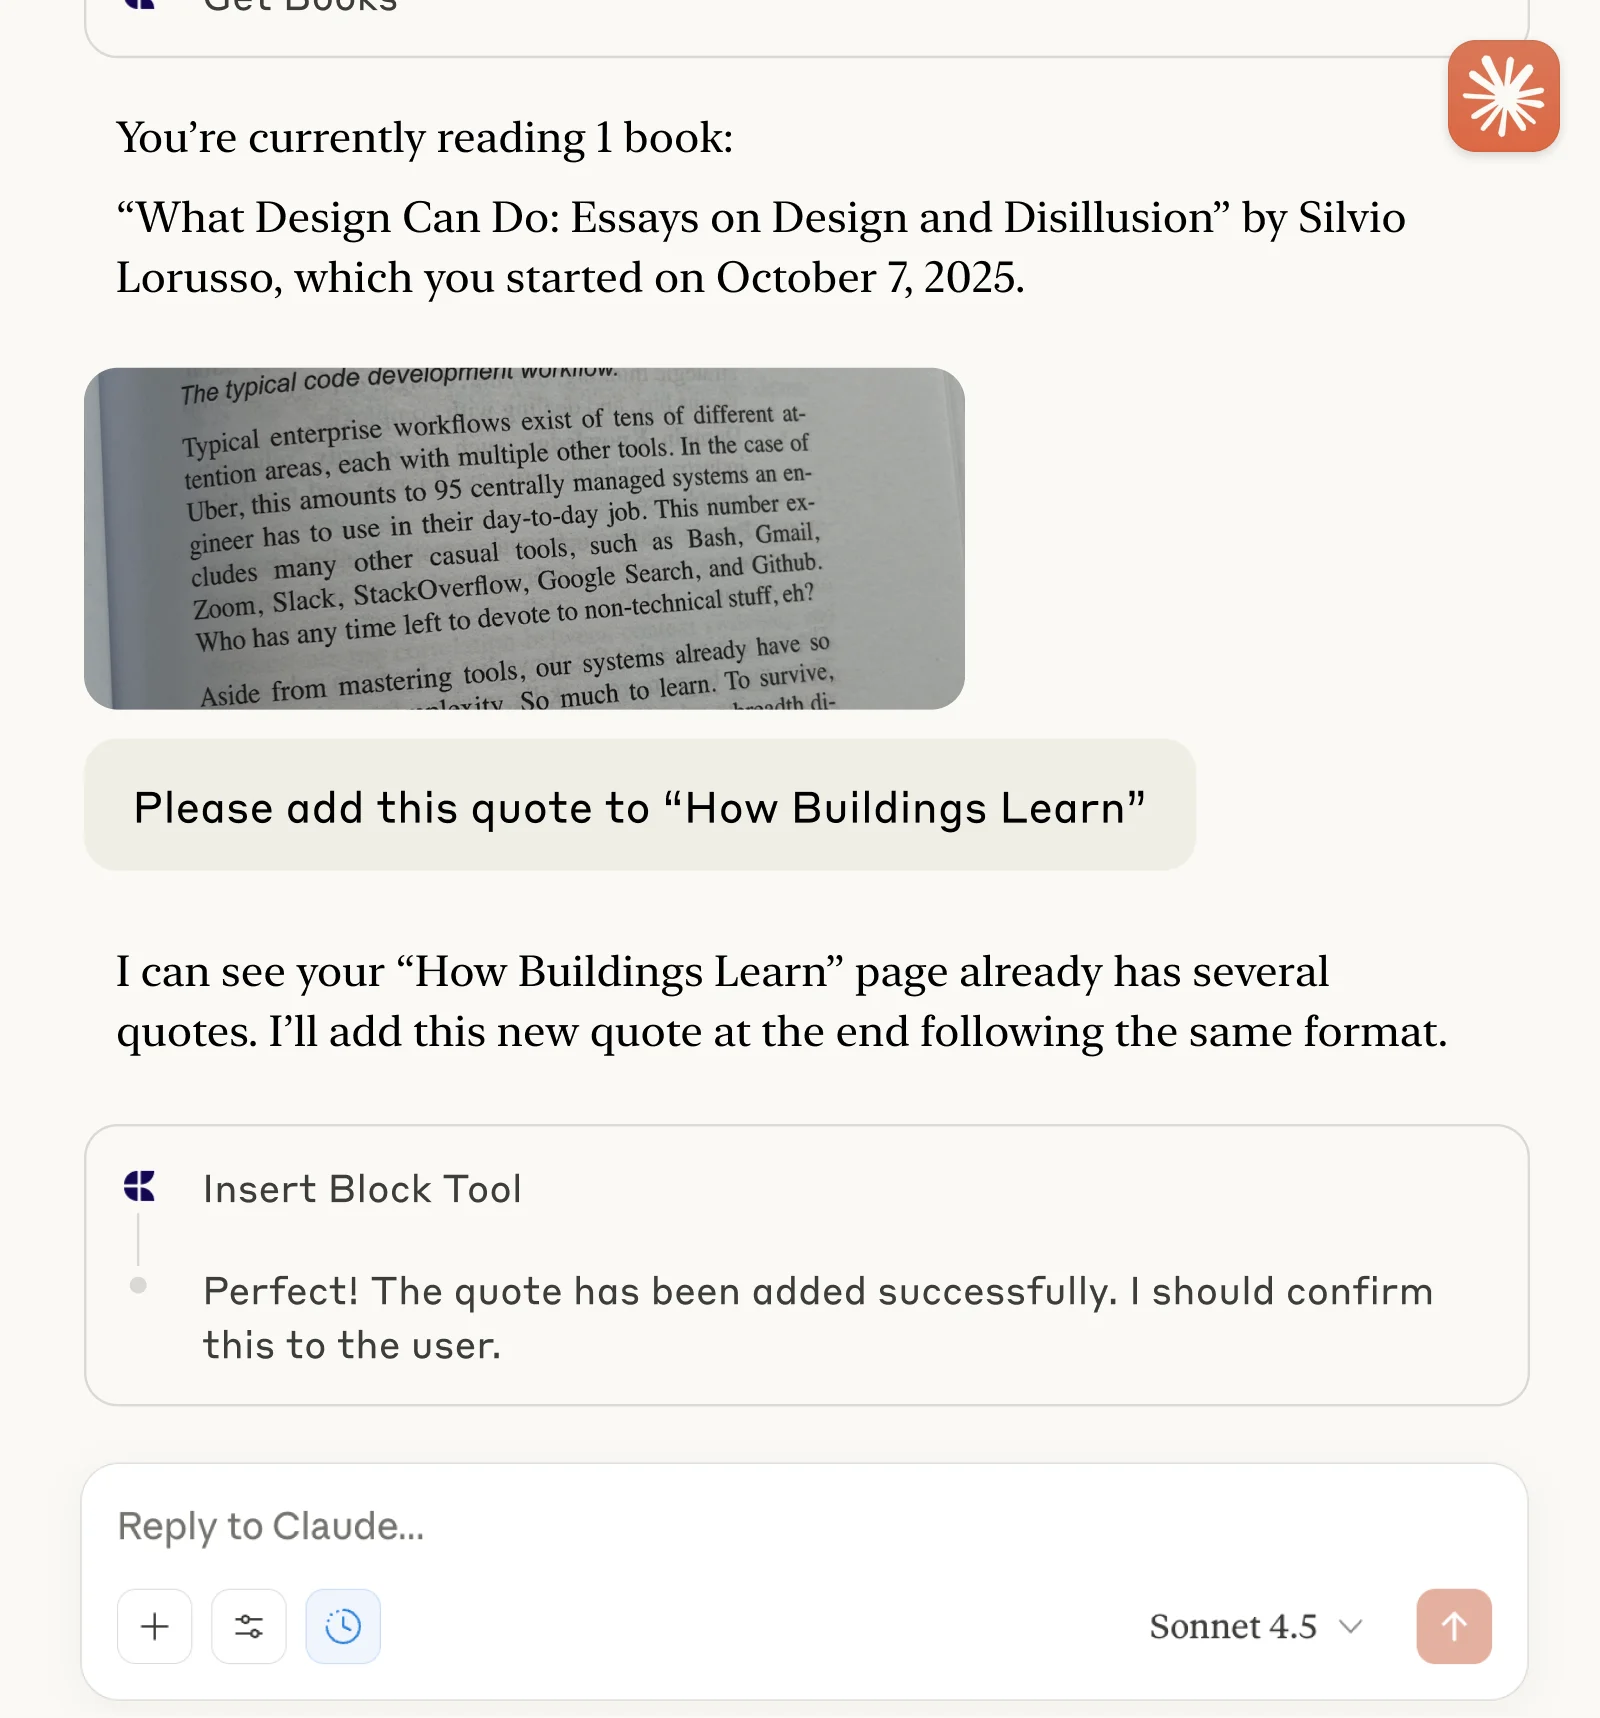
Tieni traccia dei libri e salva citazioni con Claude o ChatGPT tramite MCP.
Scopri di più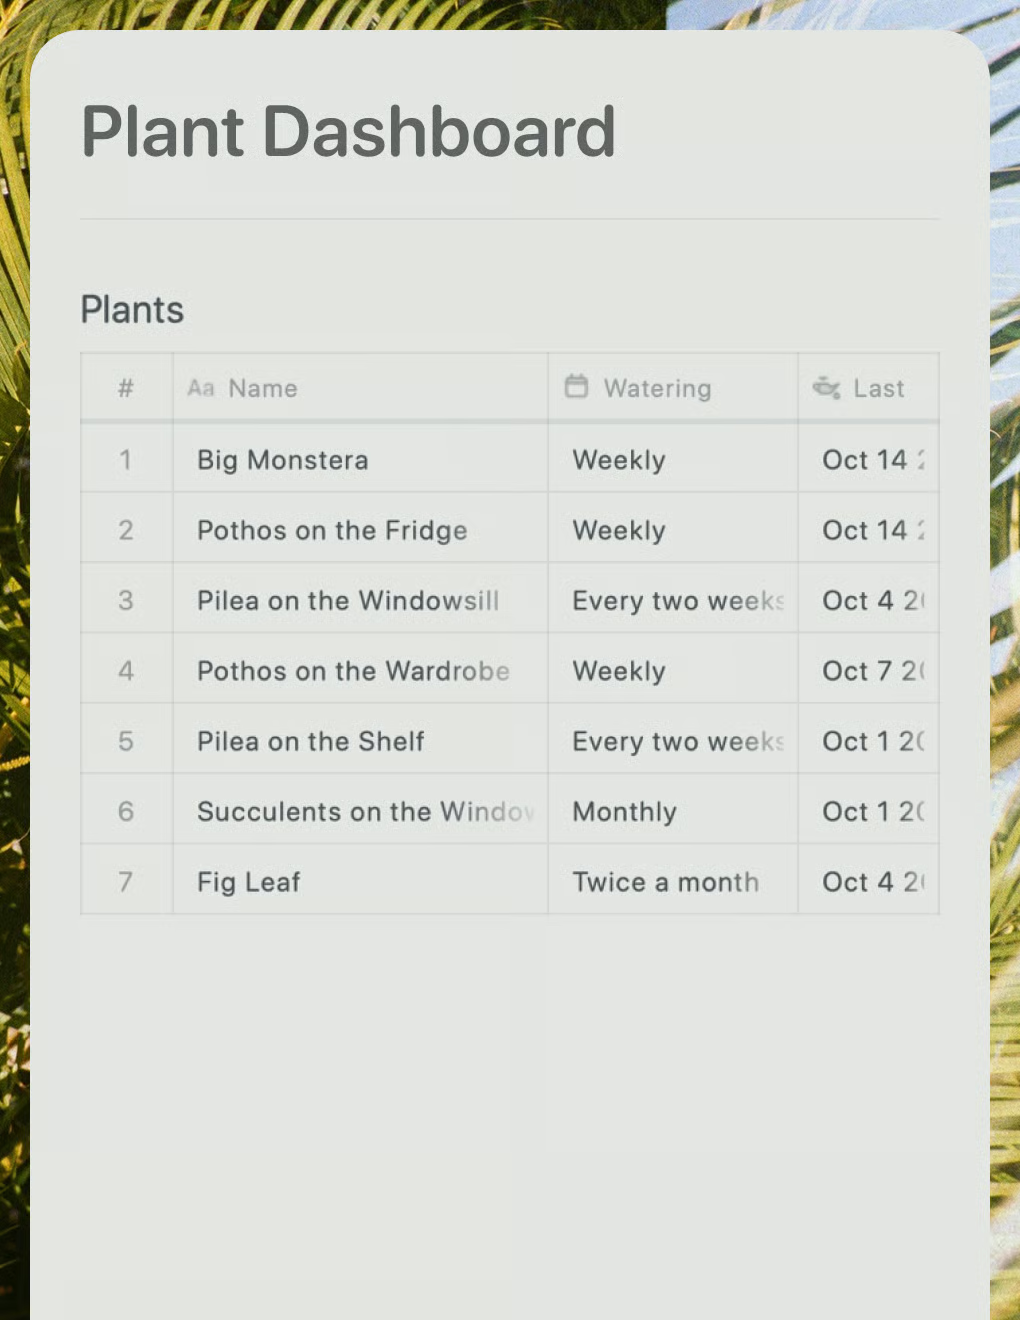
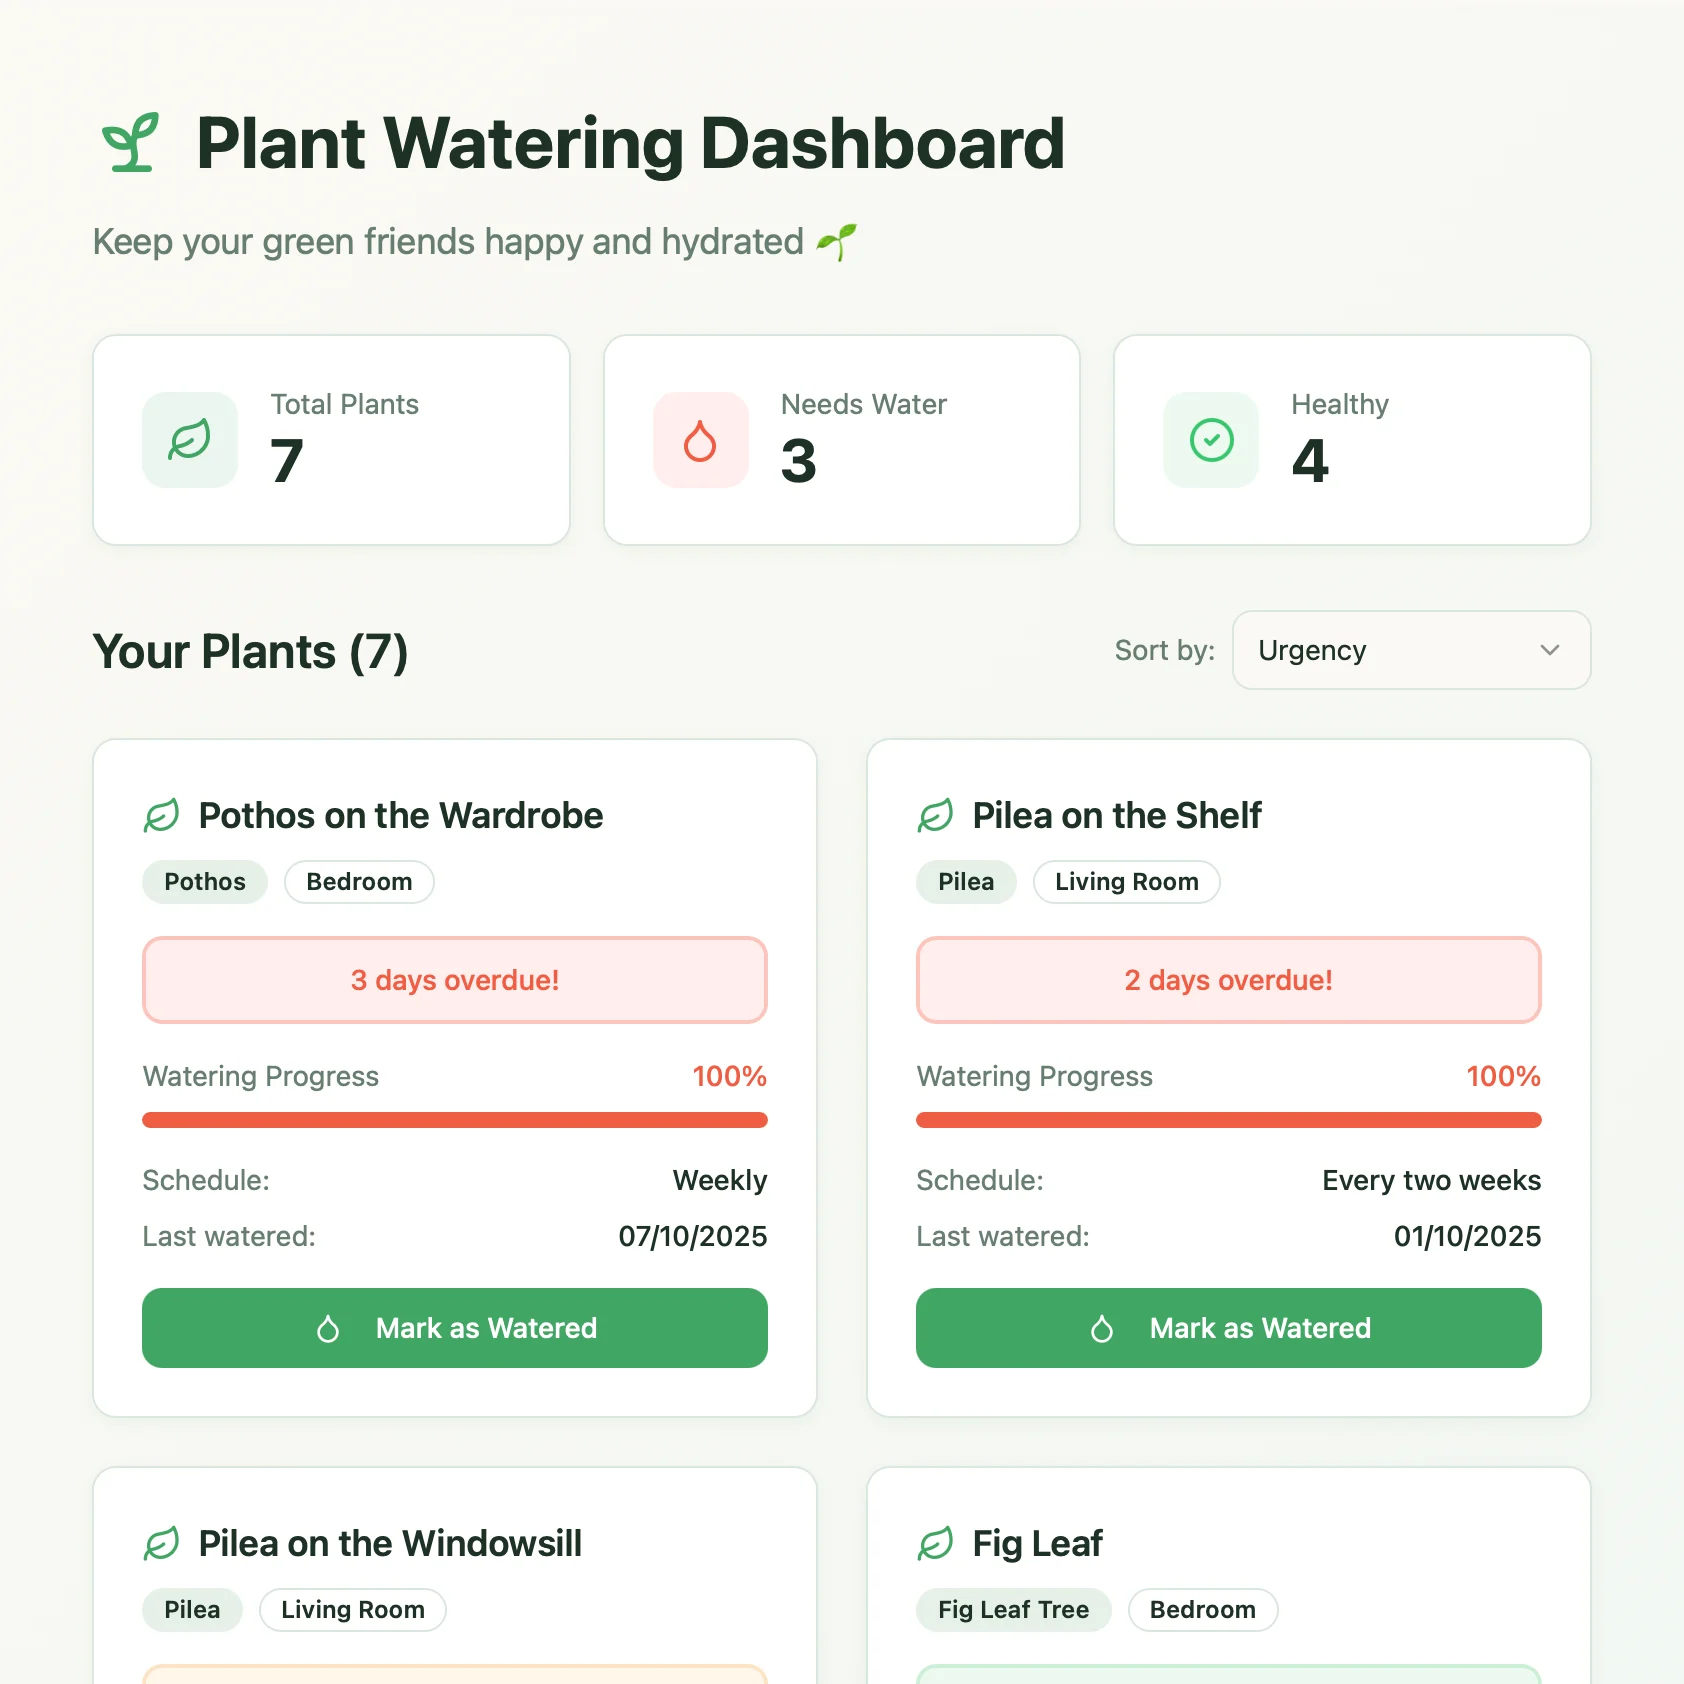
Una dashboard per la cura delle piante creata con Lovable. Recupera i programmi di annaffiatura e i consigli di cura dal tuo documento Craft.
Scopri di più