Craft와 함께 상상하기

MCP로 Craft를 Claude Code에 연결하는 방법
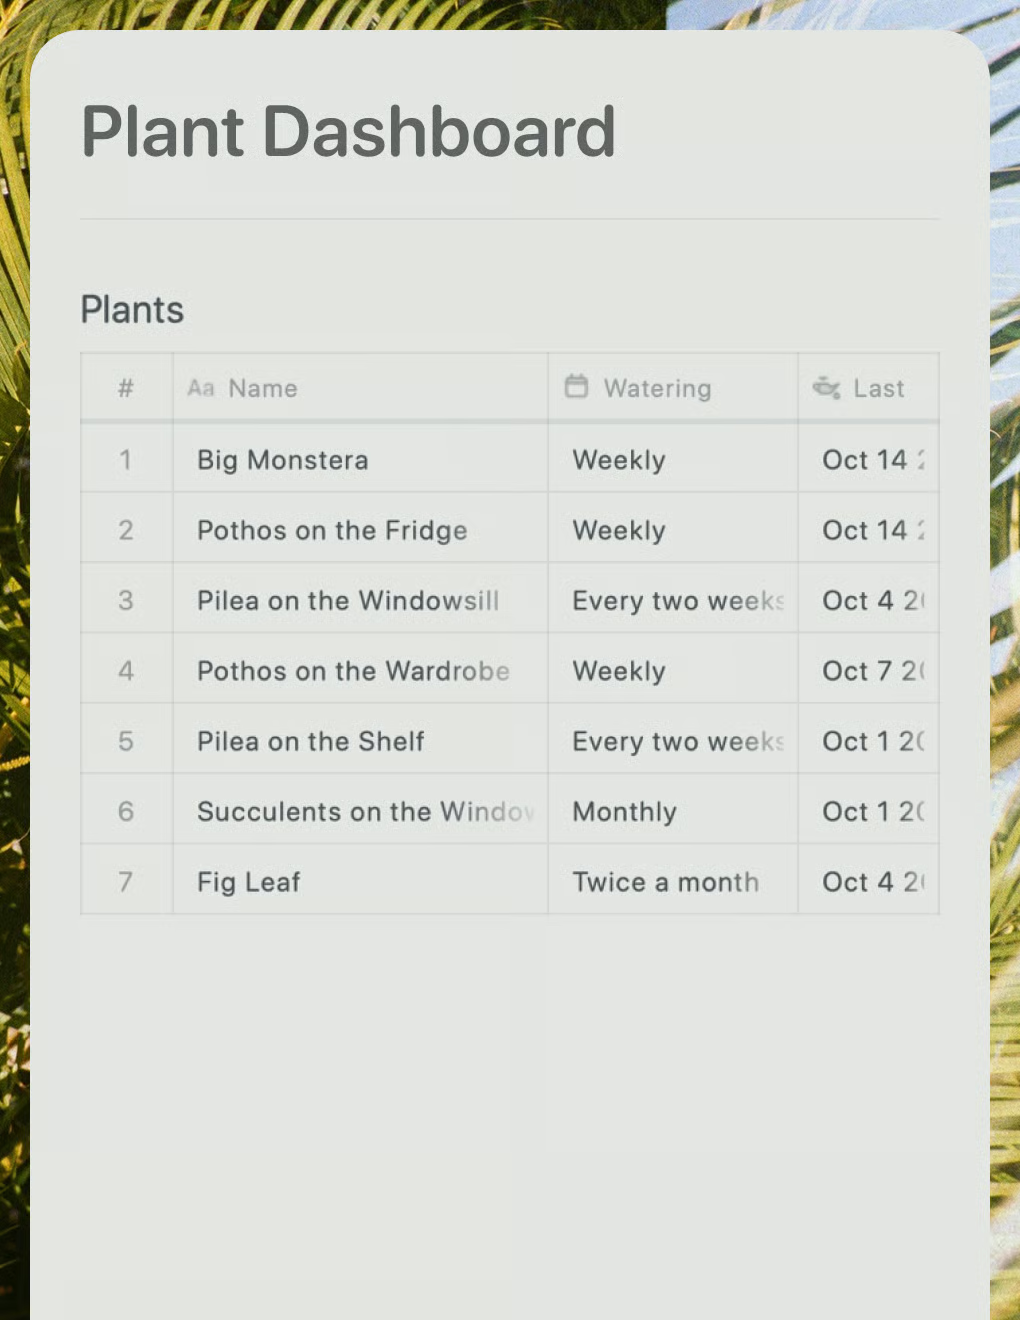
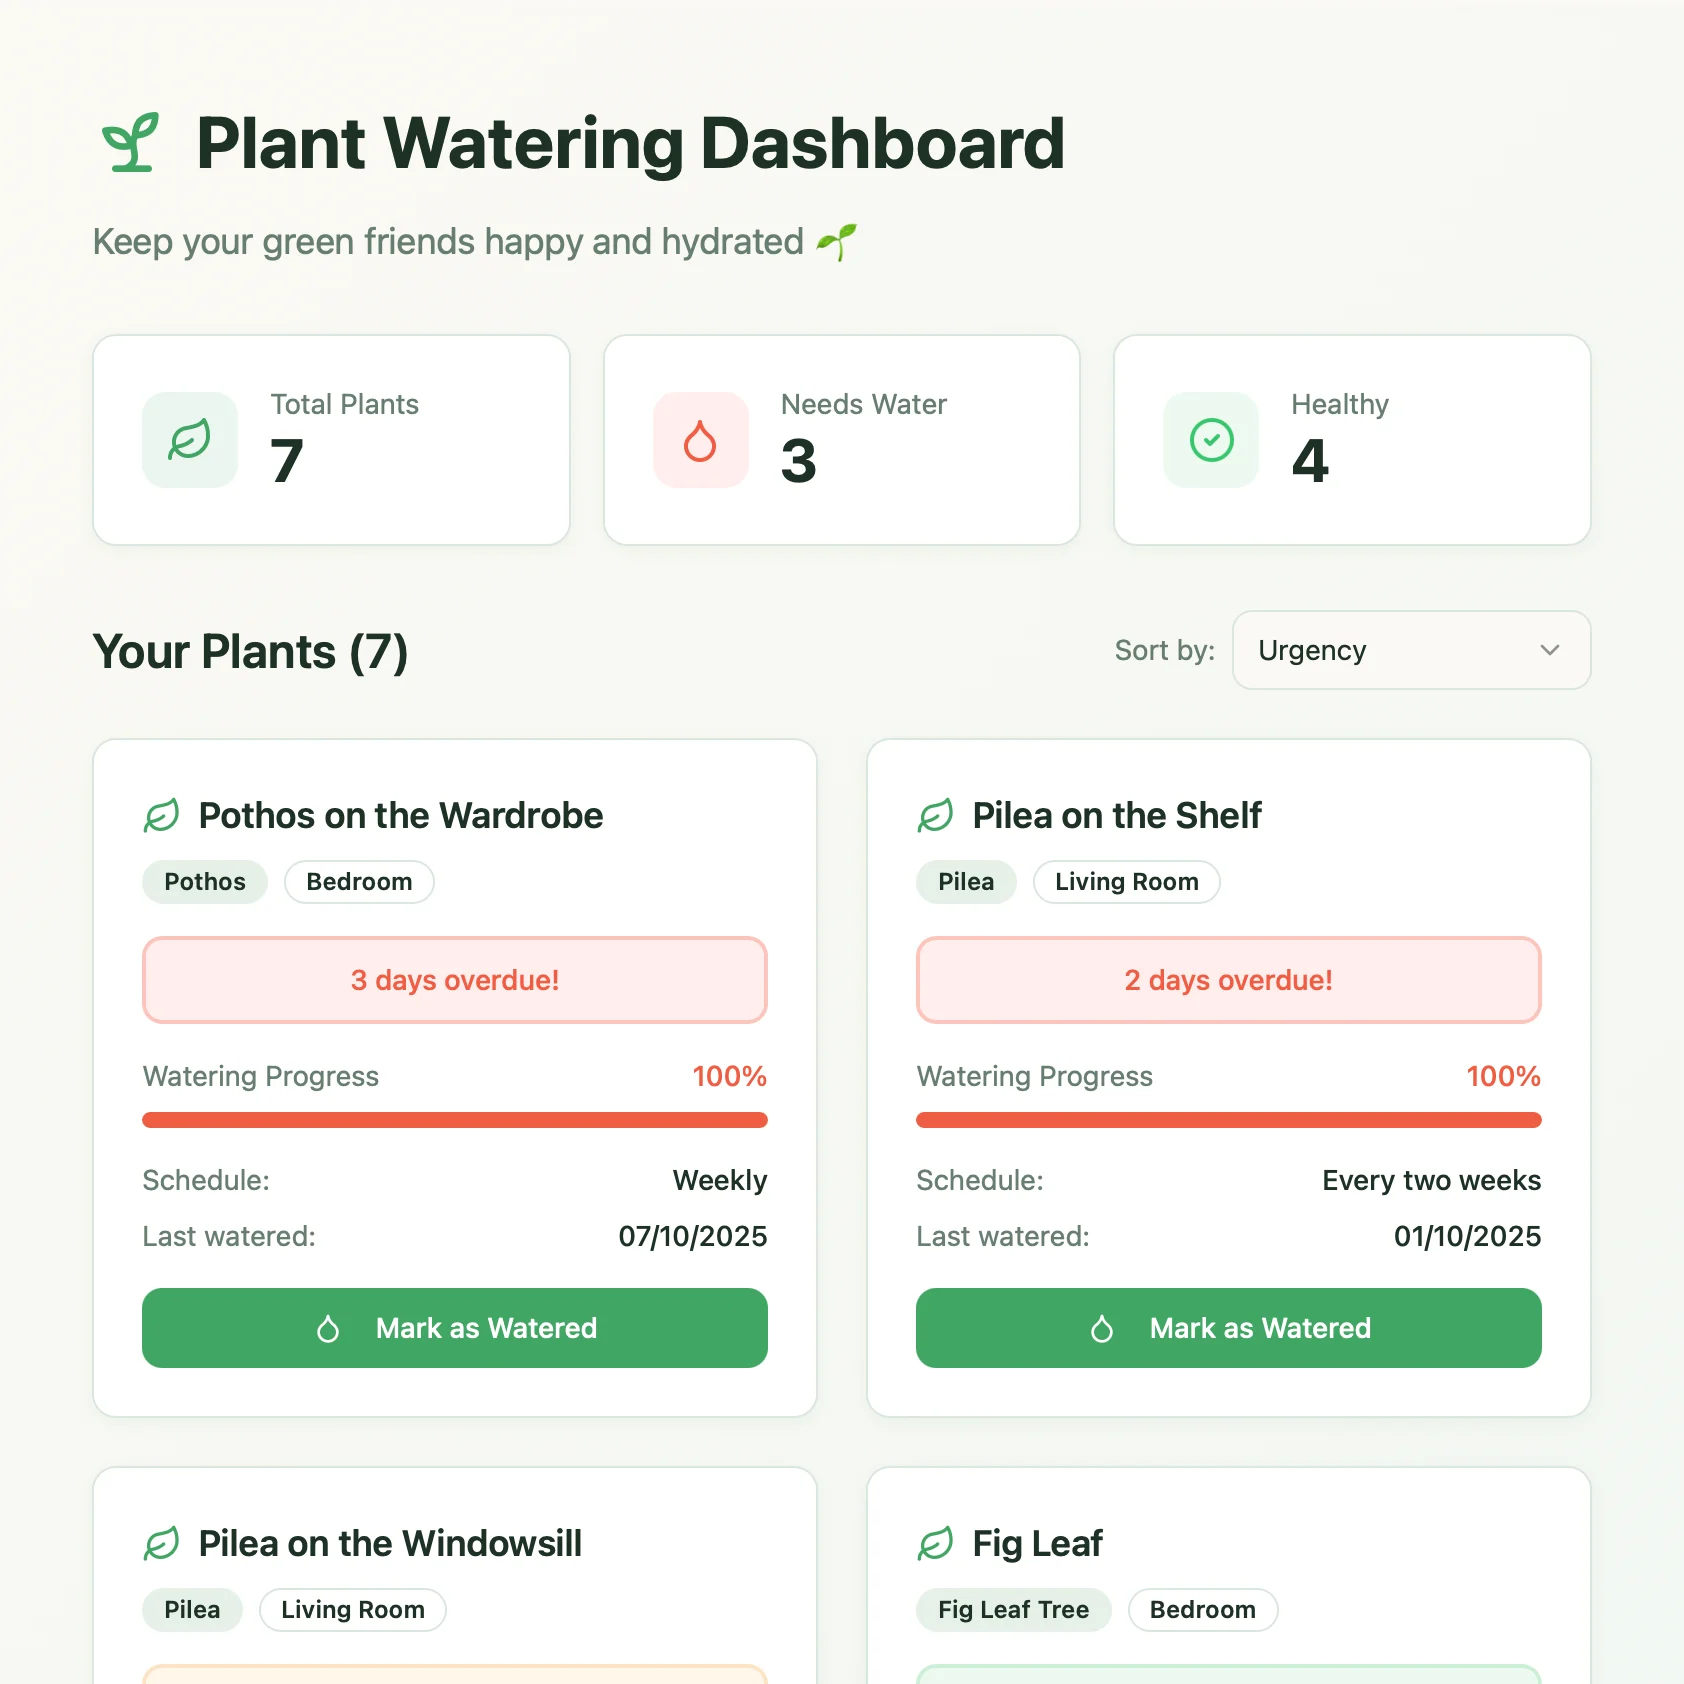
MCP를 통해 Craft 문서를 Claude Code에 연결하는 단계별 가이드입니다. Claude Code에서 직접 노트를 읽고, 검색하고, 업데이트하세요.
Claude Code에서 MCP 커넥터 추가하기
Claude Code에서 새 커넥터를 만들고 MCP URL을 사용하여 두 서비스를 연결하세요.
단계 1
먼저, Claude Code에서 MCP 서버에 사용할 스코프를 선택하세요:
- 로컬 스코프 (기본값): 특정 프로젝트에만 적용되며, 본인에게만 보이는 개인용 범위
- 프로젝트 스코프:
.mcp.json파일을 통해 팀과 공유되는 범위 - 사용자 스코프: 여러 프로젝트에서 공통으로 사용 가능한 개인용 범위
--scope project | --scope user단계 2
터미널에서 아래 명령을 실행해 Craft MCP 서버를 추가하세요.
craft은 MCP 서버 이름으로 변경해주세요. 이 명령은 기본적으로 로컬 범위를 사용해, 현재 프로젝트에만 적용됩니다.claude mcp add --transport http craft https://mcp.craft.do/my/mcp단계 3
Claude Code에서
/mcp 명령을 사용하여 방금 생성한 MCP 서버를 선택하고, 브라우저 안내에 따라 로그인하세요.단계 4
Craft 인증 페이지가 표시되는 브라우저 창이 열립니다. 연결하려는 공간을 선택하고 "승인"을 클릭하여 액세스 권한을 부여하세요.
단계 5
Craft MCP 서버 설정이 완료되었습니다. 이제 Claude Code에서 Craft 콘텐츠와 상호작용할 수 있습니다.
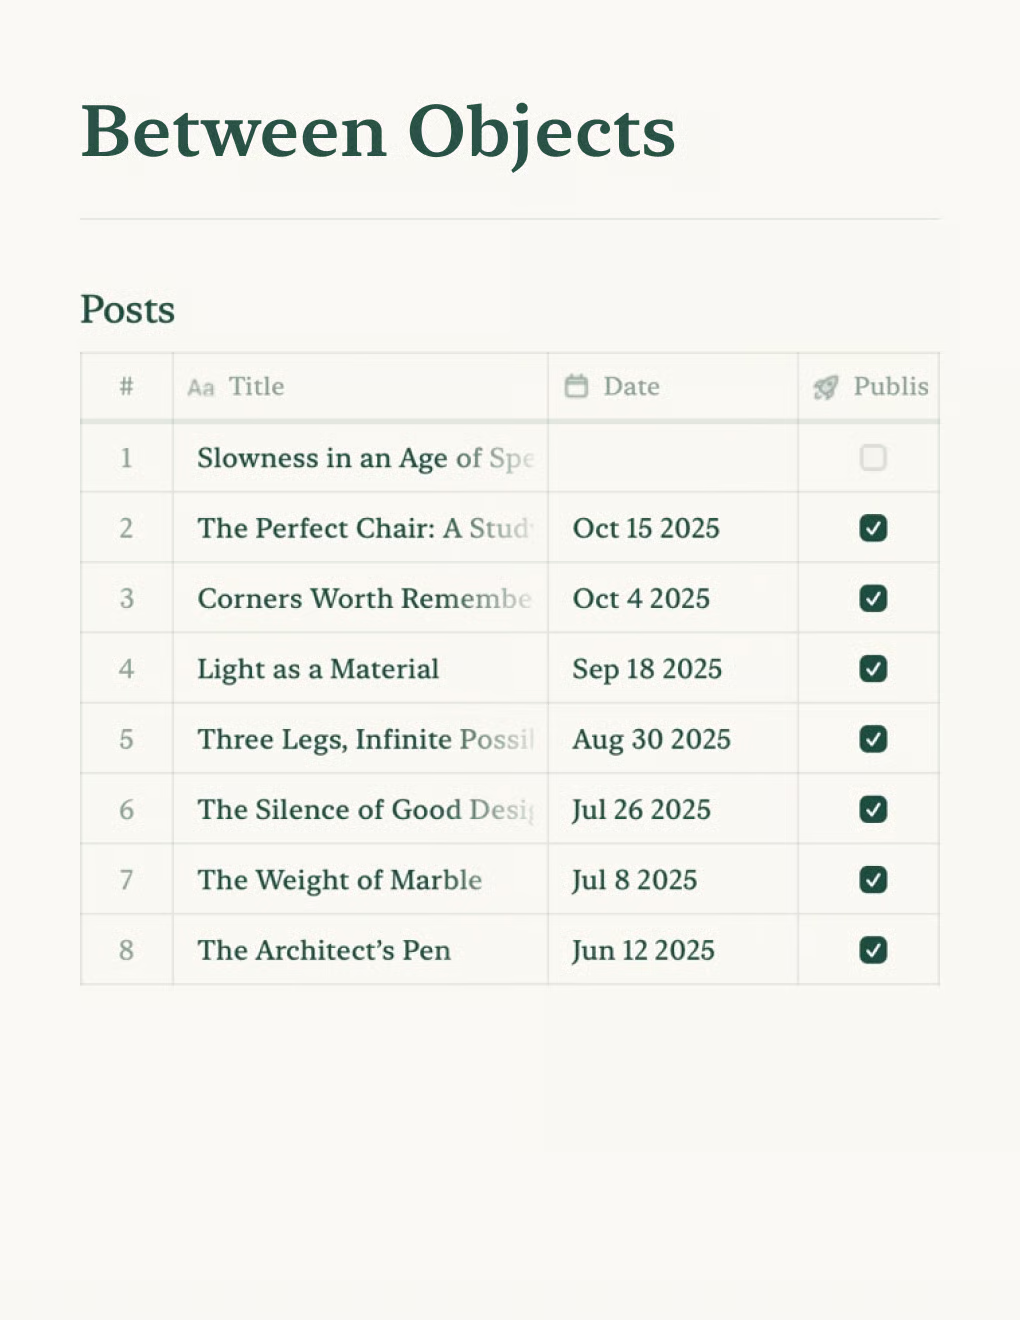
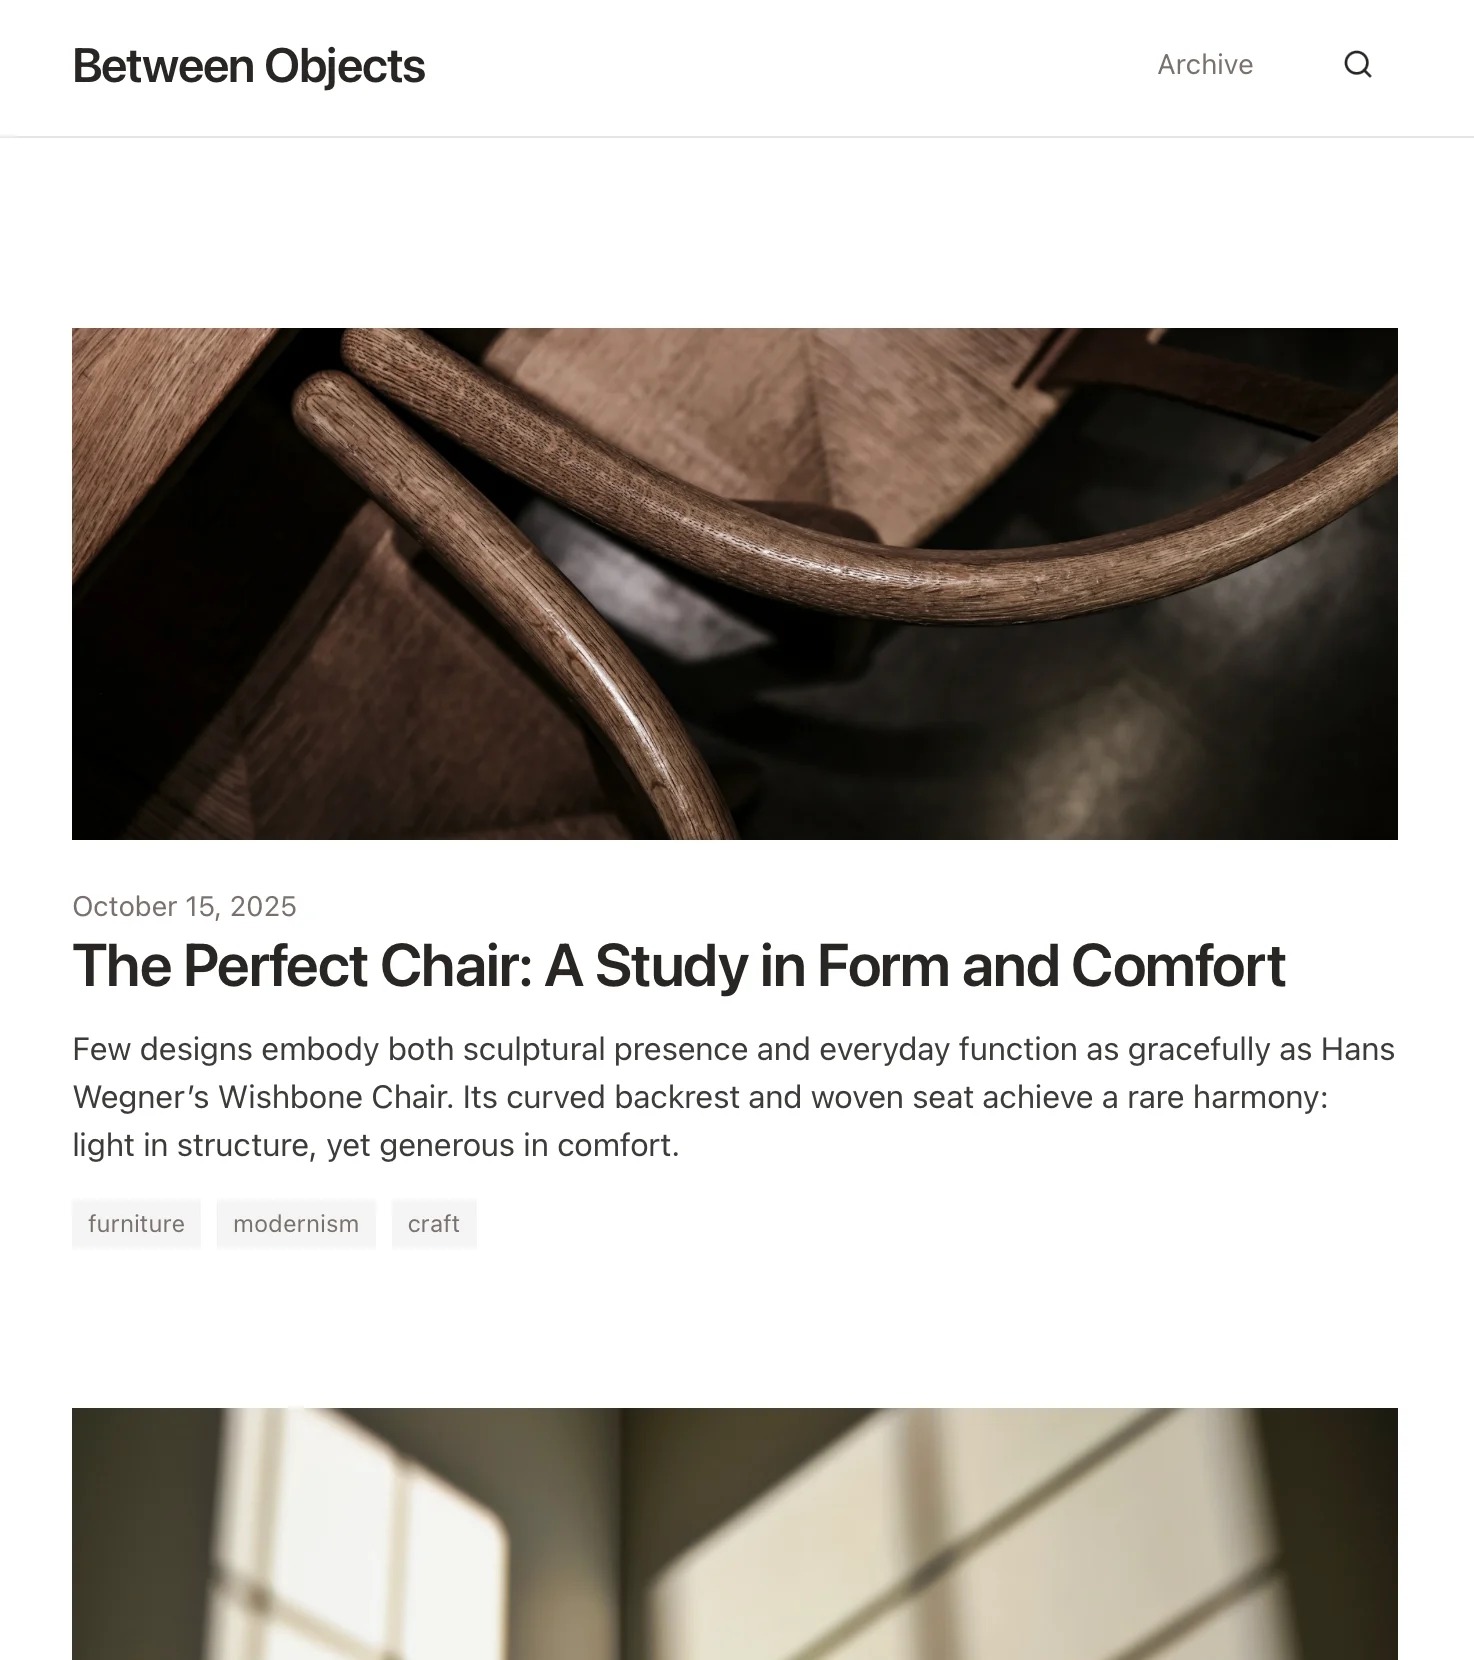
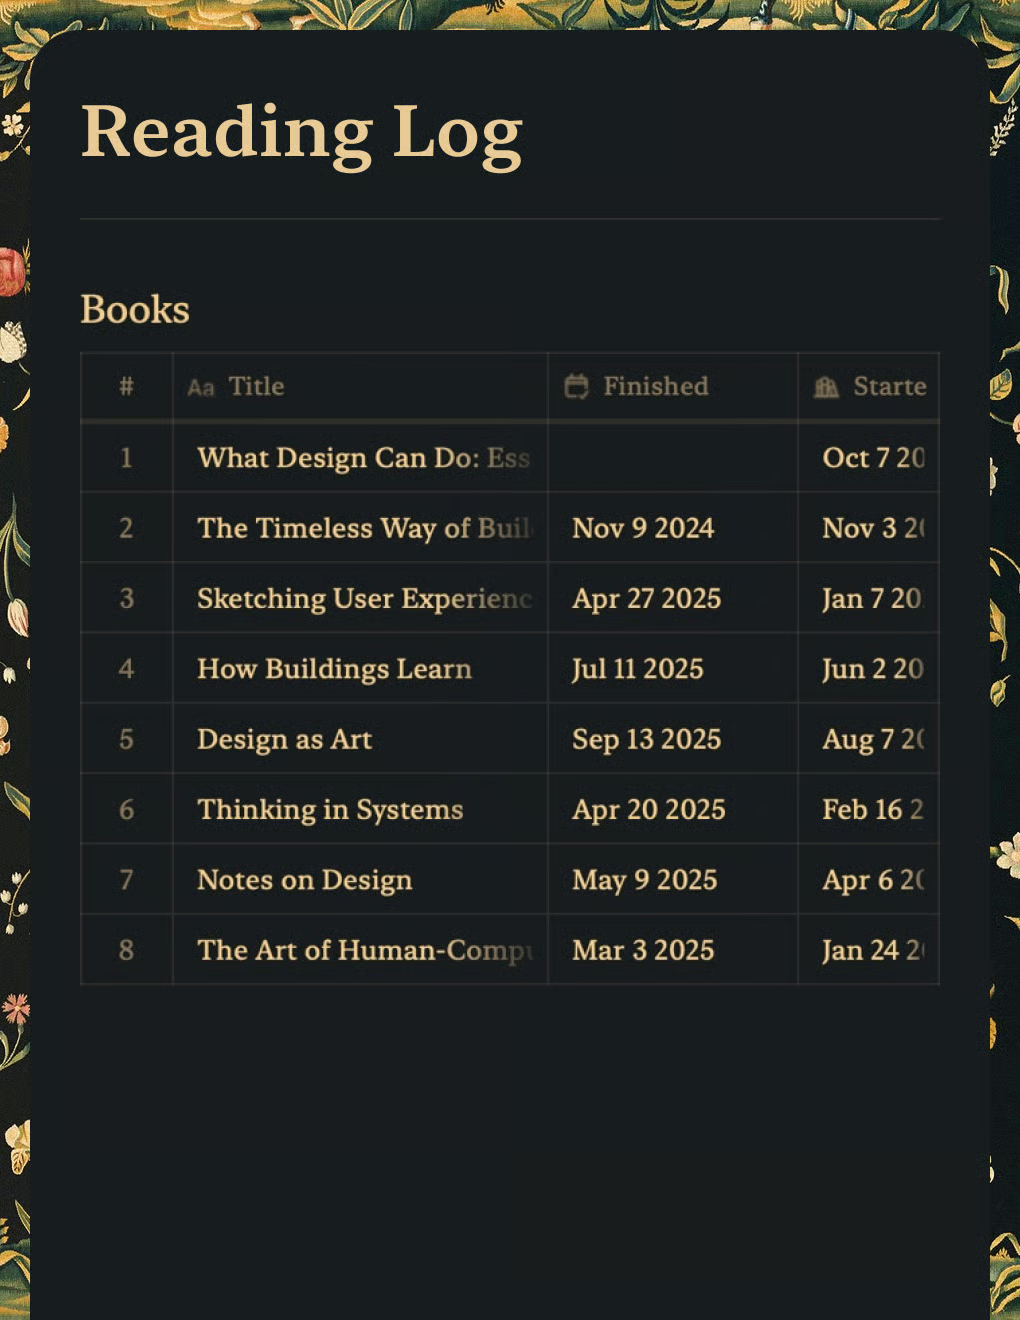
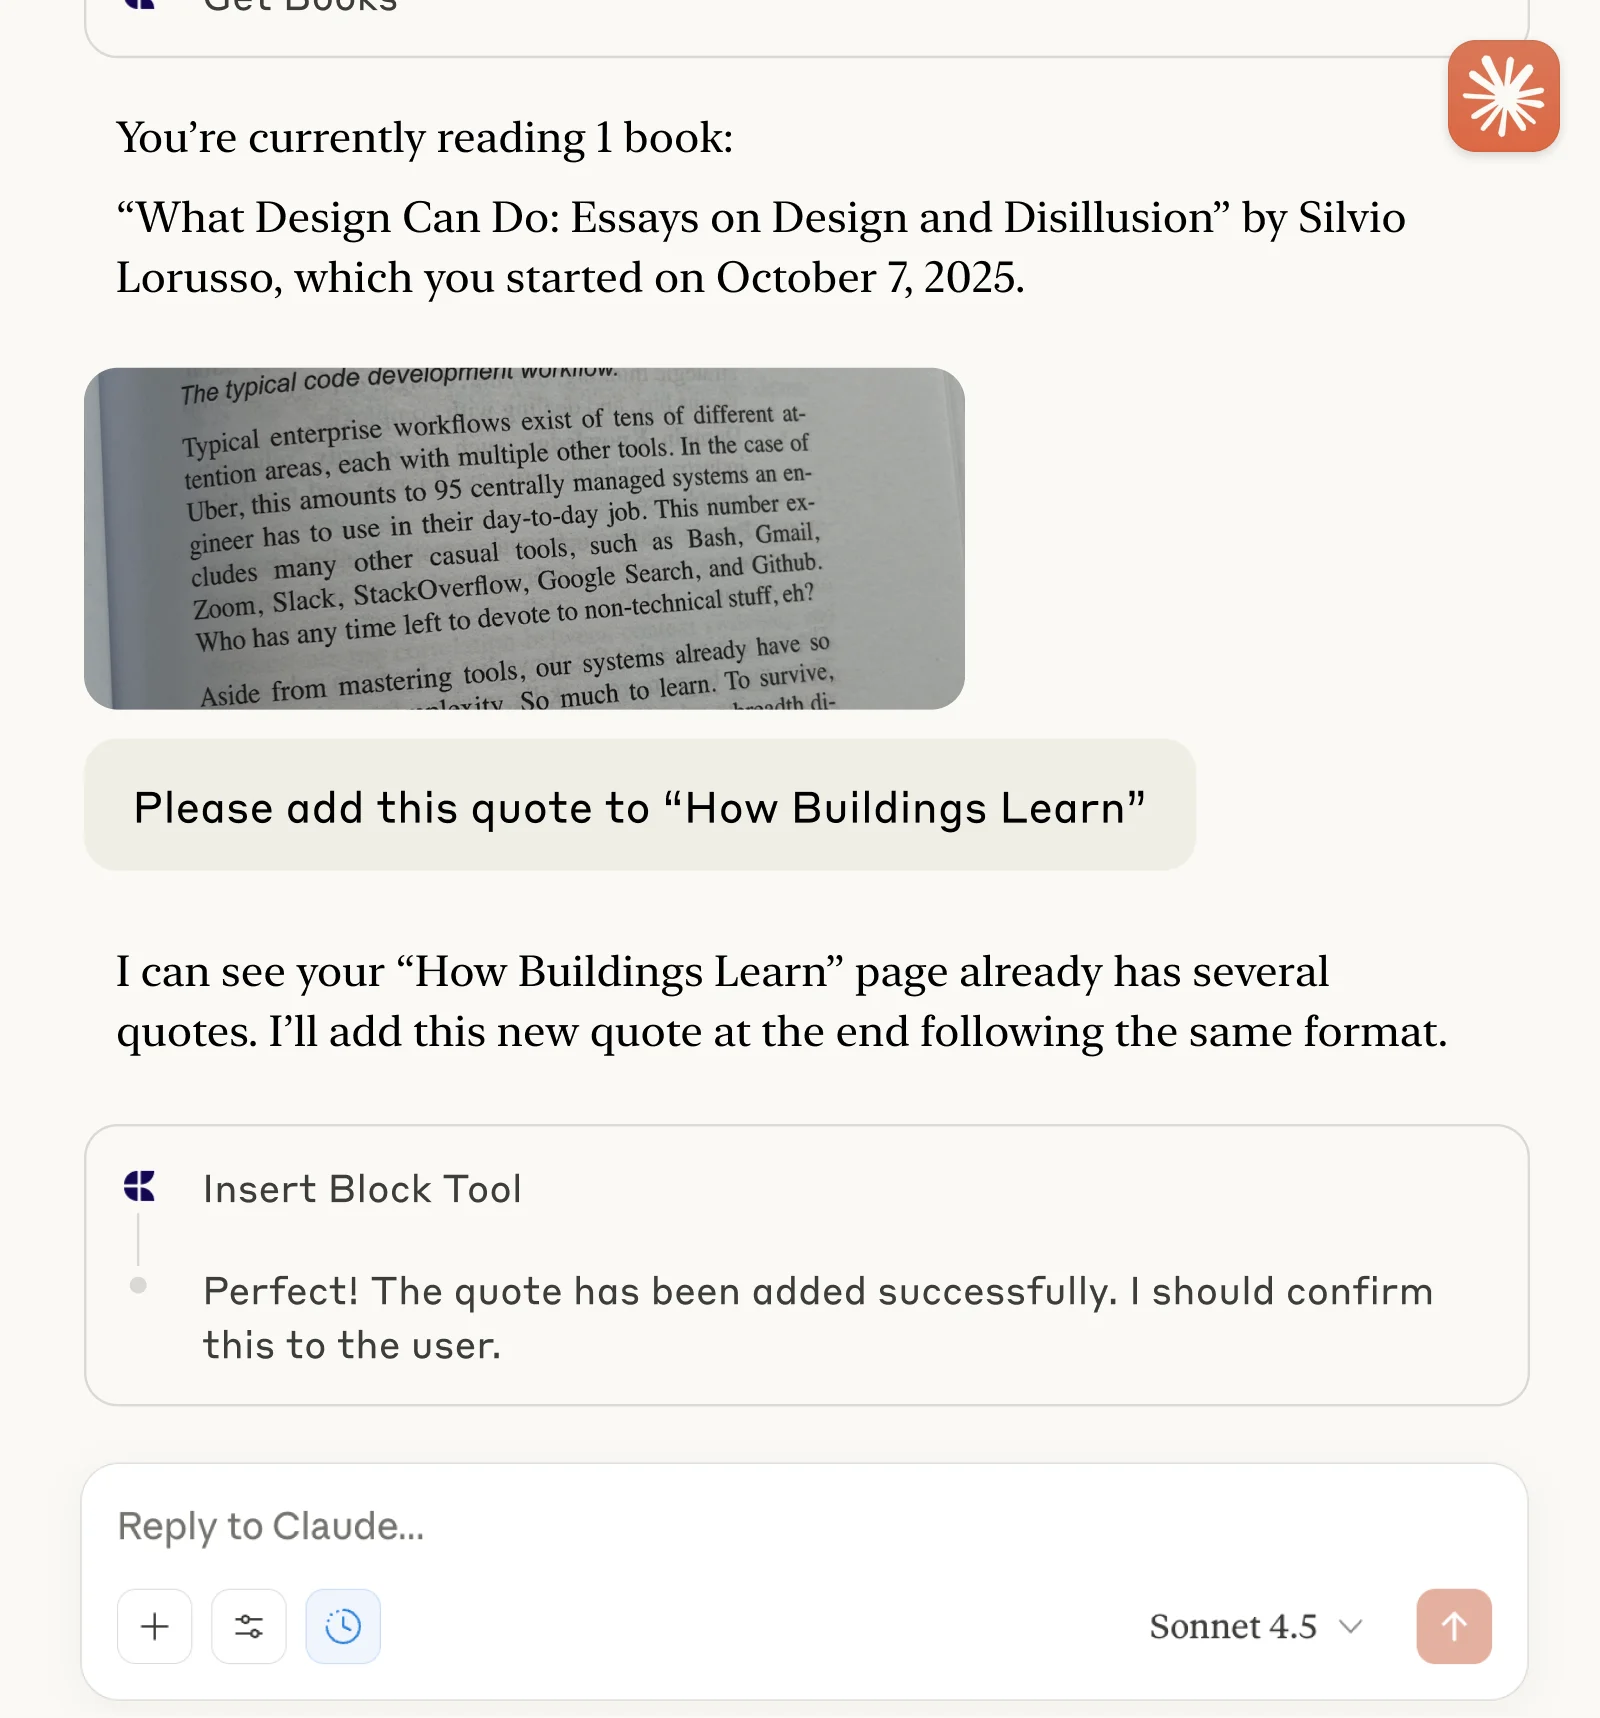
이제 Claude Code에 문서에 대해 질문하고 업데이트할 수도 있습니다. 다음과 같이 시작해 보세요:
예시를 클릭하면 프롬프트가 클립보드에 복사됩니다