라이브 데모
이 실제 예시는 Craft 문서와 Lovable로 만든 블로그가 어떻게 보이는지 보여줍니다:
데모에서는 쓰기 기능이 비활성화되어 있습니다
Craft 와 Lovable(으)로 만든 작품
직접 빌드하기
이 예시에서는 Craft를 사용해 개인 블로그를 관리하고, Lovable을 이용해 게시글, 태그, 검색 기능을 갖춘 아름다운 개인 웹사이트로 탈바꿈시킬 것입니다.
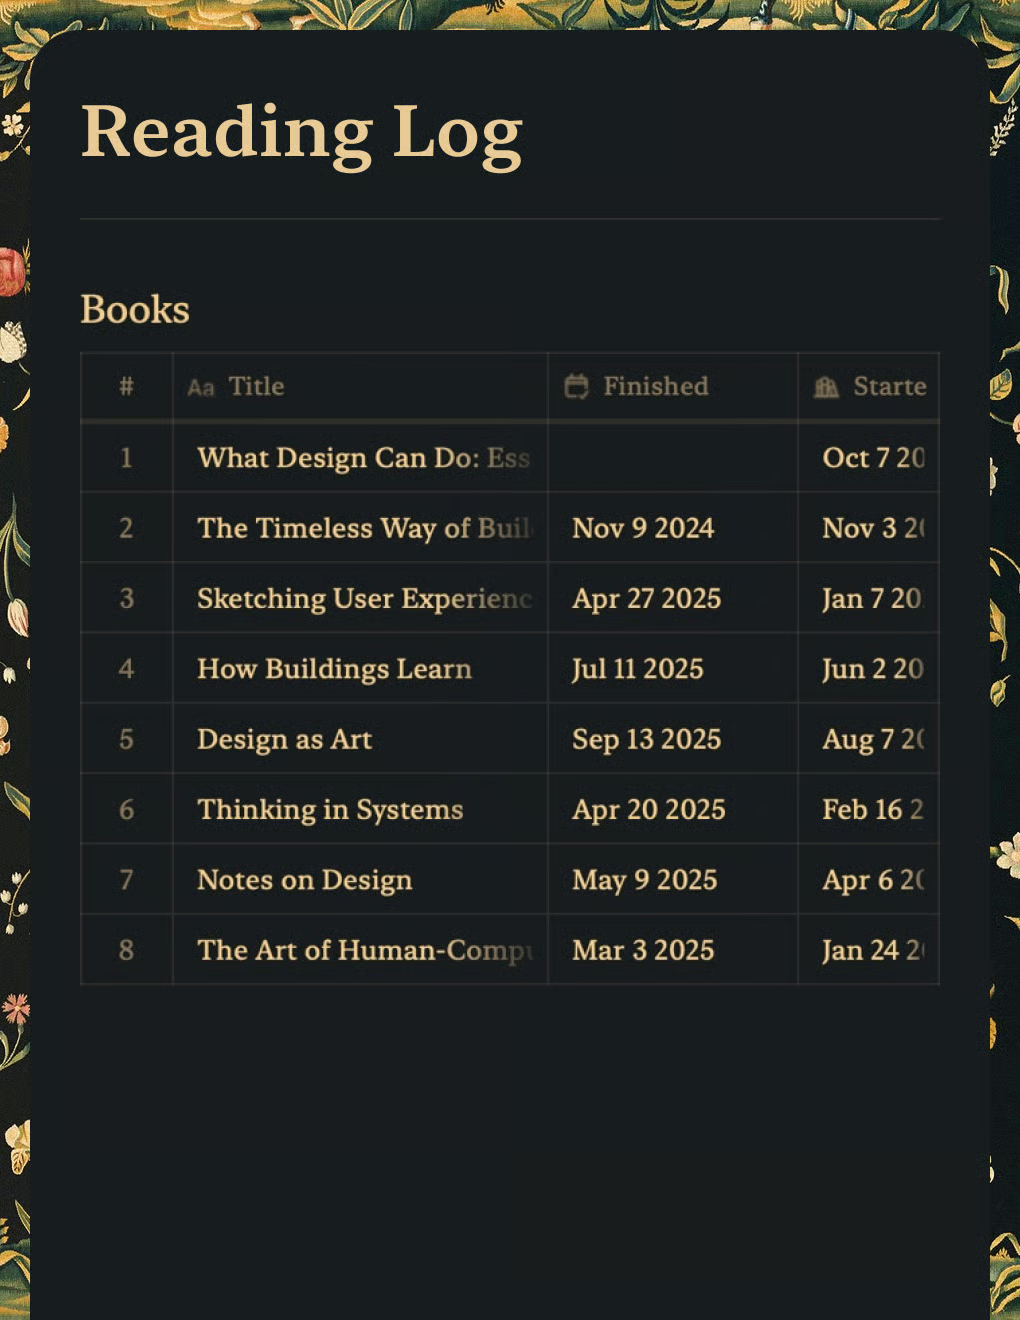
단계 1 — 문서 만들기
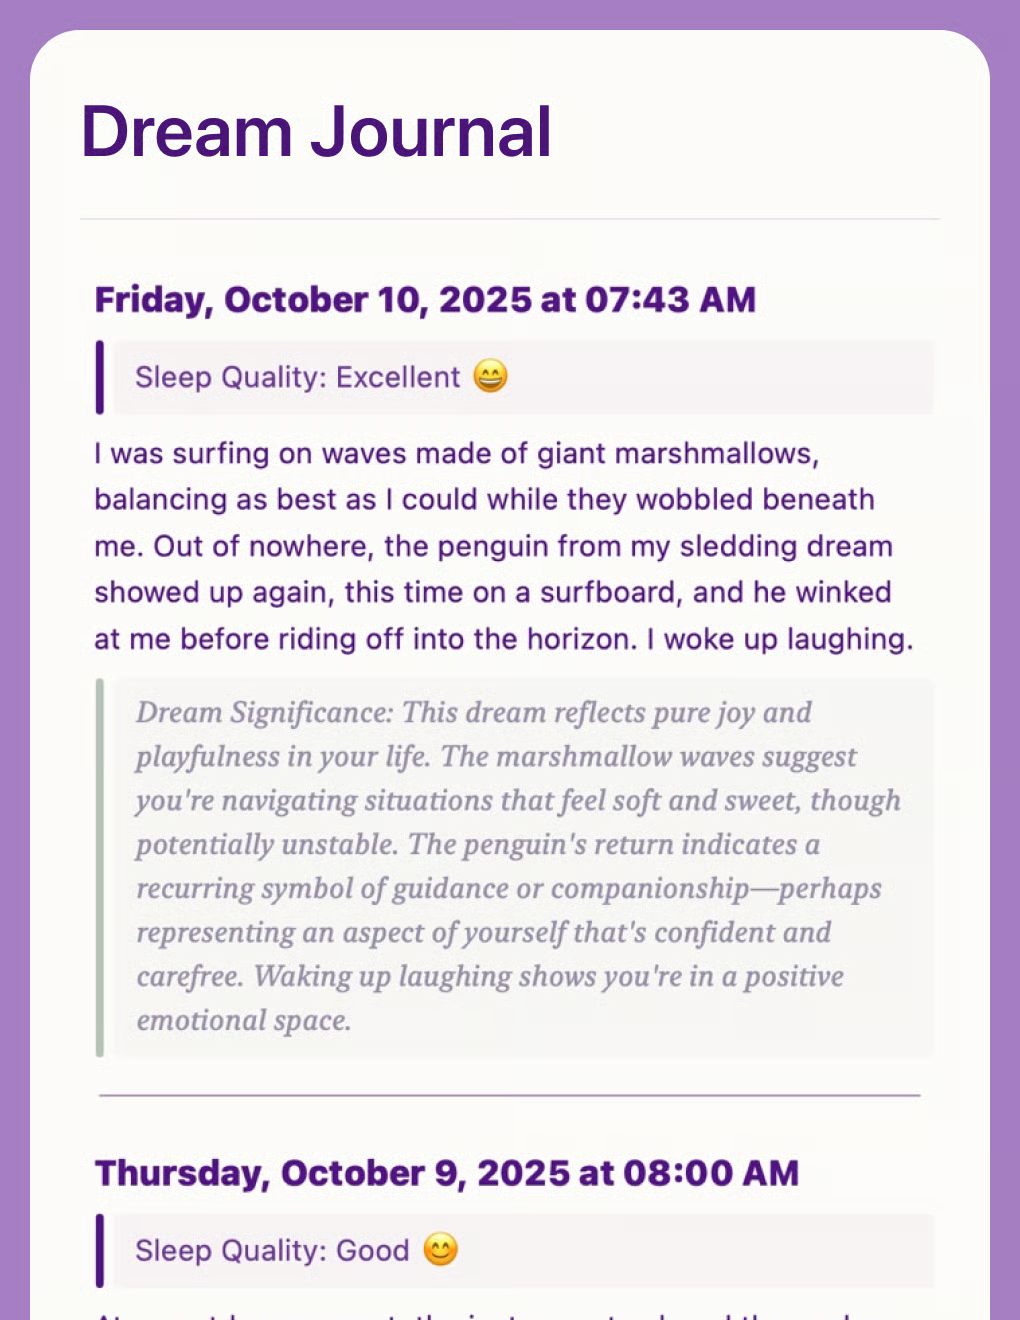
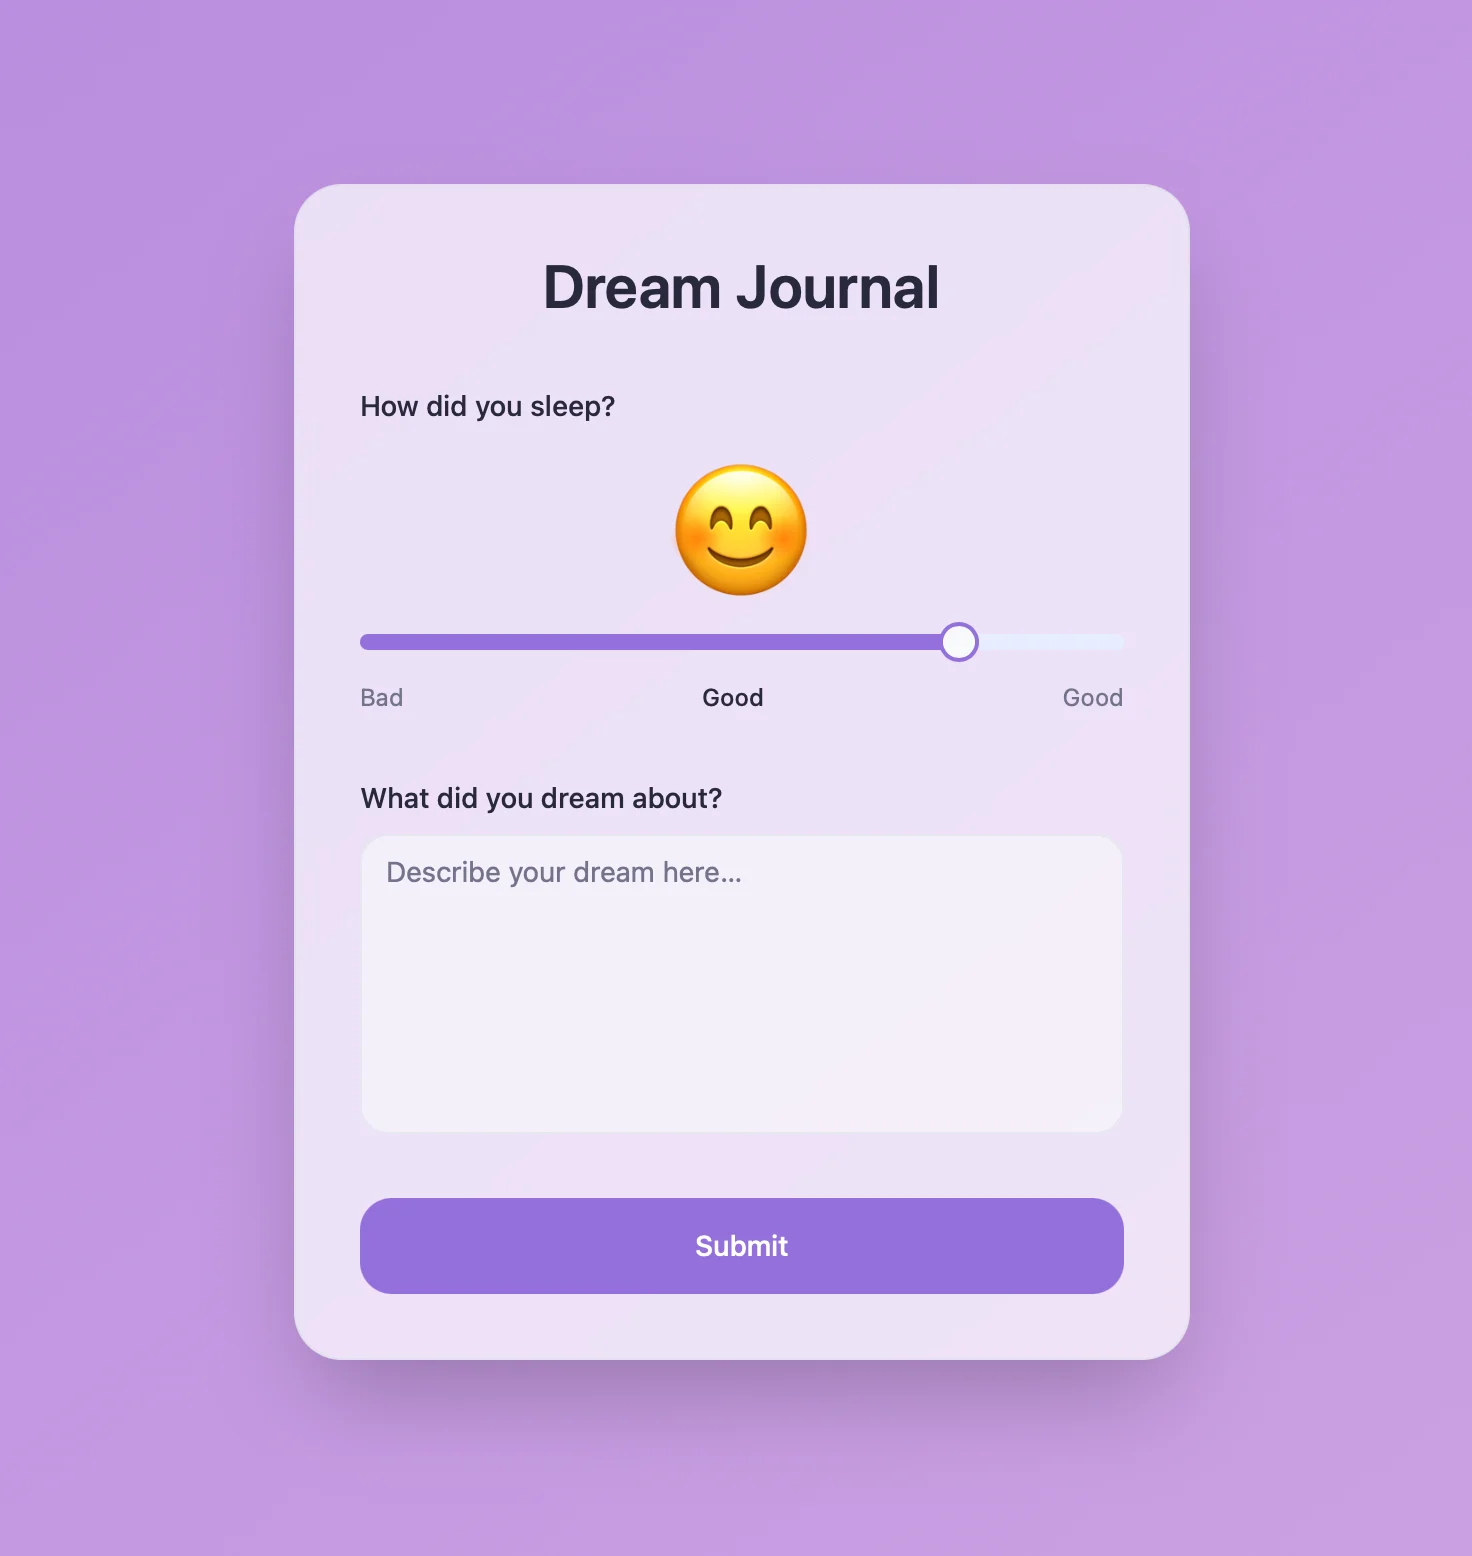
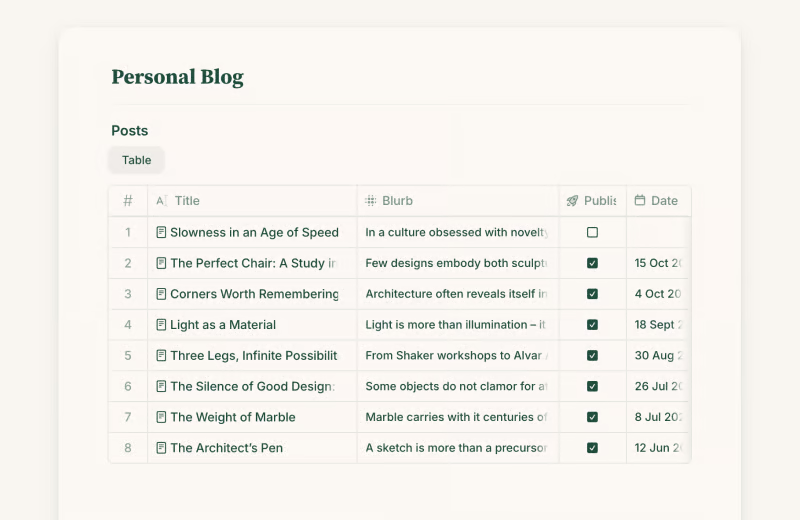
블로그 게시글은 컬렉션에 보관됩니다. 컬렉션 필드를 사용해 태그, 게시 날짜, 발행 상태를 관리합니다. 각 블로그 게시글의 내용은 컬렉션 항목의 내용과 동일합니다 – 이 방식으로 Craft의 강력한 편집기를 활용해 블로그 게시글을 작성하고 다듬을 수 있습니다.
템플릿을 사용해 블로그용 컬렉션이 포함된 새 문서를 만드세요. 예시 게시글도 함께 제공됩니다:
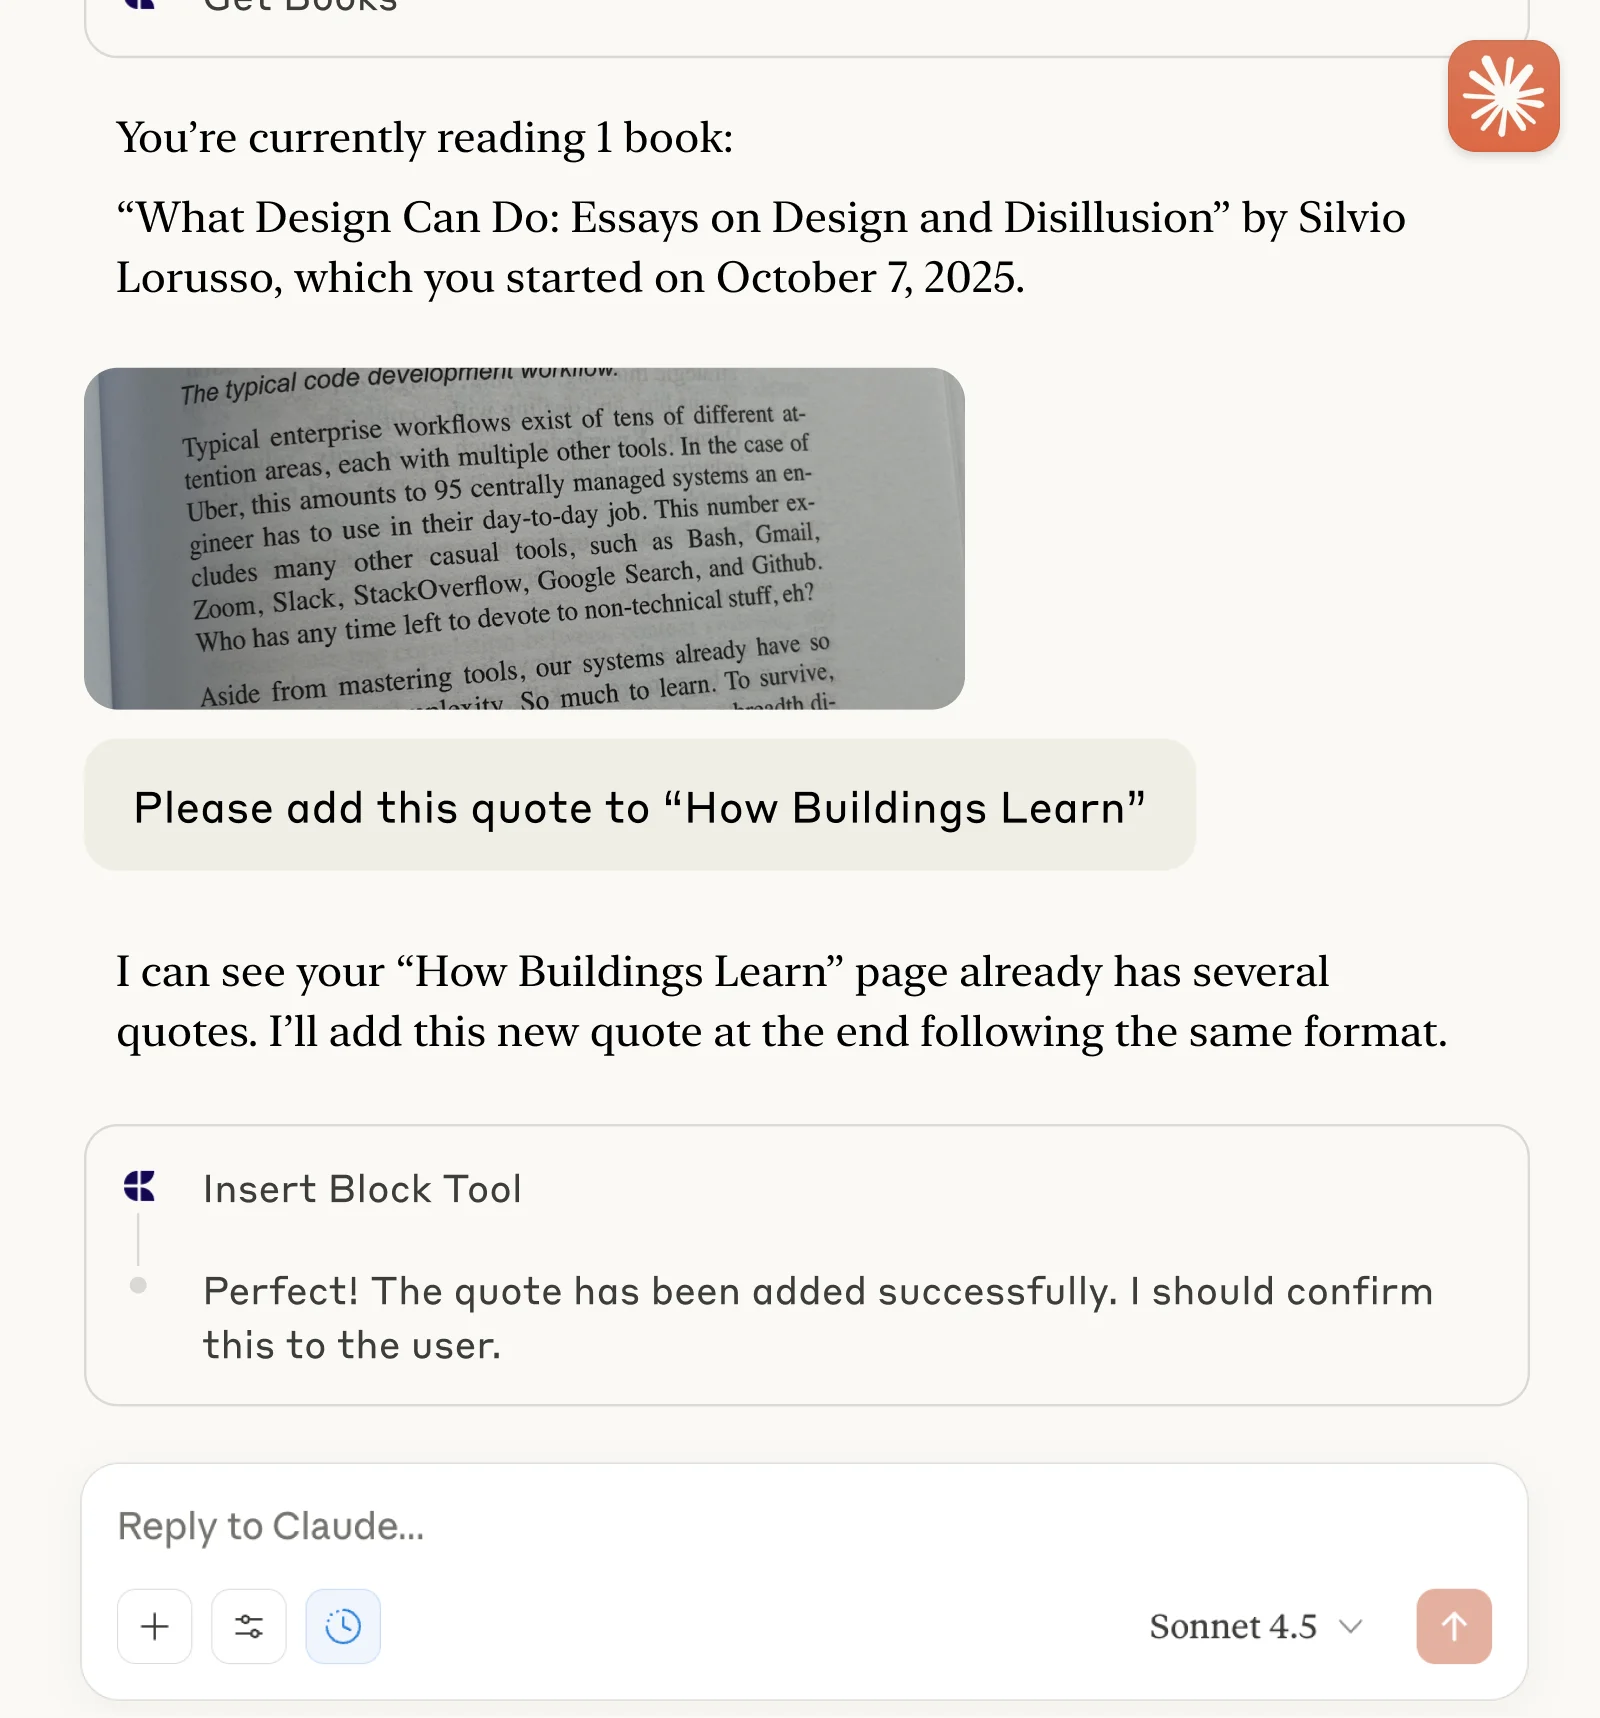
단계 2 — API 접근 활성화
문서에 대한 API 액세스를 활성화하면 문서를 읽거나 내용을 추가하는 데 사용할 수 있는 고유한 URL을 받을 수 있습니다.
단계 1
단계 2
단계 3
단계 4
단계 5
단계 6
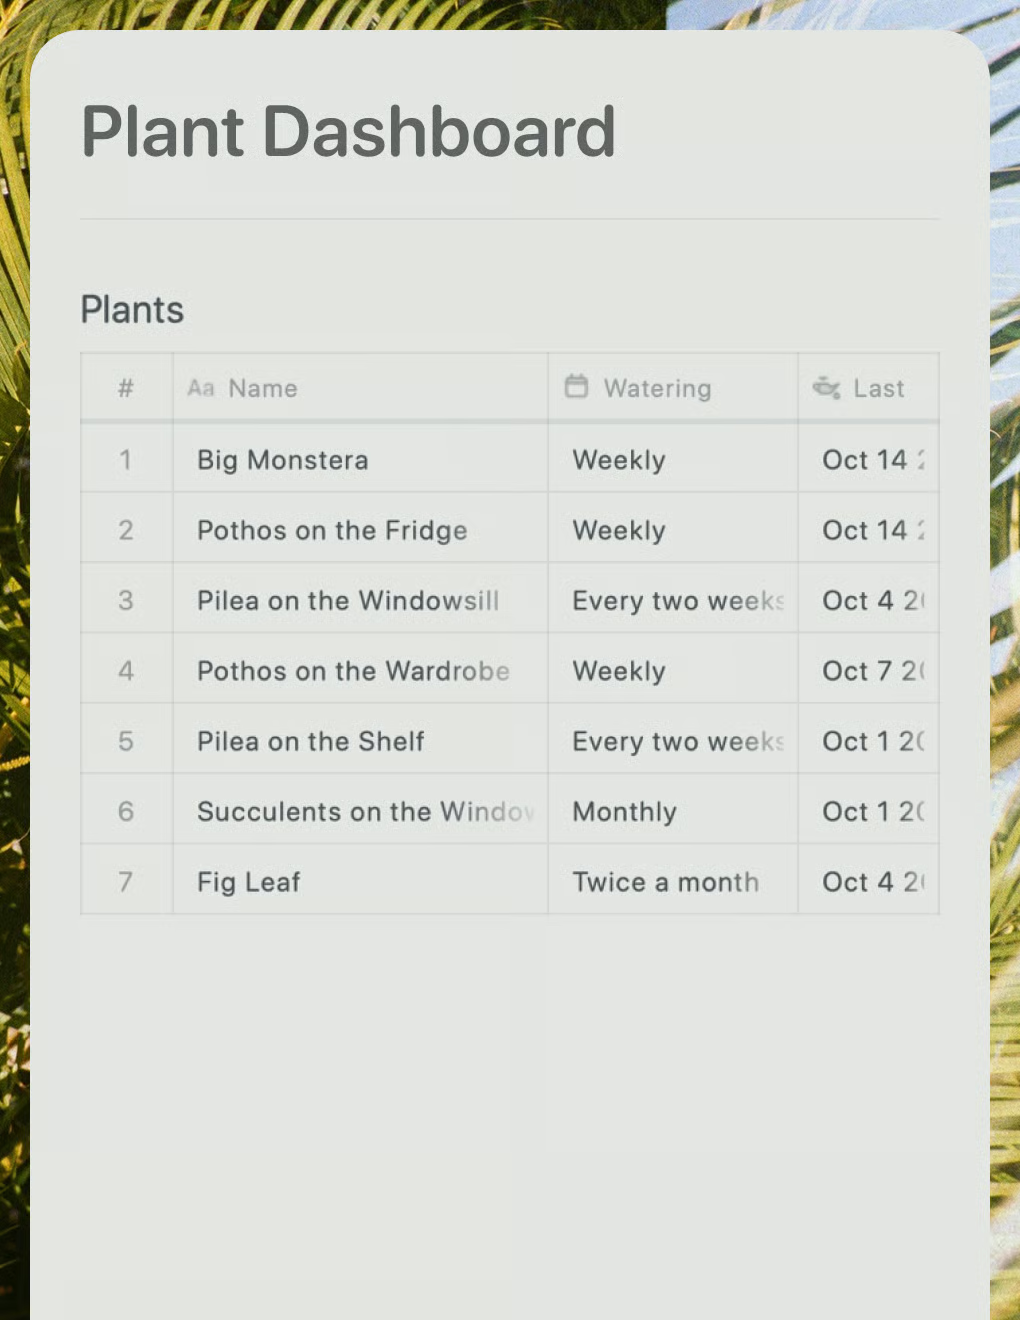
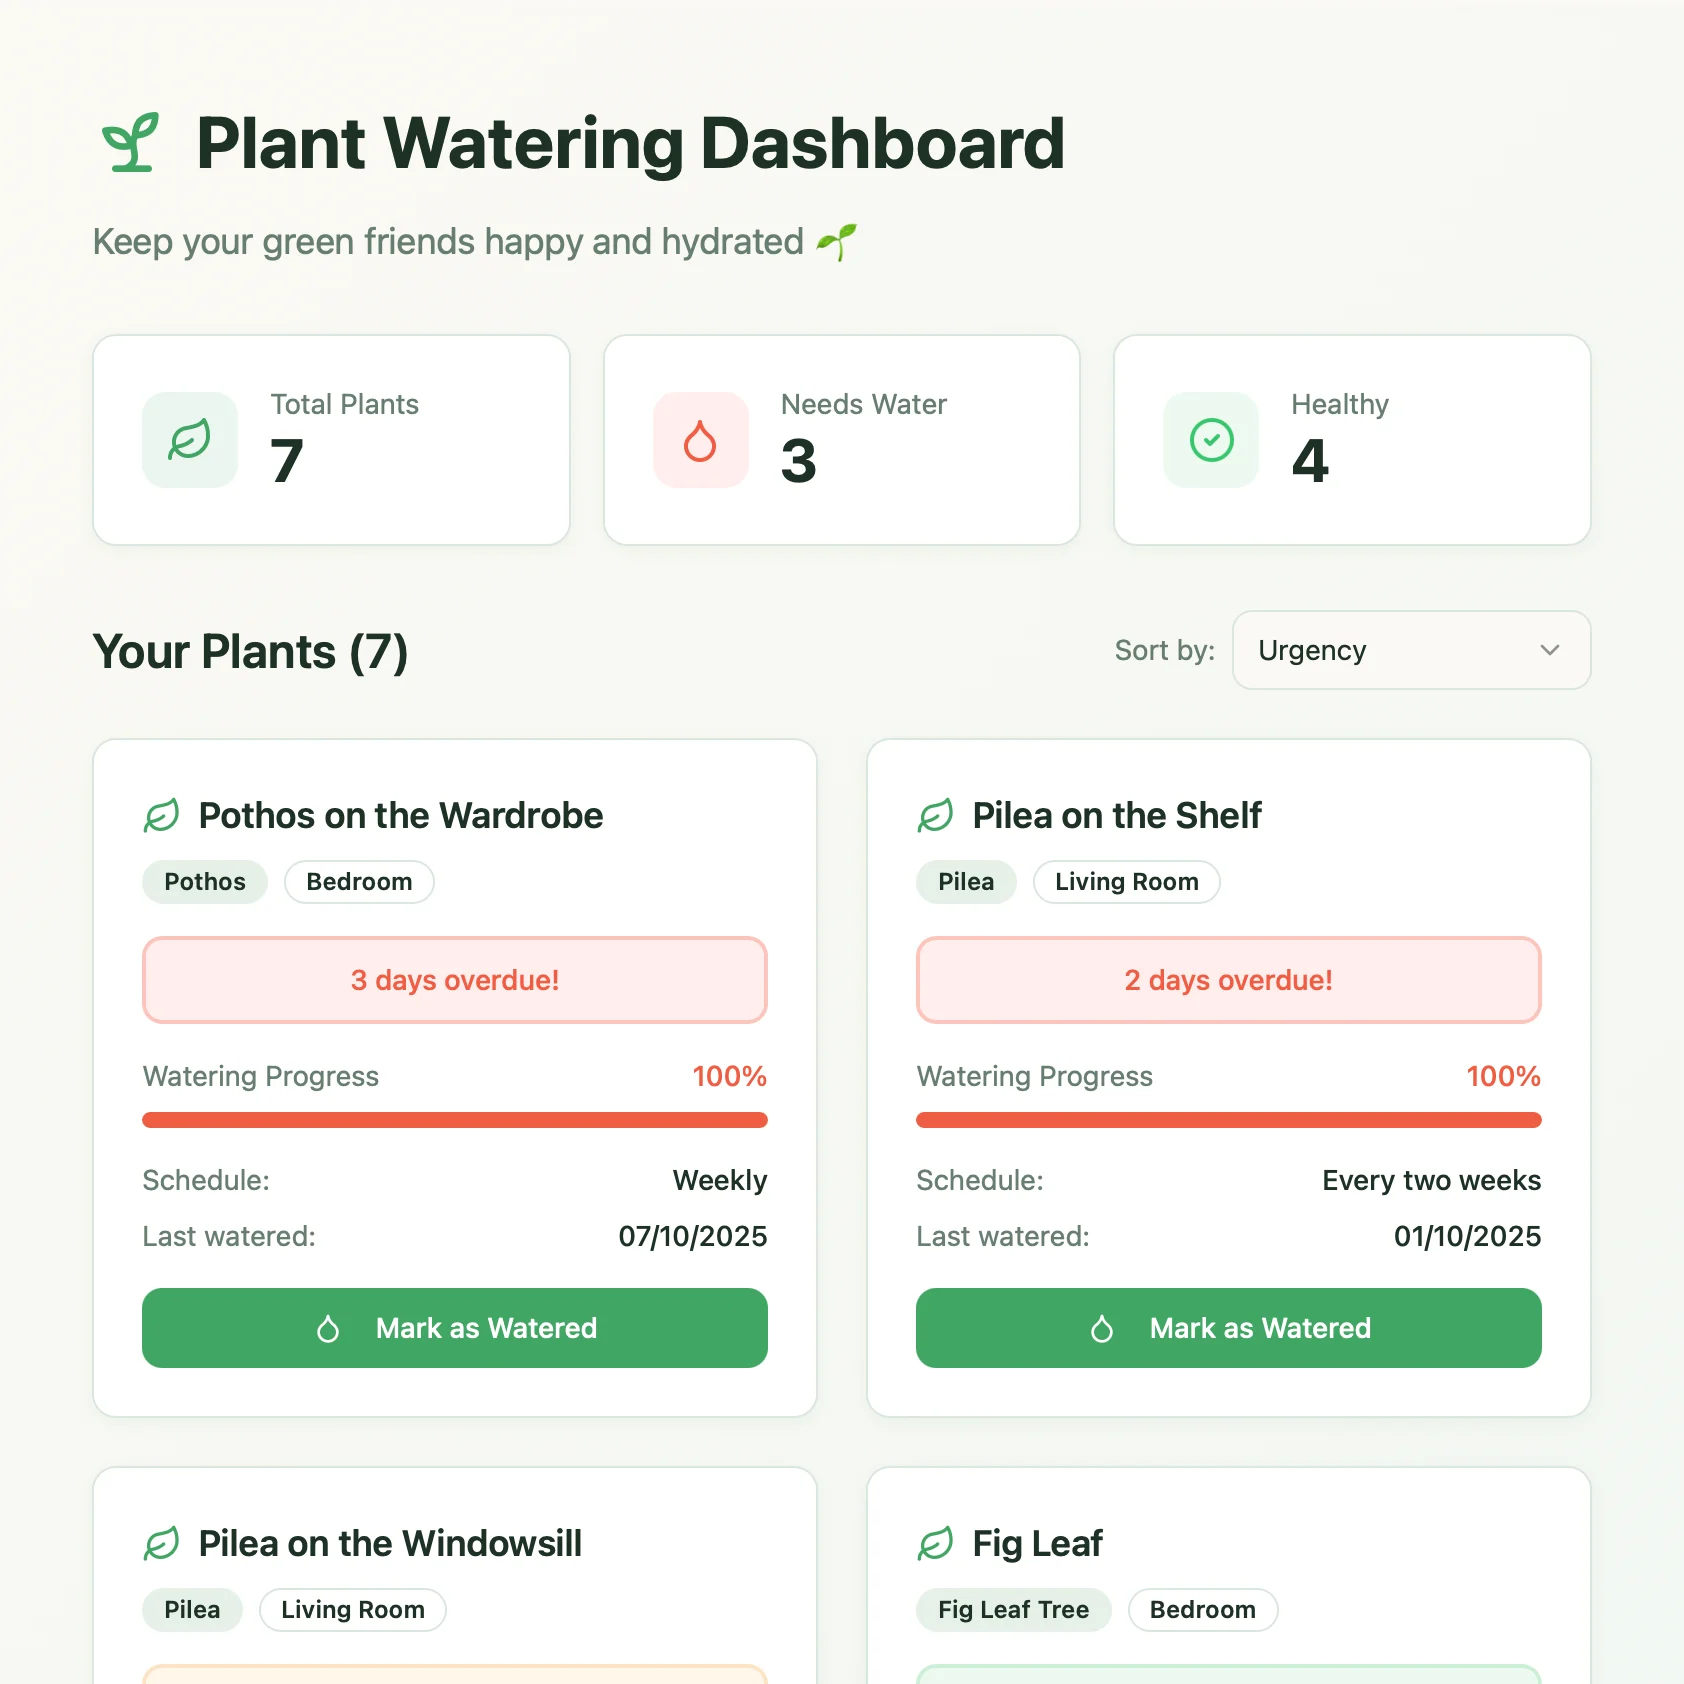
단계 3 — Lovable에서 빌드하기
이제 Lovable에서 블로그용 실제 웹사이트를 만들어 보겠습니다. 위에 표시된 예시 사이트에는 다음 프롬프트를 사용했습니다:
개인 블로그를 만들어 주세요.
정보는 Craft에 저장되어 있습니다. 첨부된 파일에 현재 블로그 Craft 문서의 예시와 함께 이 문서와 블로그 게시글을 가져오는 데 사용할 API 정보가 포함되어 있습니다. API 문서를 꼼꼼히 읽고 안내에 따라 주세요.
다음 기능이 포함되어야 합니다:
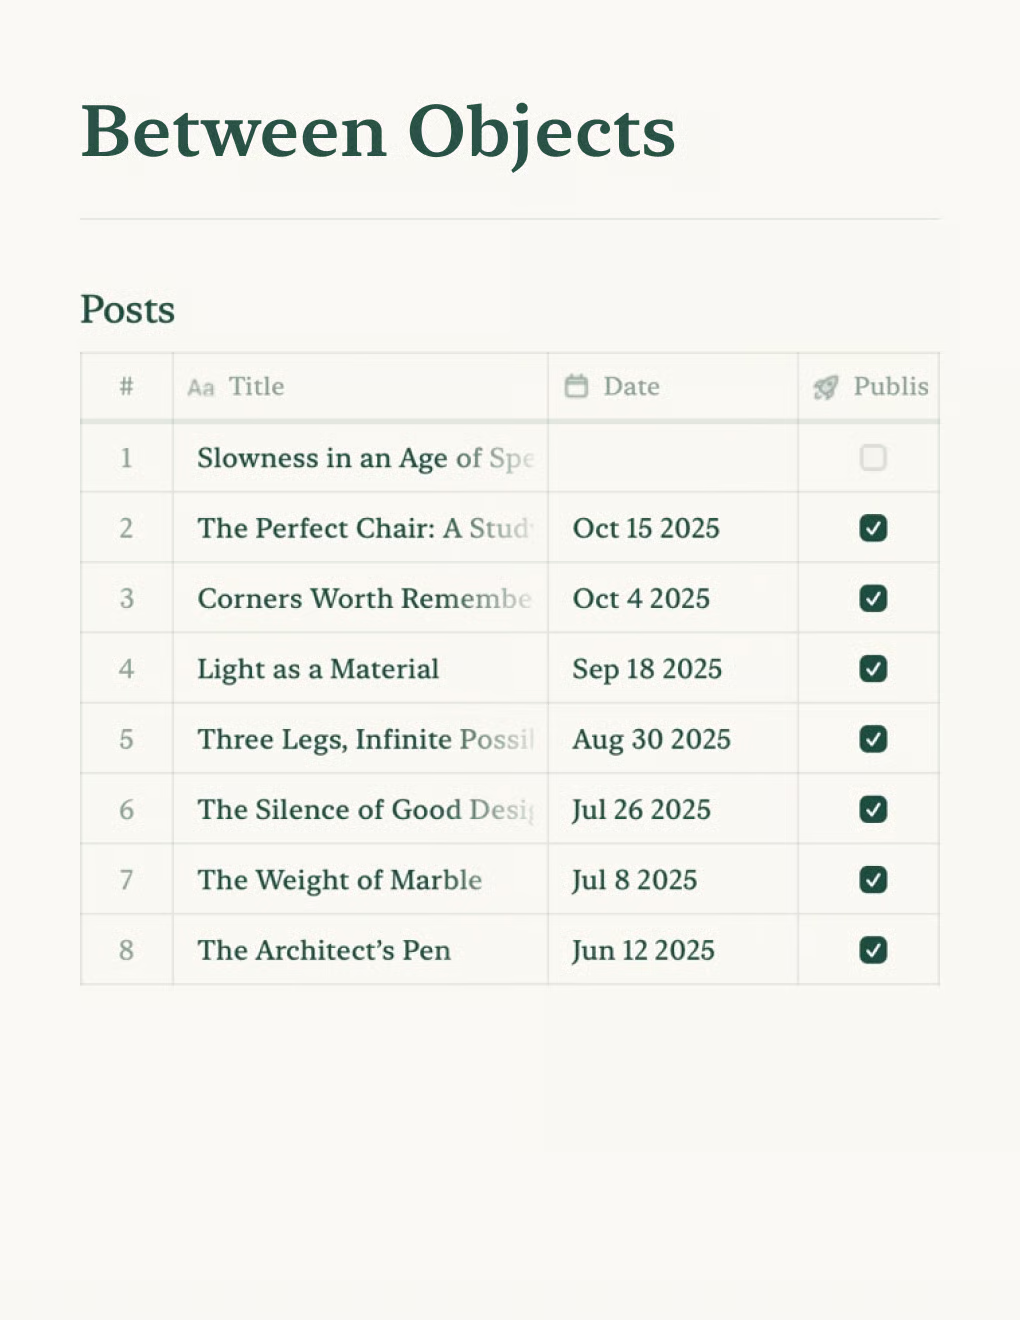
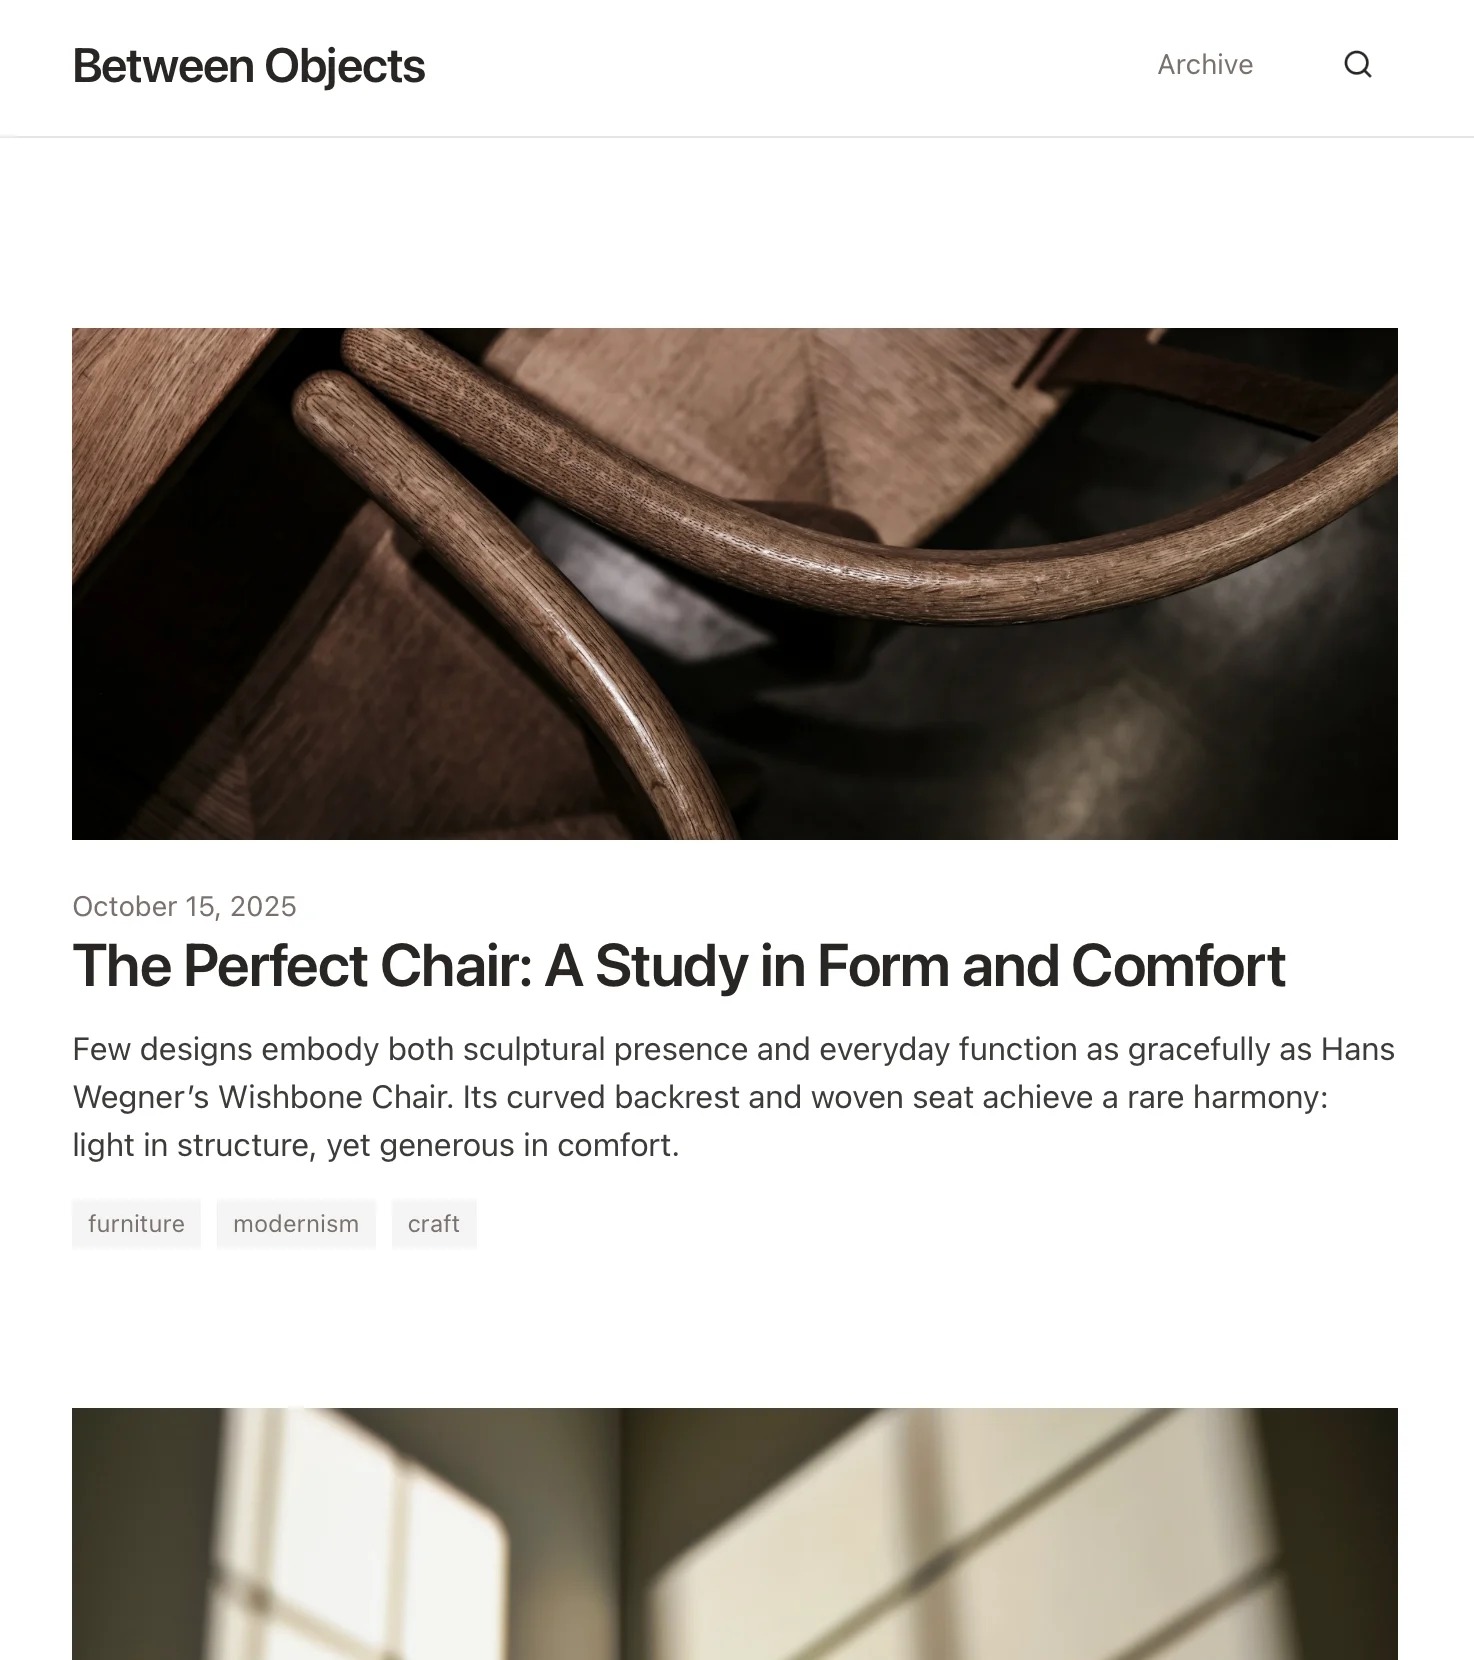
- 최근 3개 게시글의 날짜와 요약이 표시되는 랜딩 페이지, 그리고 아카이브로 연결되는 링크
- 모든 게시된 글과 날짜를 표로 나열하는 아카이브 페이지
- 각 게시글 페이지 하단에 이전/다음 내비게이션
- 특정 태그가 있는 모든 블록을 보여주는 페이지
- 검색 기능도 포함되어야 합니다
각 게시글에는 published 속성이 있습니다. true로 설정된 게시글만 표시하세요.
세심하고 현대적인 디자인으로, 훌륭한 타이포그래피와 넉넉한 여백을 갖추길 원합니다. 세련되면서도 격식에 치우치지 않는 느낌이어야 합니다.
Lovable로 이동해 프롬프트 입력란에 프롬프트를 붙여넣으세요. 방금 다운로드한 문서의 AI 번들을 꼭 첨부하세요.
Lovable이 번들의 내용을 분석해 문서 구조와 API 사용 방법을 파악한 후, 프롬프트에 따라 웹사이트를 구축하기 시작합니다.
이제 게시글을 표시하고 검색과 태그를 지원하는 아름다운 블로그가 완성되었습니다!