Imagine With Craft

MCP로 Craft를 Visual Studio Code에 연결하는 방법
문서에 MCP 서버를 활성화하면 Visual Studio Code이 여러분의 콘텐츠와 직접 상호작용할 수 있습니다. 이 가이드는 MCP를 이용해 Craft와 Visual Studio Code을 연결하는 방법을 단계별로 안내합니다.
문서용 MCP 활성화
먼저 MCP를 활성화해 데일리 노트용 MCP 서버가 만들어질 수 있게 설정해야 합니다. 그 후 Visual Studio Code에서 해당 MCP URL을 사용해 서버에 연결하세요.
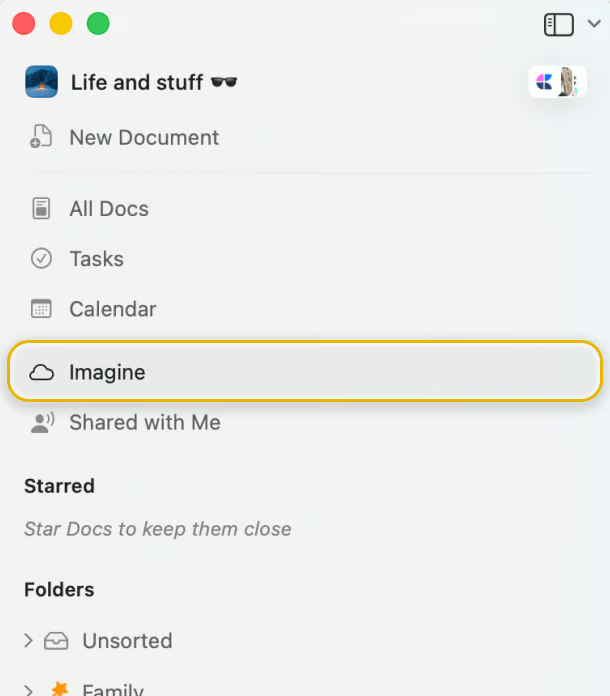
Step 1
"상상해보기" 탭을 열어보세요
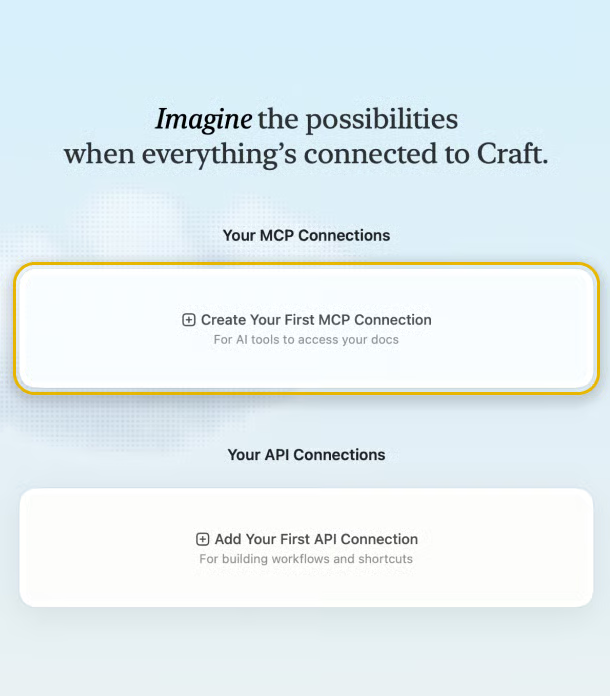
Step 2
"첫 번째 MCP 생성"을 클릭하세요
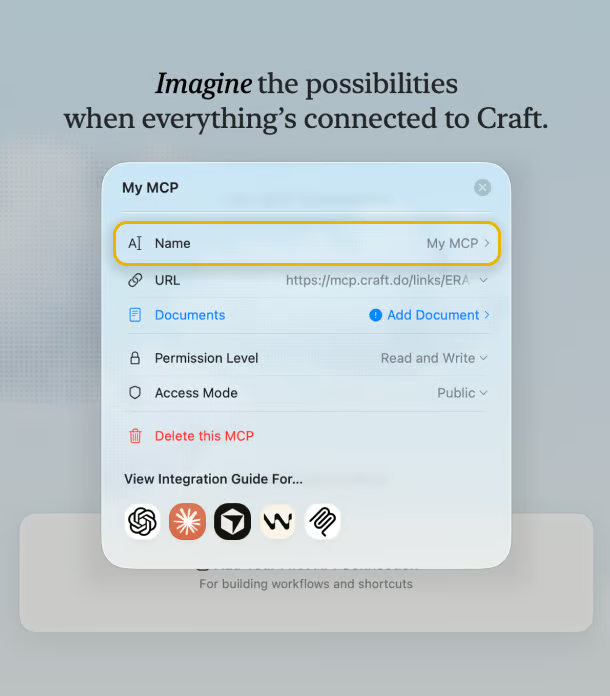
Step 3
MCP 연결에 이름을 설정하세요.
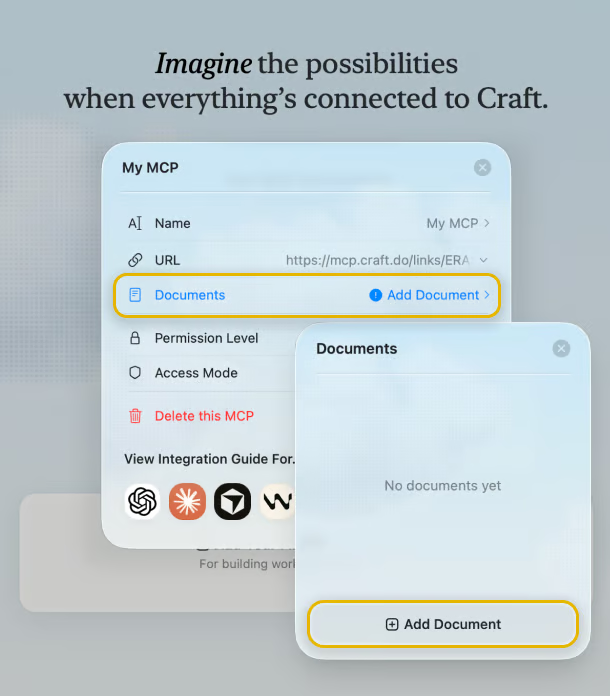
Step 4
"문서 추가"를 클릭해 이 MCP를 연결할 문서를 선택하세요.
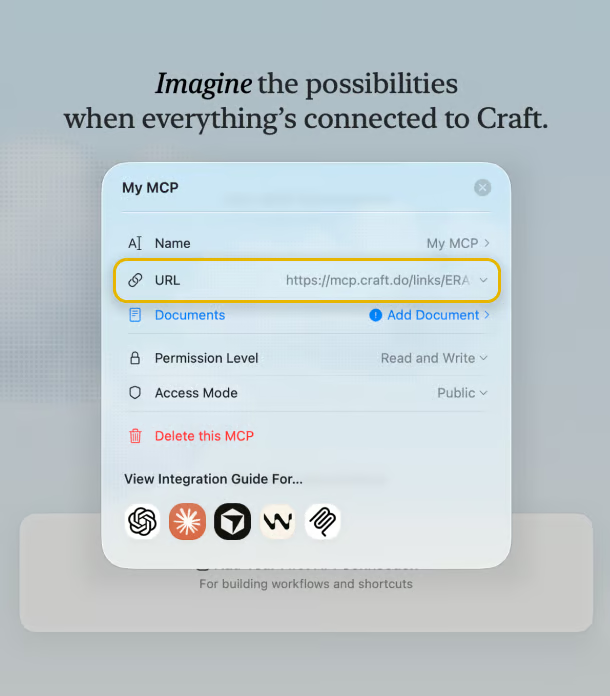
Step 5
문서와 연결되는 MCP URL이 이제 상단에 표시됩니다.
Adding an MCP Connector in Visual Studio Code
Create a new connector in Visual Studio Code and use the MCP URL from Craft to connect the two services.

Step 1
Visual Studio Code 명령 팔레트에
>mcp를 입력해 MCP 설정으로 이동한 뒤, "MCP: Open User Configuration"을 선택하세요.Step 2
아래 MCP 구성을 복사해 Visual Studio Code의 MCP 구성 파일에 붙여넣으세요. 그리고
craft를 MCP 서버 이름으로 변경해주세요.<MCP_URL> 부분을 Craft에서 받은 MCP URL로 변경하세요.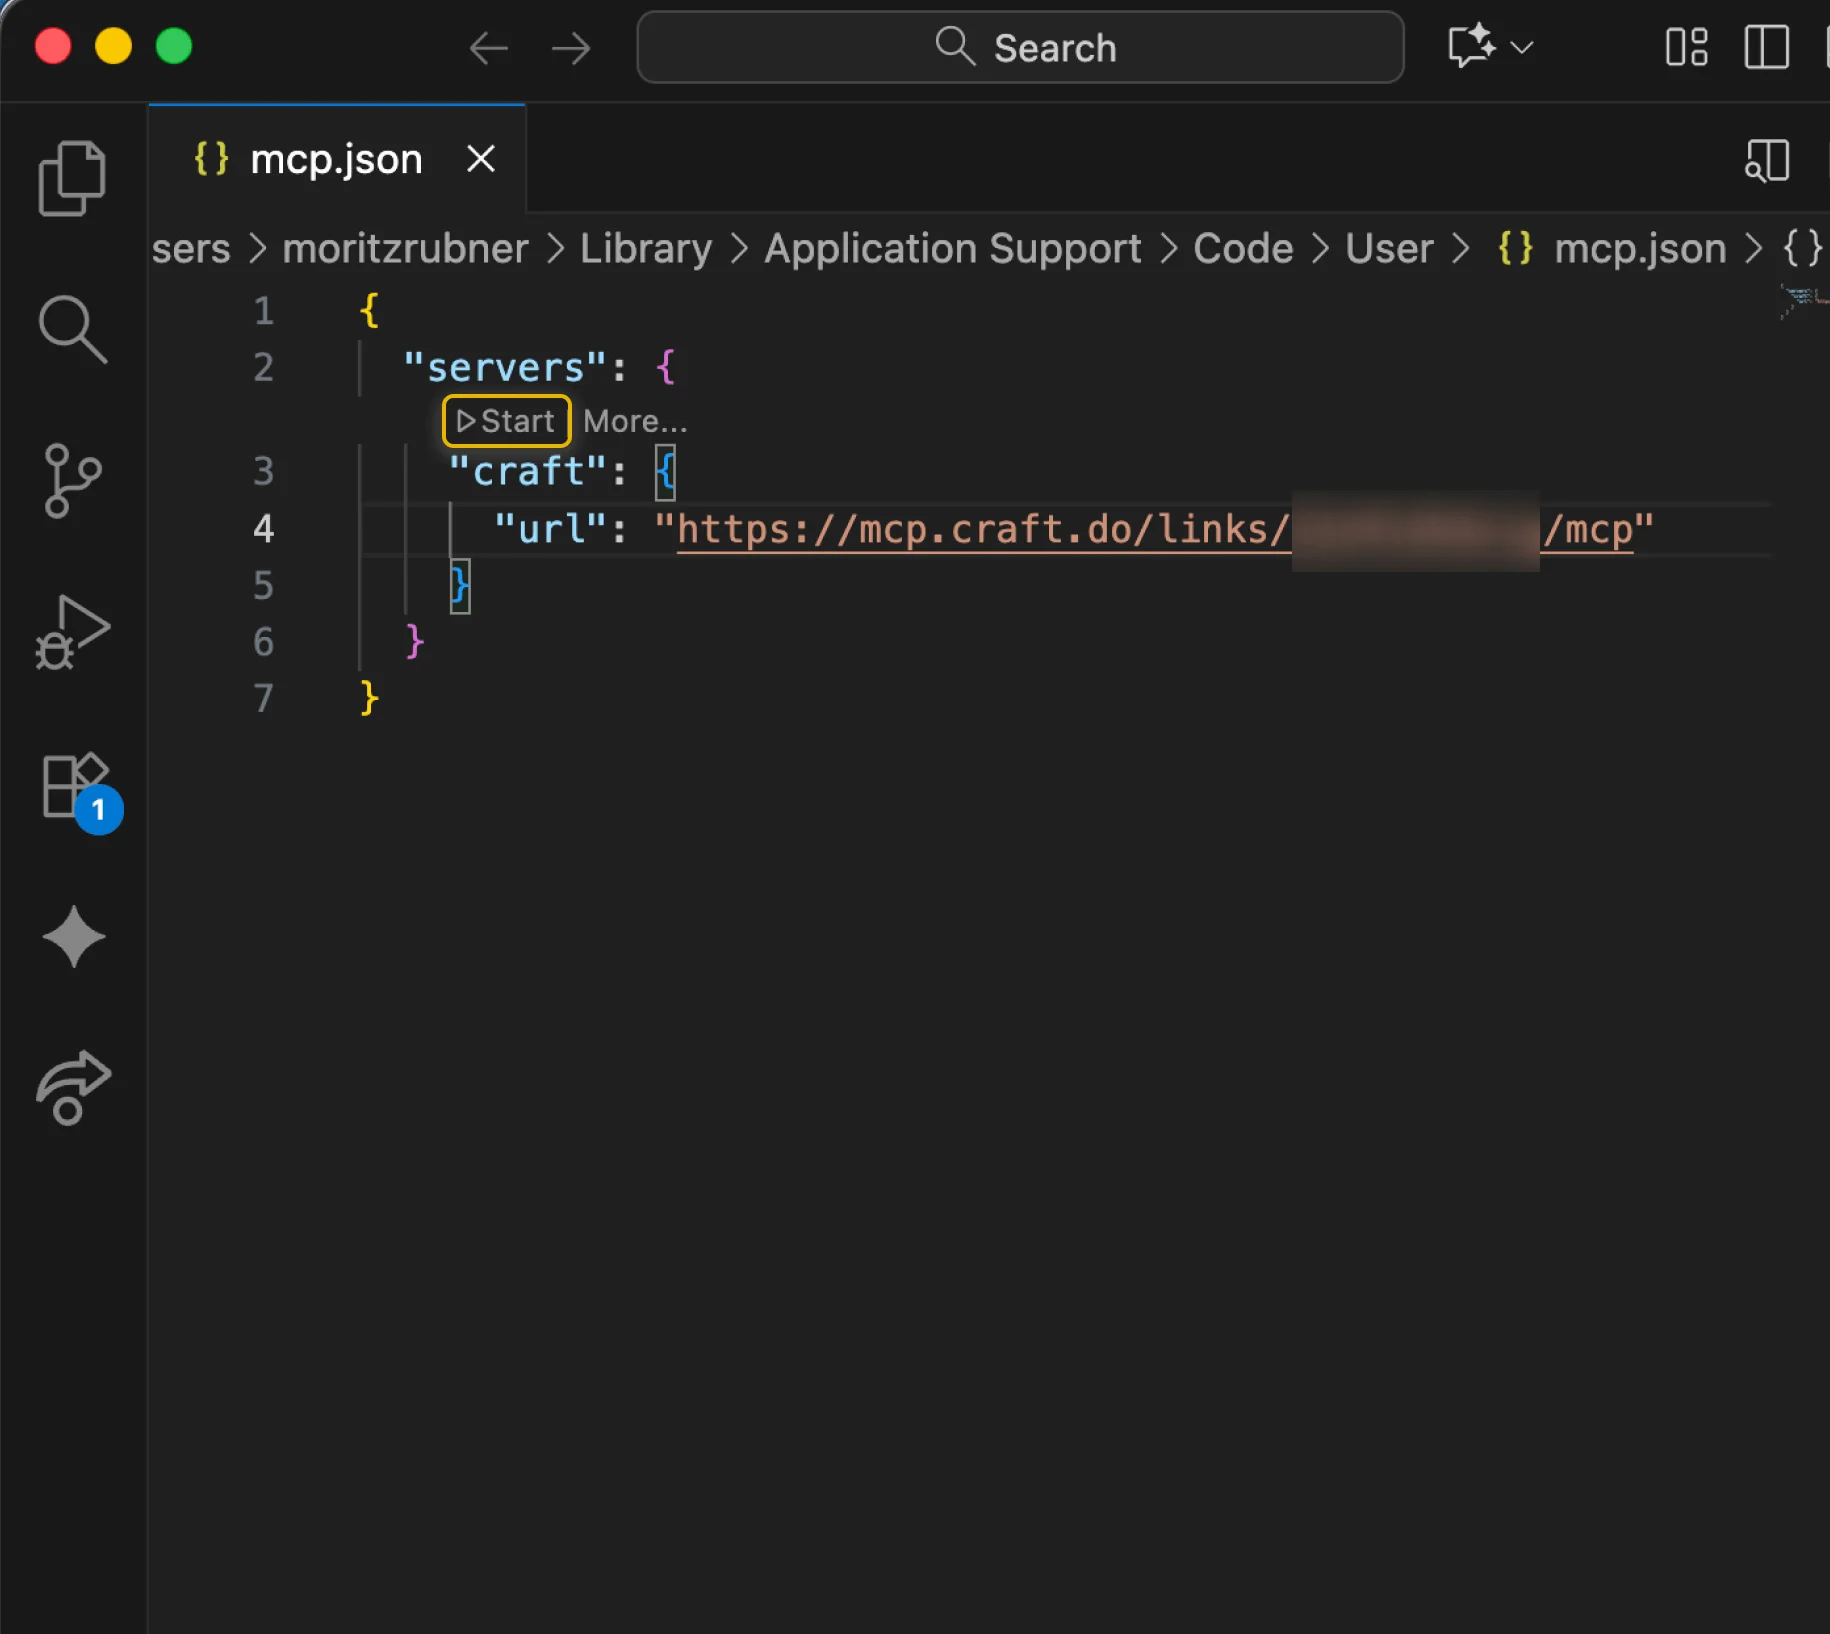
Step 3
MCP 구성 파일을 저장하세요. 아래 예시처럼 보이면 됩니다. 그런 다음 "Start" 버튼을 눌러 MCP 서버를 실행하세요.
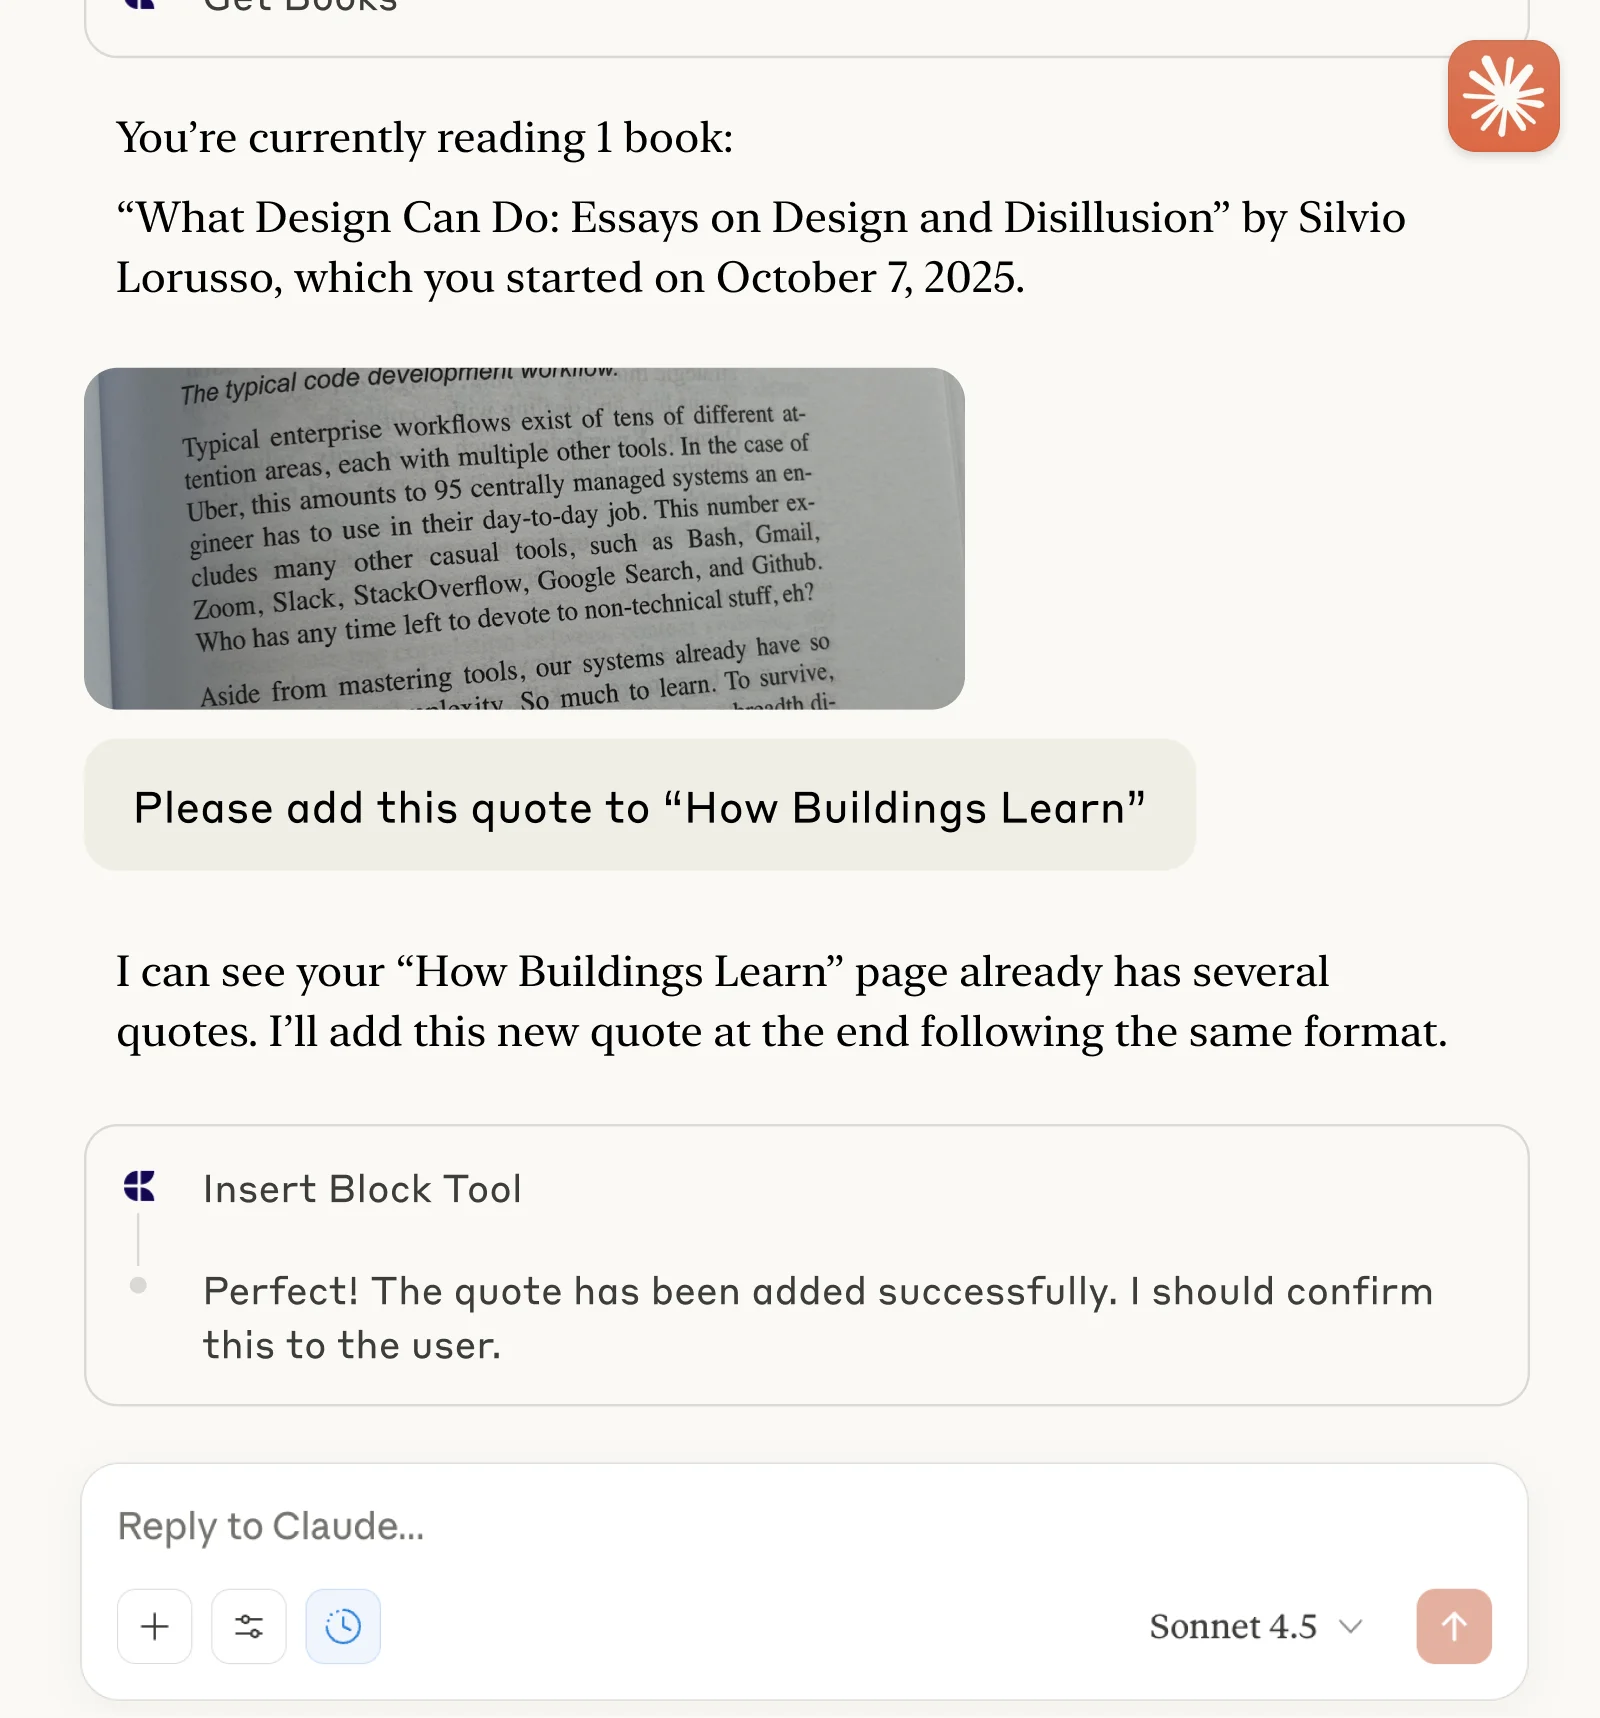
You can now ask Visual Studio Code about your documents, and even have them updated. Try something like this to get started:
Click an example to copy the prompt to your clipboard
