Imagine cùng Craft

Cách kết nối Craft với Raycast qua MCP
Hướng dẫn từng bước để kết nối tài liệu Craft với Raycast qua MCP. Đọc, tìm kiếm và cập nhật ghi chú của bạn trực tiếp từ Raycast.
Thêm trình kết nối MCP trong Raycast
Tạo một trình kết nối mới trong Raycast và sử dụng URL MCP để kết nối hai dịch vụ.
Raycast hiện chưa hỗ trợ các máy chủ MCP được bảo vệ bằng mật khẩu. Hãy tắt tính năng bảo vệ bằng mật khẩu cho máy chủ MCP của bạn để sử dụng nó trong Raycast.
Bước 1
Đi đến Cài đặt MCP của Raycast bằng cách tìm kiếm “MCP”, “cài đặt MCP” hoặc các từ khóa tương tự, rồi chọn “Install Server – MCP”
Sao chép URL này và dán vào ô URL:
https://mcp.craft.do/my/mcpBước 2
Chọn tên cho máy chủ MCP của bạn và chọn phương thức truyền tải “HTTP”. Bạn có thể tùy chỉnh bằng cách chọn một biểu tượng.
Bước 3
Nhập URL MCP và nhấp vào nút “Cài đặt” hoặc sử dụng phím tắt.
Bước 4
Một cửa sổ trình duyệt sẽ mở ra hiển thị trang ủy quyền Craft. Chọn không gian bạn muốn kết nối và nhấp vào "Approve" để cấp quyền truy cập.
Bước 5
Nhập “@tên-máy-chủ” và lời nhắc của bạn để sử dụng máy chủ MCP trong Raycast.
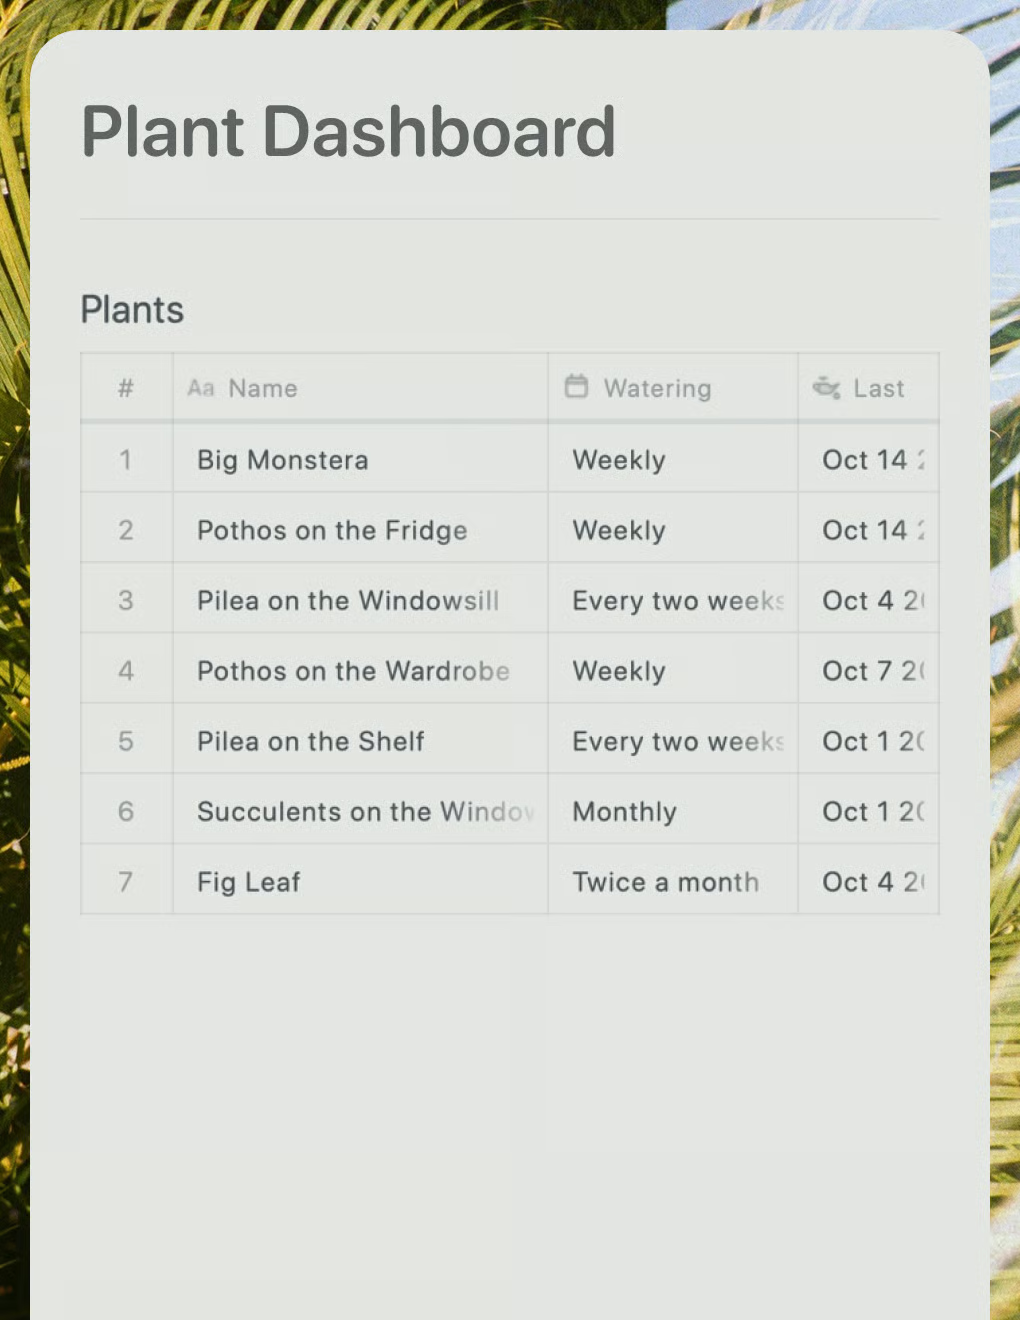
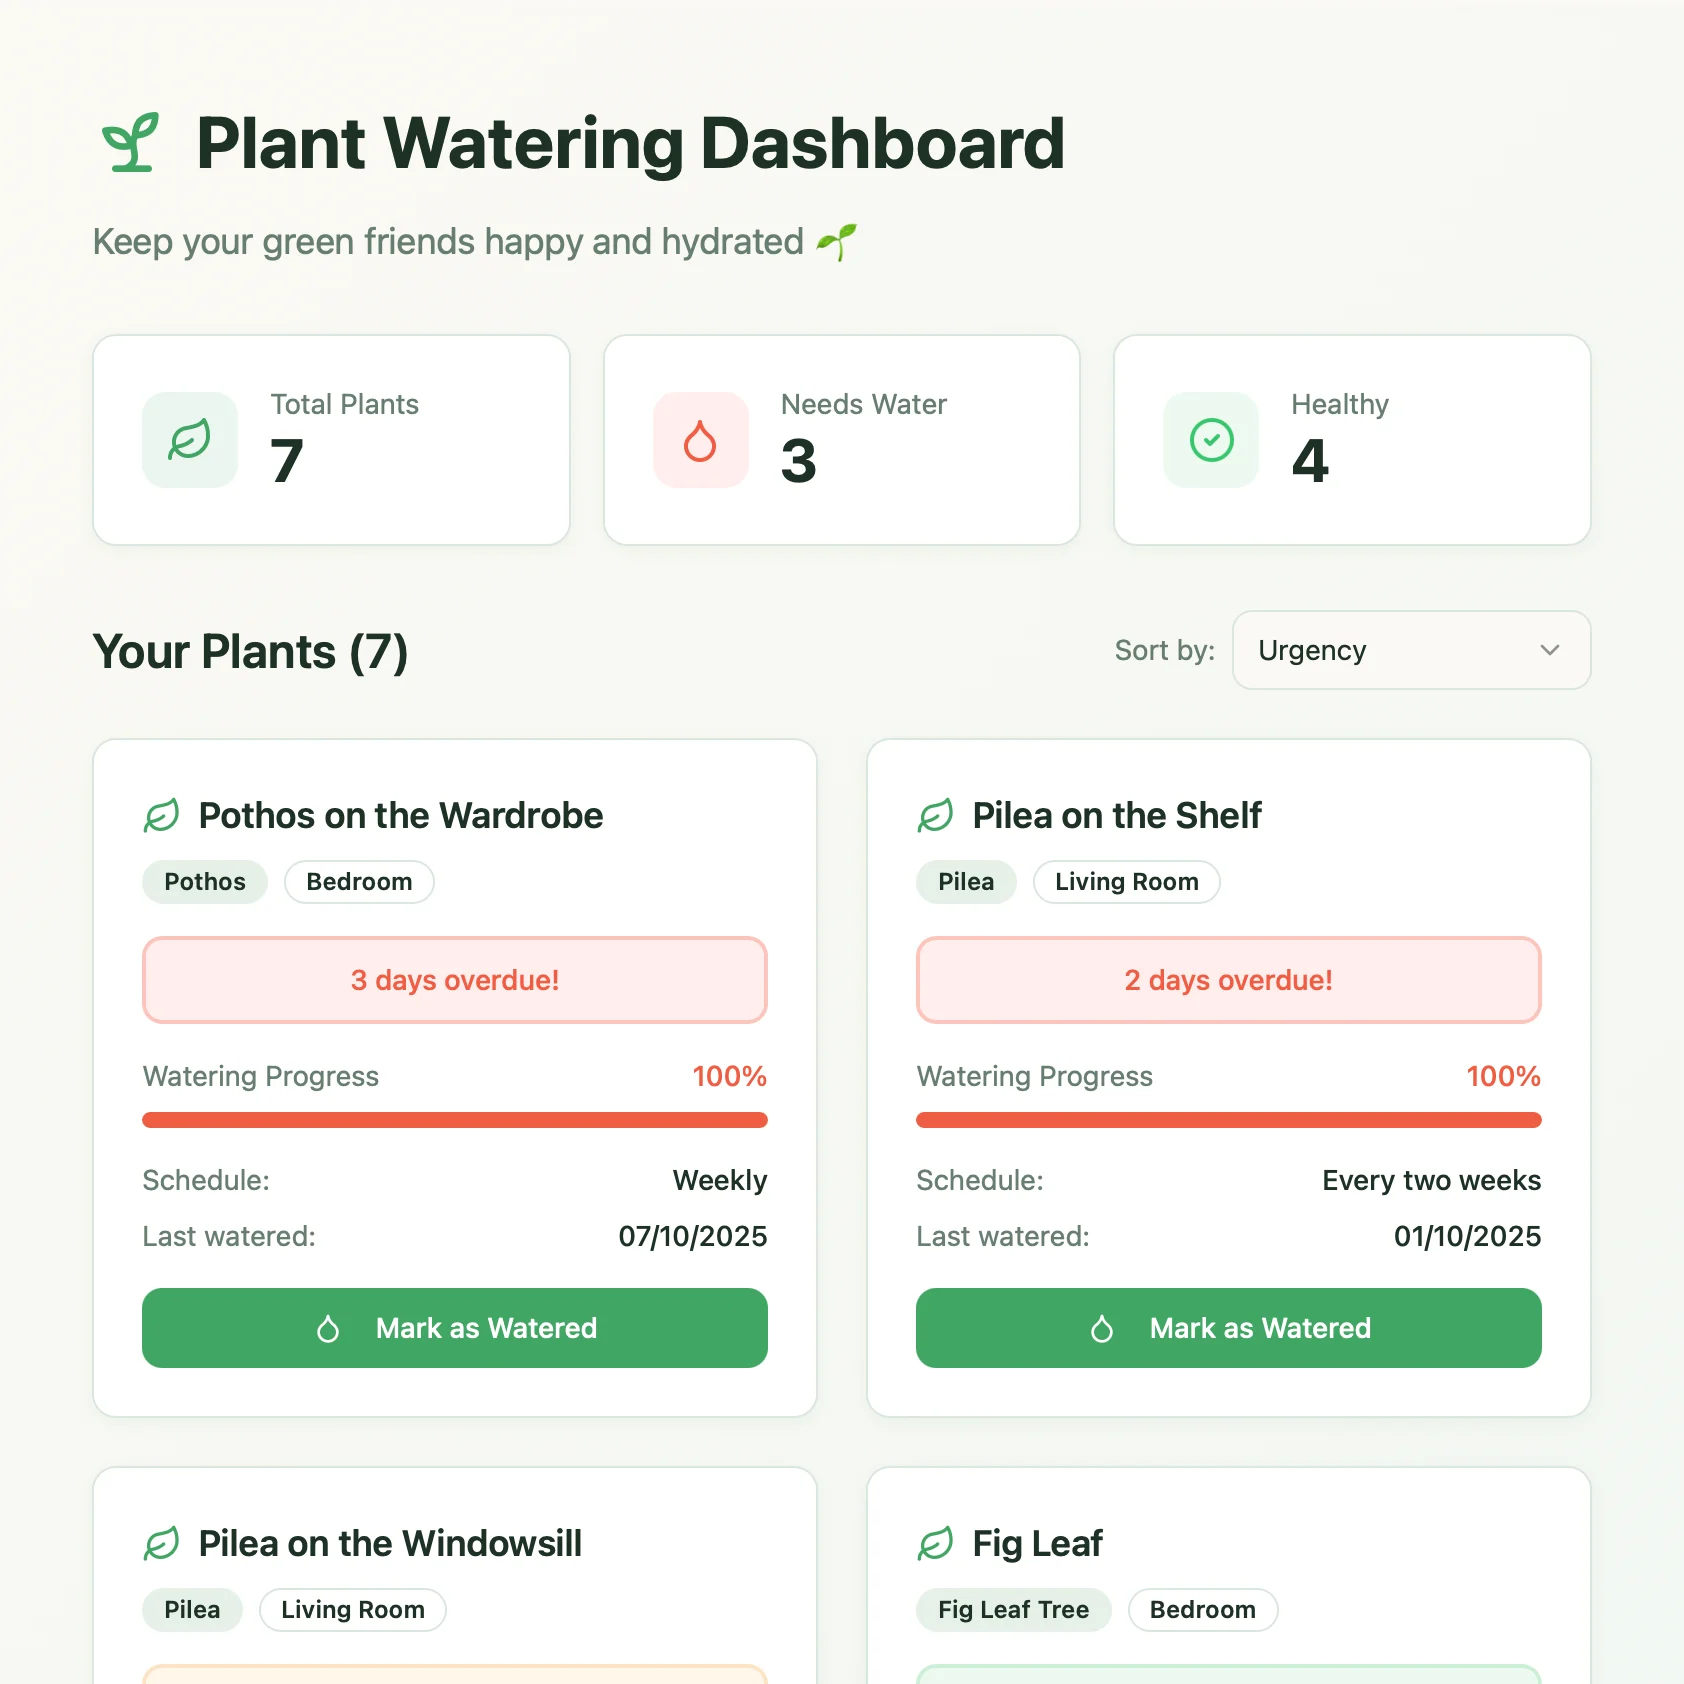
Giờ bạn có thể hỏi Raycast về các tài liệu của mình và thậm chí nhờ cập nhật chúng. Hãy thử cách này để bắt đầu:
Nhấp vào một ví dụ để sao chép prompt hướng dẫn vào khay nhớ tạm của bạn.