在 Cursor 中添加 MCP 连接器
在 Cursor 中创建新的连接器,并使用 Craft 提供的 MCP URL 连接两个服务。
第 1 步
在命令面板中输入
>mcp,然后选择“View: Open MCP Settings”,前往 Cursor 的 MCP 设置第 2 步
点击“添加自定义 MCP”按钮打开 MCP 配置文件
第 3 步
复制以下 MCP 配置并粘贴到 Cursor 的 MCP 配置文件中。将
craft 替换为你的 MCP 服务器的描述性名称。将 <MCP_URL> 替换为 MCP URL。{
"mcpServers": {
"craft": {
"url": "https://mcp.craft.do/my/mcp"
}
}
}第 4 步
保存 MCP 配置文件。它应该类似于以下示例。
第 5 步
你现在应该可以在 Cursor 的 MCP 服务器列表中看到该 MCP 服务器。如果你设置了密码,请点击“Configure”按钮,然后按照浏览器中的步骤登录。
第 6 步
浏览器窗口将打开,显示 Craft 授权页面。选择要连接的空间,然后单击“批准”以授予访问权限。
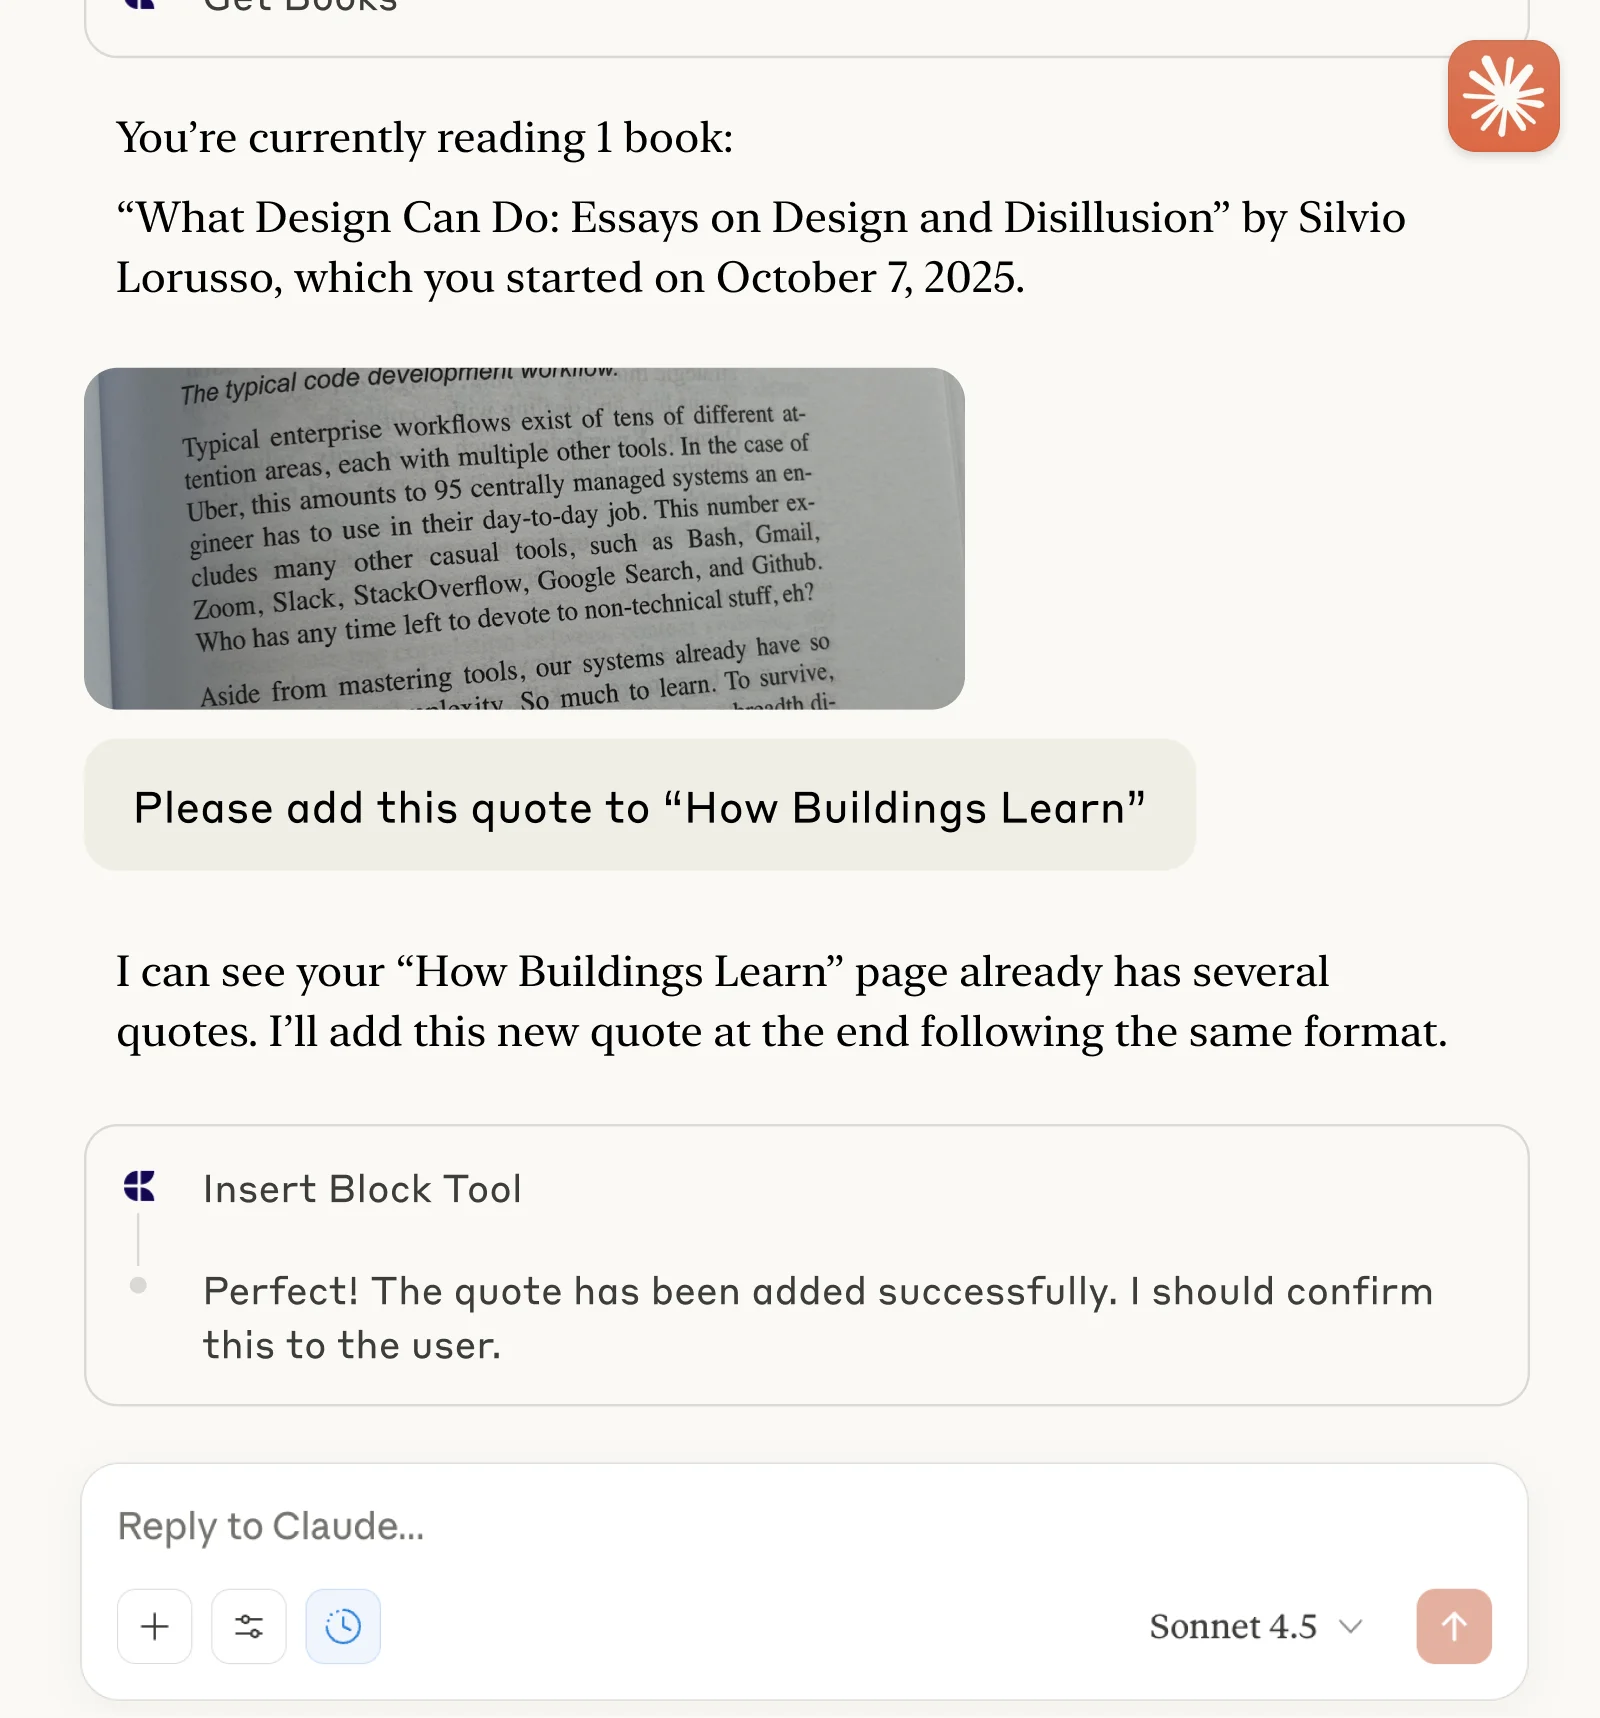
你现在可以向 Cursor 询问有关你的文档的问题,甚至可以让它更新文档。试试以下提示来开始吧:
点击示例即可将提示复制到剪贴板