Diario de sueños
Captura tus sueños y descubre sus significados ocultos. Registra cada sueño a través de una aplicación web personalizada y utiliza ChatGPT o Claude para interpretar el simbolismo y las emociones que hay detrás de ellos.
Demostración en vivo
Este ejemplo real muestra cómo se ven el documento de Craft y la aplicación de Lovable:
Las acciones de escritura han sido desactivadas para la demostración
Creado con Craft, Lovable y ChatGPT o Claude
Constrúyelo tú mismo
En este ejemplo, usaremos Craft para mantener un diario de sueños personal. Construiremos una pequeña aplicación web que nos permitirá registrar nuestros sueños y luego pedirle a ChatGPT o Claude que añadan interpretaciones a cada sueño.
Paso 1 — Crea tu documento
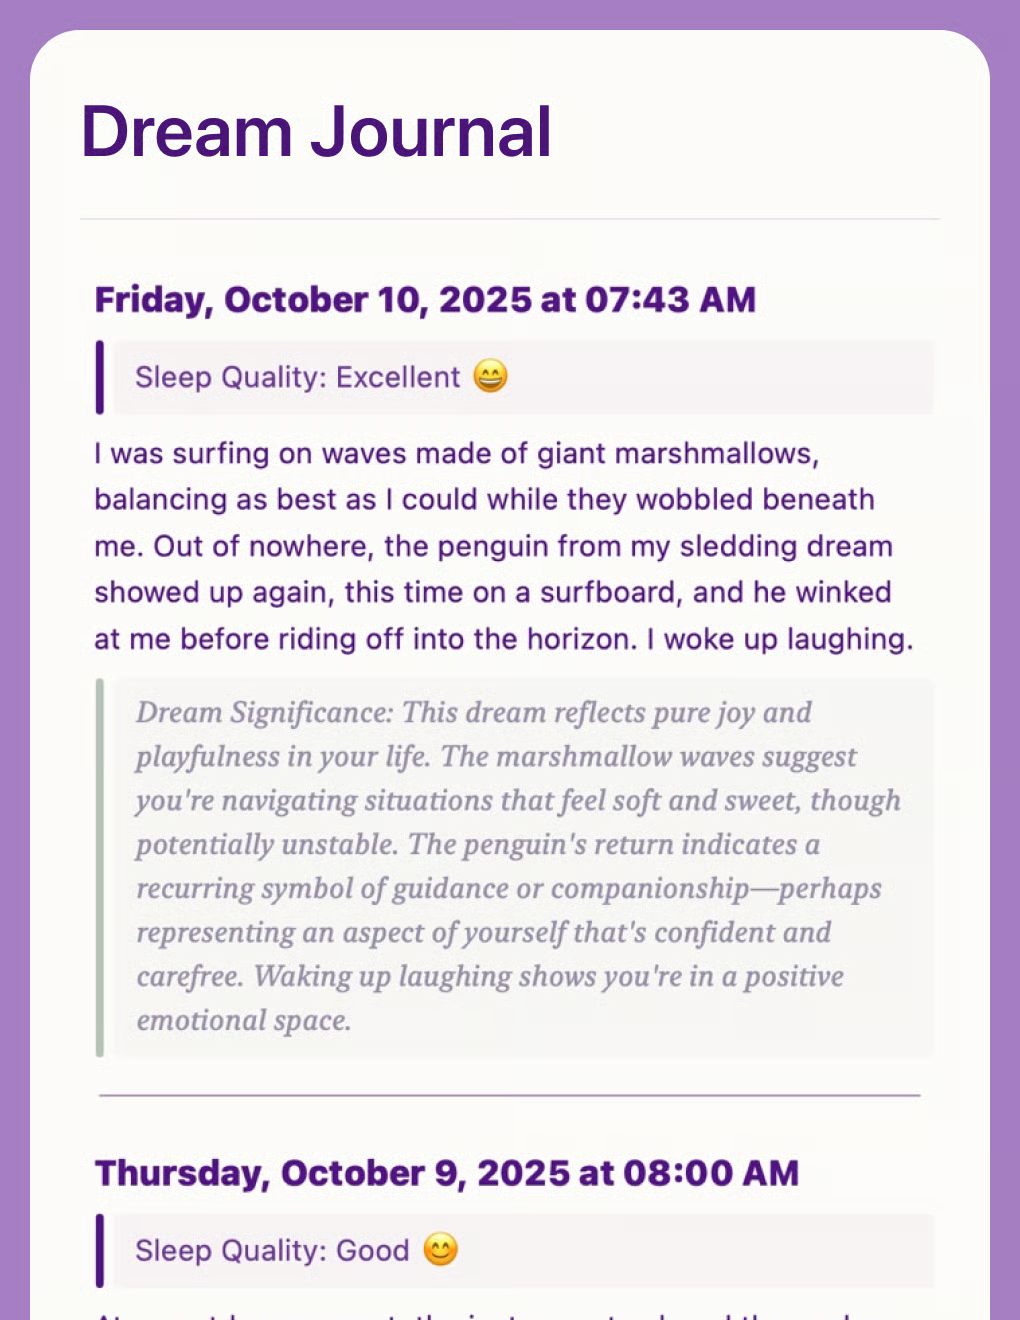
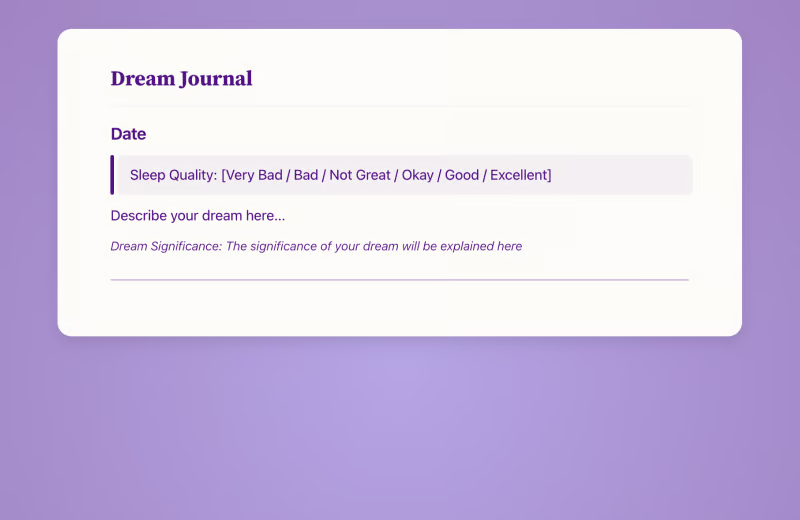
El documento de nuestro diario de sueños es muy sencillo: simplemente añadimos cada nuevo sueño en la parte superior, con la fecha como encabezado y algo de información adicional debajo.
Usa la plantilla para crear un nuevo documento para tu diario de sueños:
Paso 2 — Habilitar acceso a la API
Habilita el acceso a la API para tu documento para obtener una URL única que se pueda usar para leer y añadir contenido a tu documento, por ejemplo desde la aplicación web que construiremos a continuación.
Paso 1
Paso 2
Paso 3
Paso 4
Paso 5
Paso 6
Paso 3 — Crea con Lovable
Ahora sigamos y construyamos el sitio web real para nuestro panel en Lovable. Para el sitio de ejemplo mostrado arriba, usamos este prompt:
Estoy creando un diario de sueños para registrar y analizar mis sueños.
La información se almacena en Craft. Por favor, revisa el archivo adjunto, que incluye un ejemplo del estado actual de mi documento de Diario de Sueños en Craft, así como información sobre la API que deberías usar para guardar mis sueños.
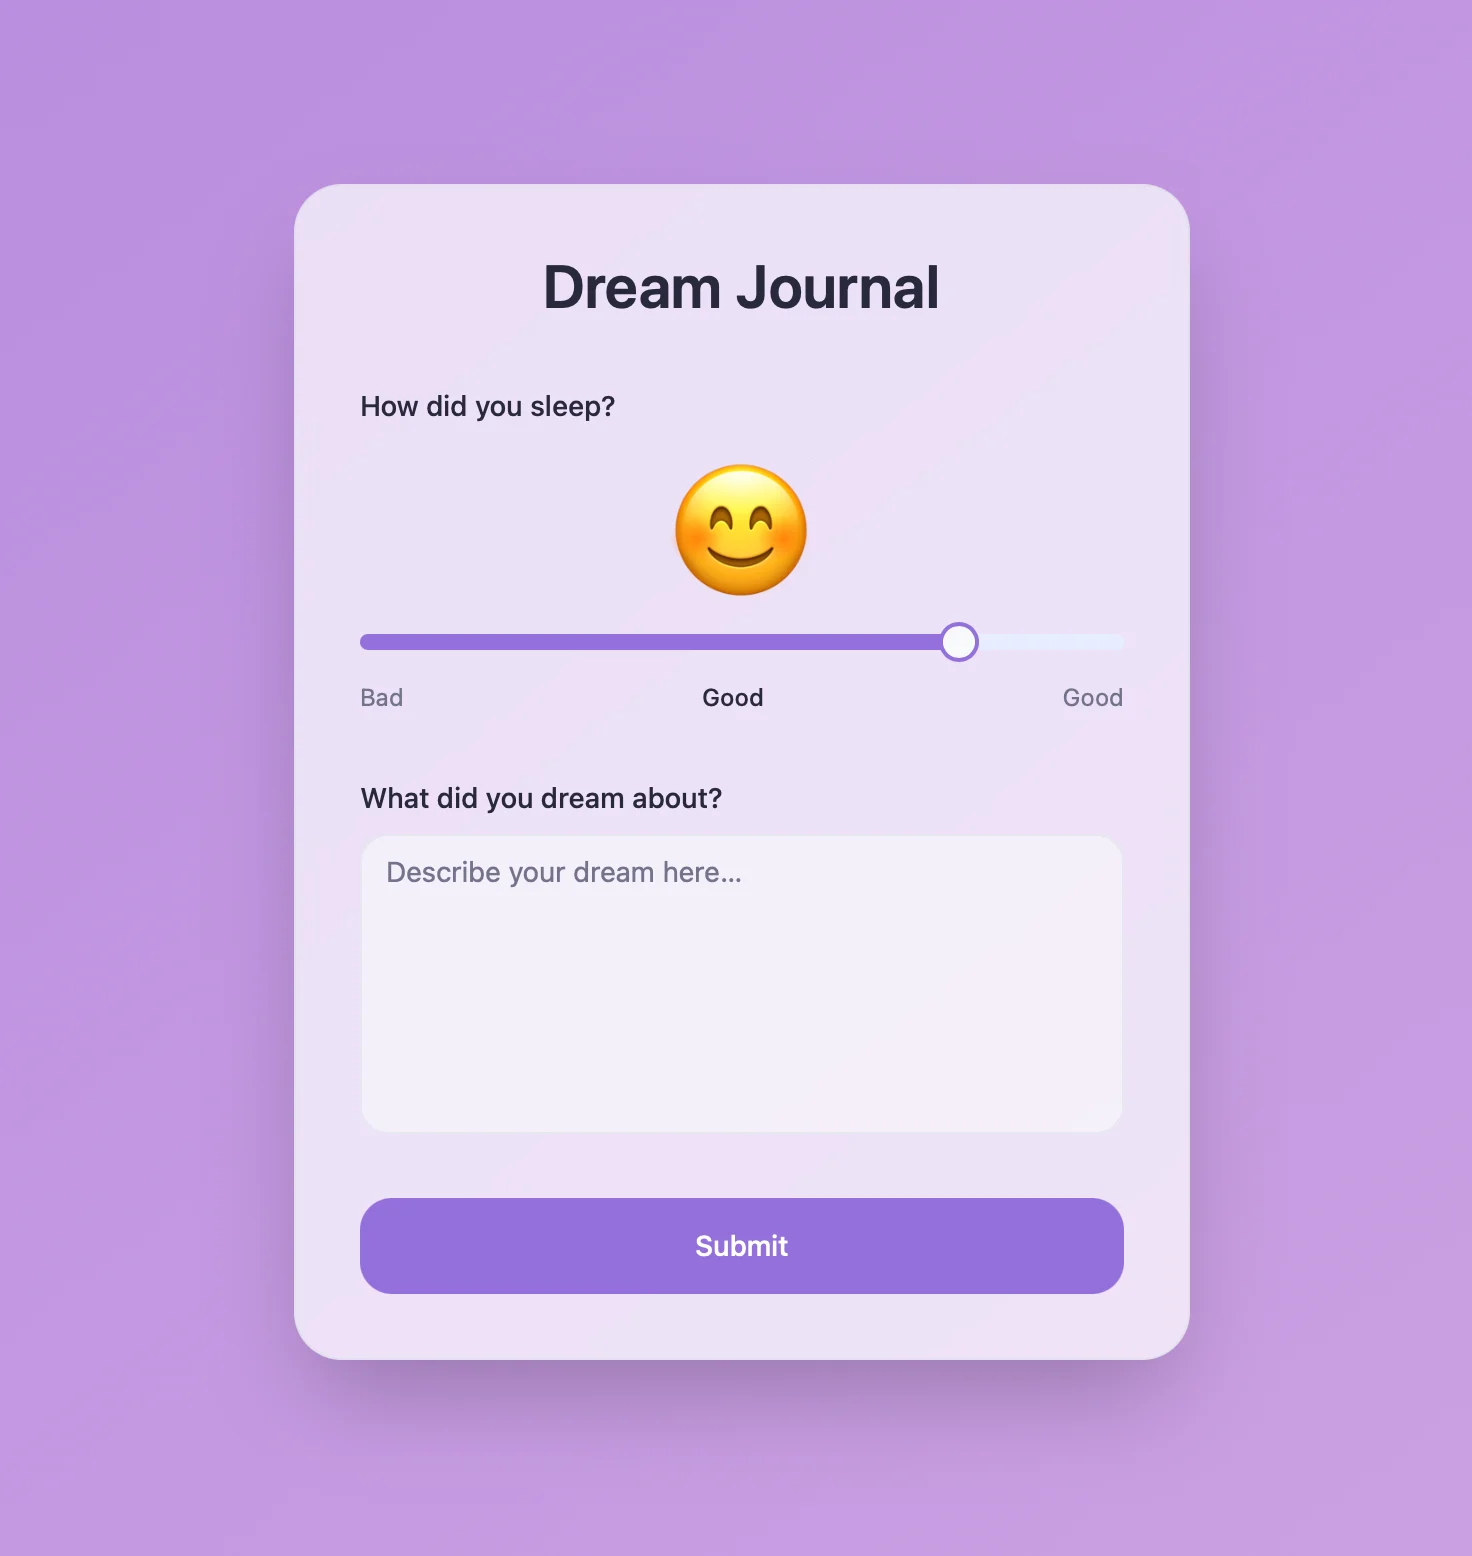
Quiero que crees un sitio web que muestre un formulario de entrada para registrar mis sueños y la calidad de mi sueño.
El sitio debe mostrar, en el centro, un formulario con un control deslizante para la calidad del sueño (de muy mala a excelente). Encima del control deslizante debe haber un emoji para cada nivel de calidad, que se vaya actualizando a medida que se mueve el control. Debajo, debe haber un campo de texto para escribir el sueño en sí.
El diseño debe ser calmante y suave. Utiliza colores melancólicos y formas redondeadas, con un degradado suave para el fondo.
Ve a Lovable y pega el prompt en el cuadro del prompt. Asegúrate de adjuntar el paquete de IA de tu documento que acabamos de descargar.
Lovable se pone manos a la obra, analizando el contenido del bundle para entender la estructura del documento y cómo usar la API. Luego comienza a crear el sitio web según nuestro prompt.
Ahora tenemos un sitio con estilo que podemos usar para añadir sueños a nuestro diario de sueños. Si quieres, puedes guardar esta app web en tu pantalla de inicio para acceder rápidamente cada mañana.
Paso 4 — Habilitar acceso MCP
Habilita el acceso MCP para tu documento y obtén una URL única que pueda usarse para leer y añadir contenido a tu documento desde clientes de IA:
Paso 1
Paso 2
Paso 3
Paso 4
Paso 5
Paso 5 — Configurar la conexión MCP
Ahora usemos la URL de MCP para conectarnos al documento desde un cliente:
Paso 1
Paso 2
Paso 3
Paso 4
Para obtener más información, consulta la documentación de Claude: “Introducción a los conectores personalizados con Remote MCP”
Paso 6 — Comienza a interactuar con tu documento
Ahora puedes pedirle a Claude que revise nuestro diario de sueños y añada interpretaciones a nuestros sueños más recientes:
Haz clic en un ejemplo para copiar el prompt a tu portapapeles
Más ideas para que pruebes
Volver a la galería
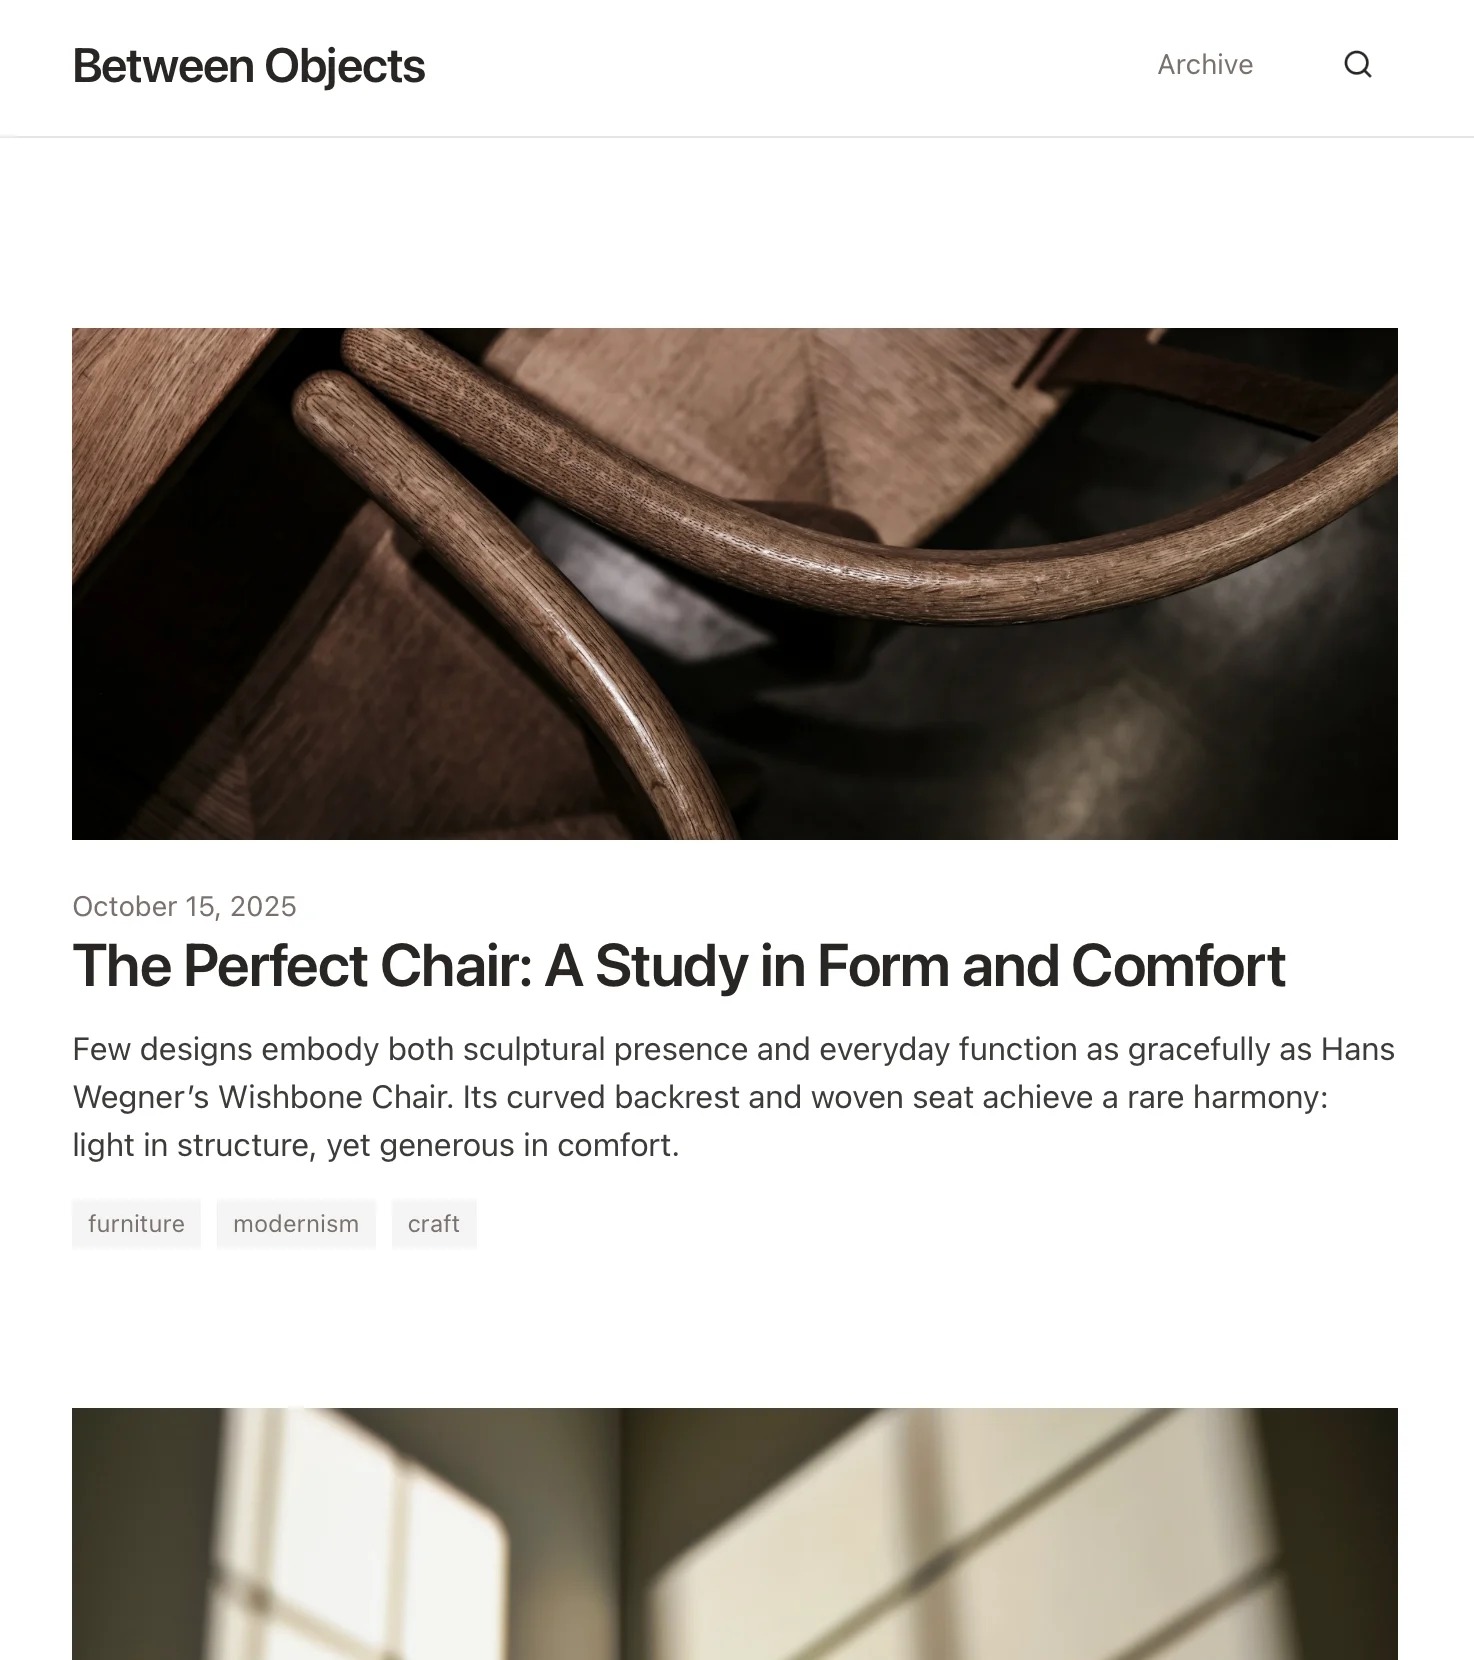
Crea un blog personal impulsado por documentos de Craft. Sincroniza contenido automáticamente vía API — publica desde tu app de notas.
Saber más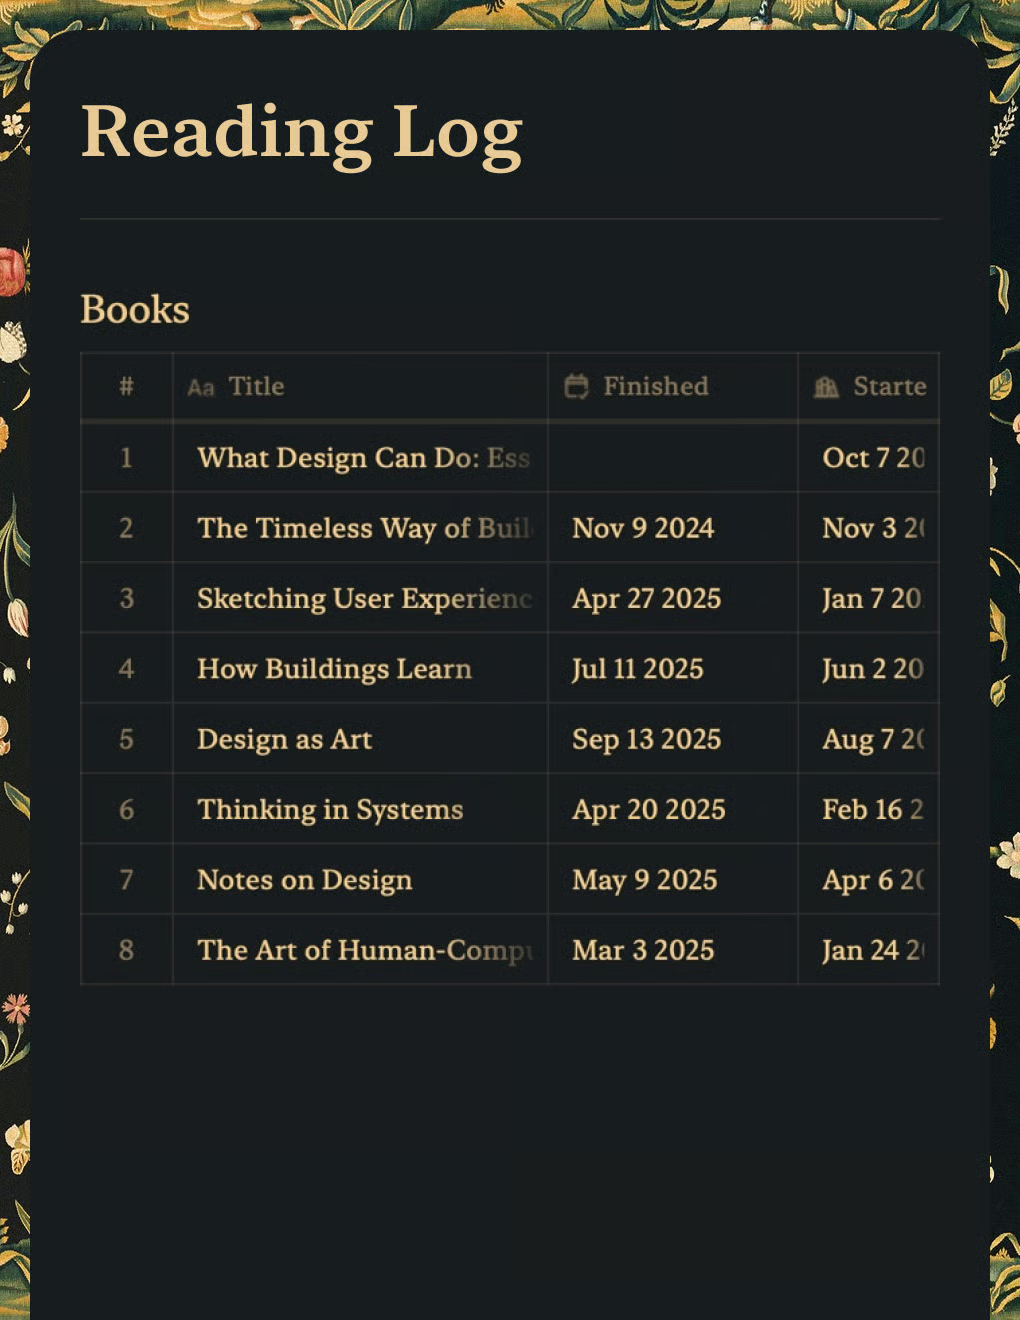
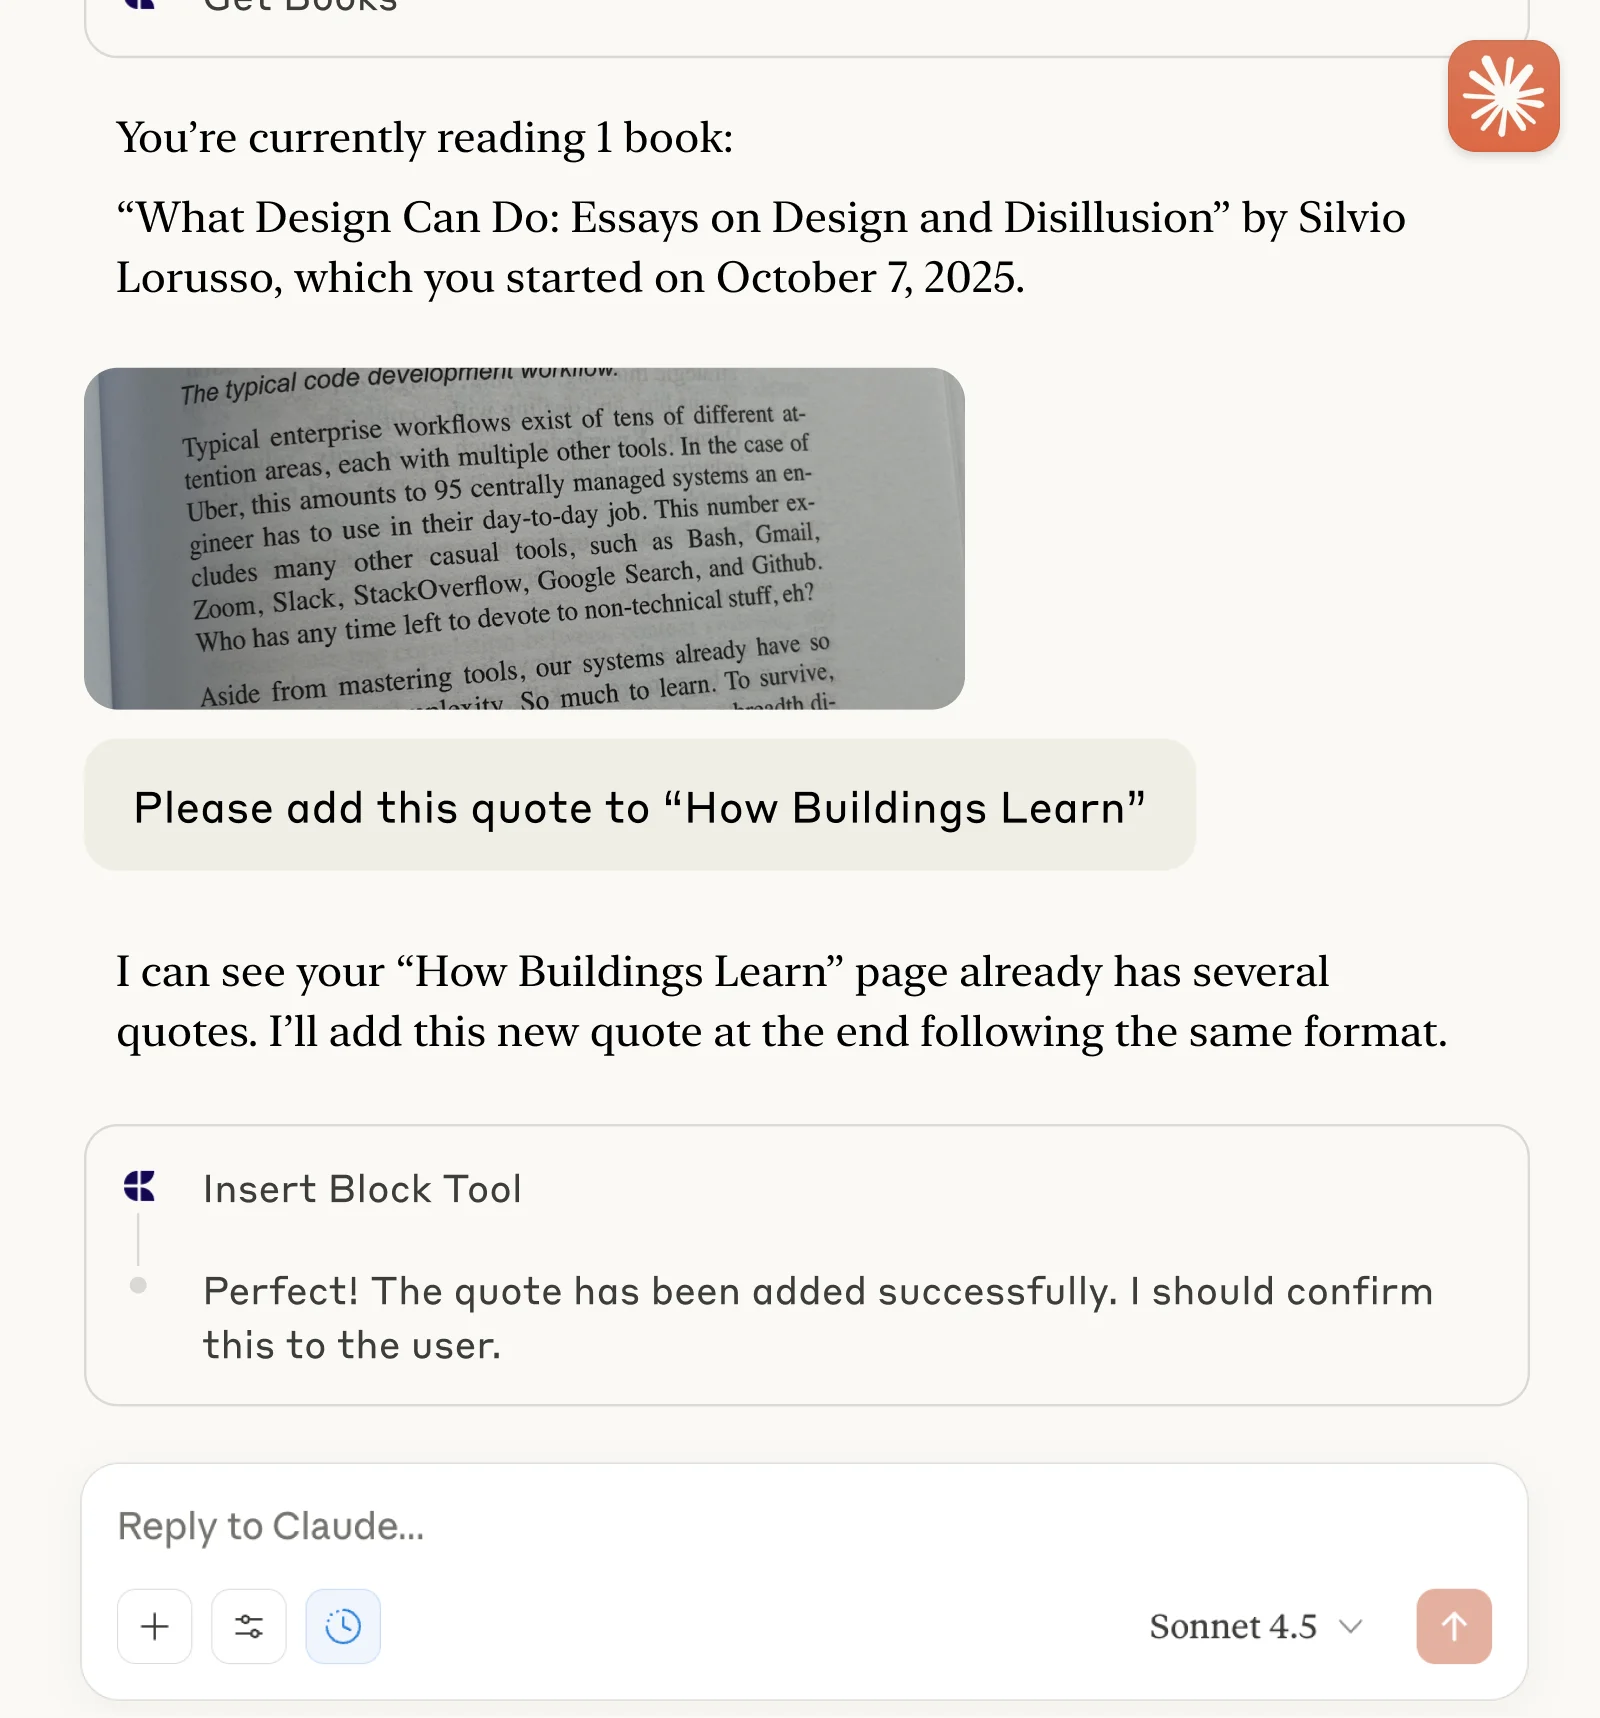
Haz un seguimiento de libros y captura citas con Claude o ChatGPT a través de MCP.
Saber más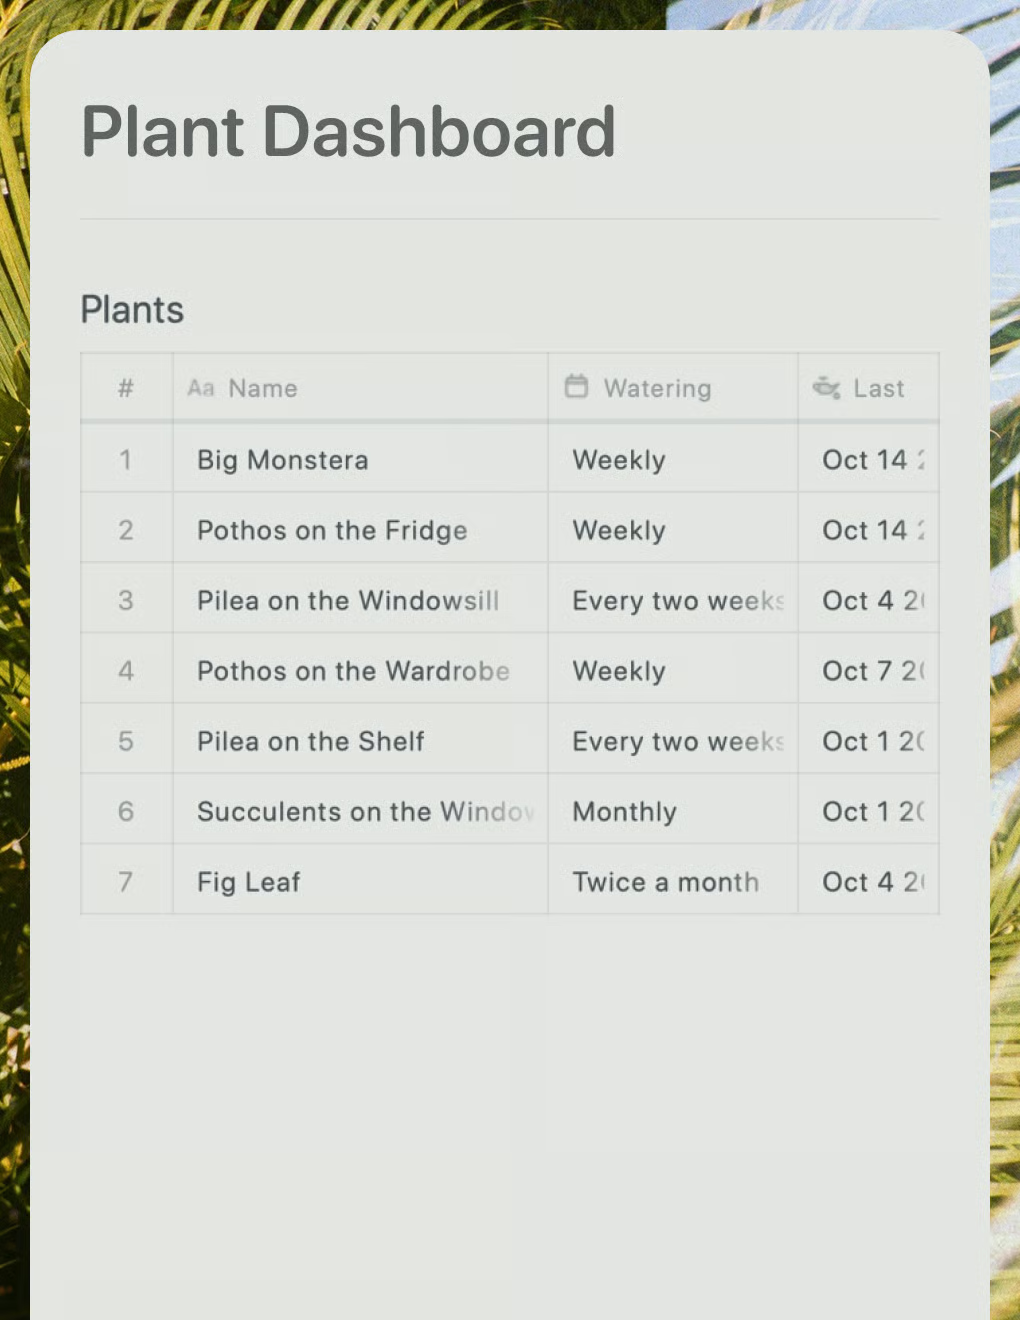
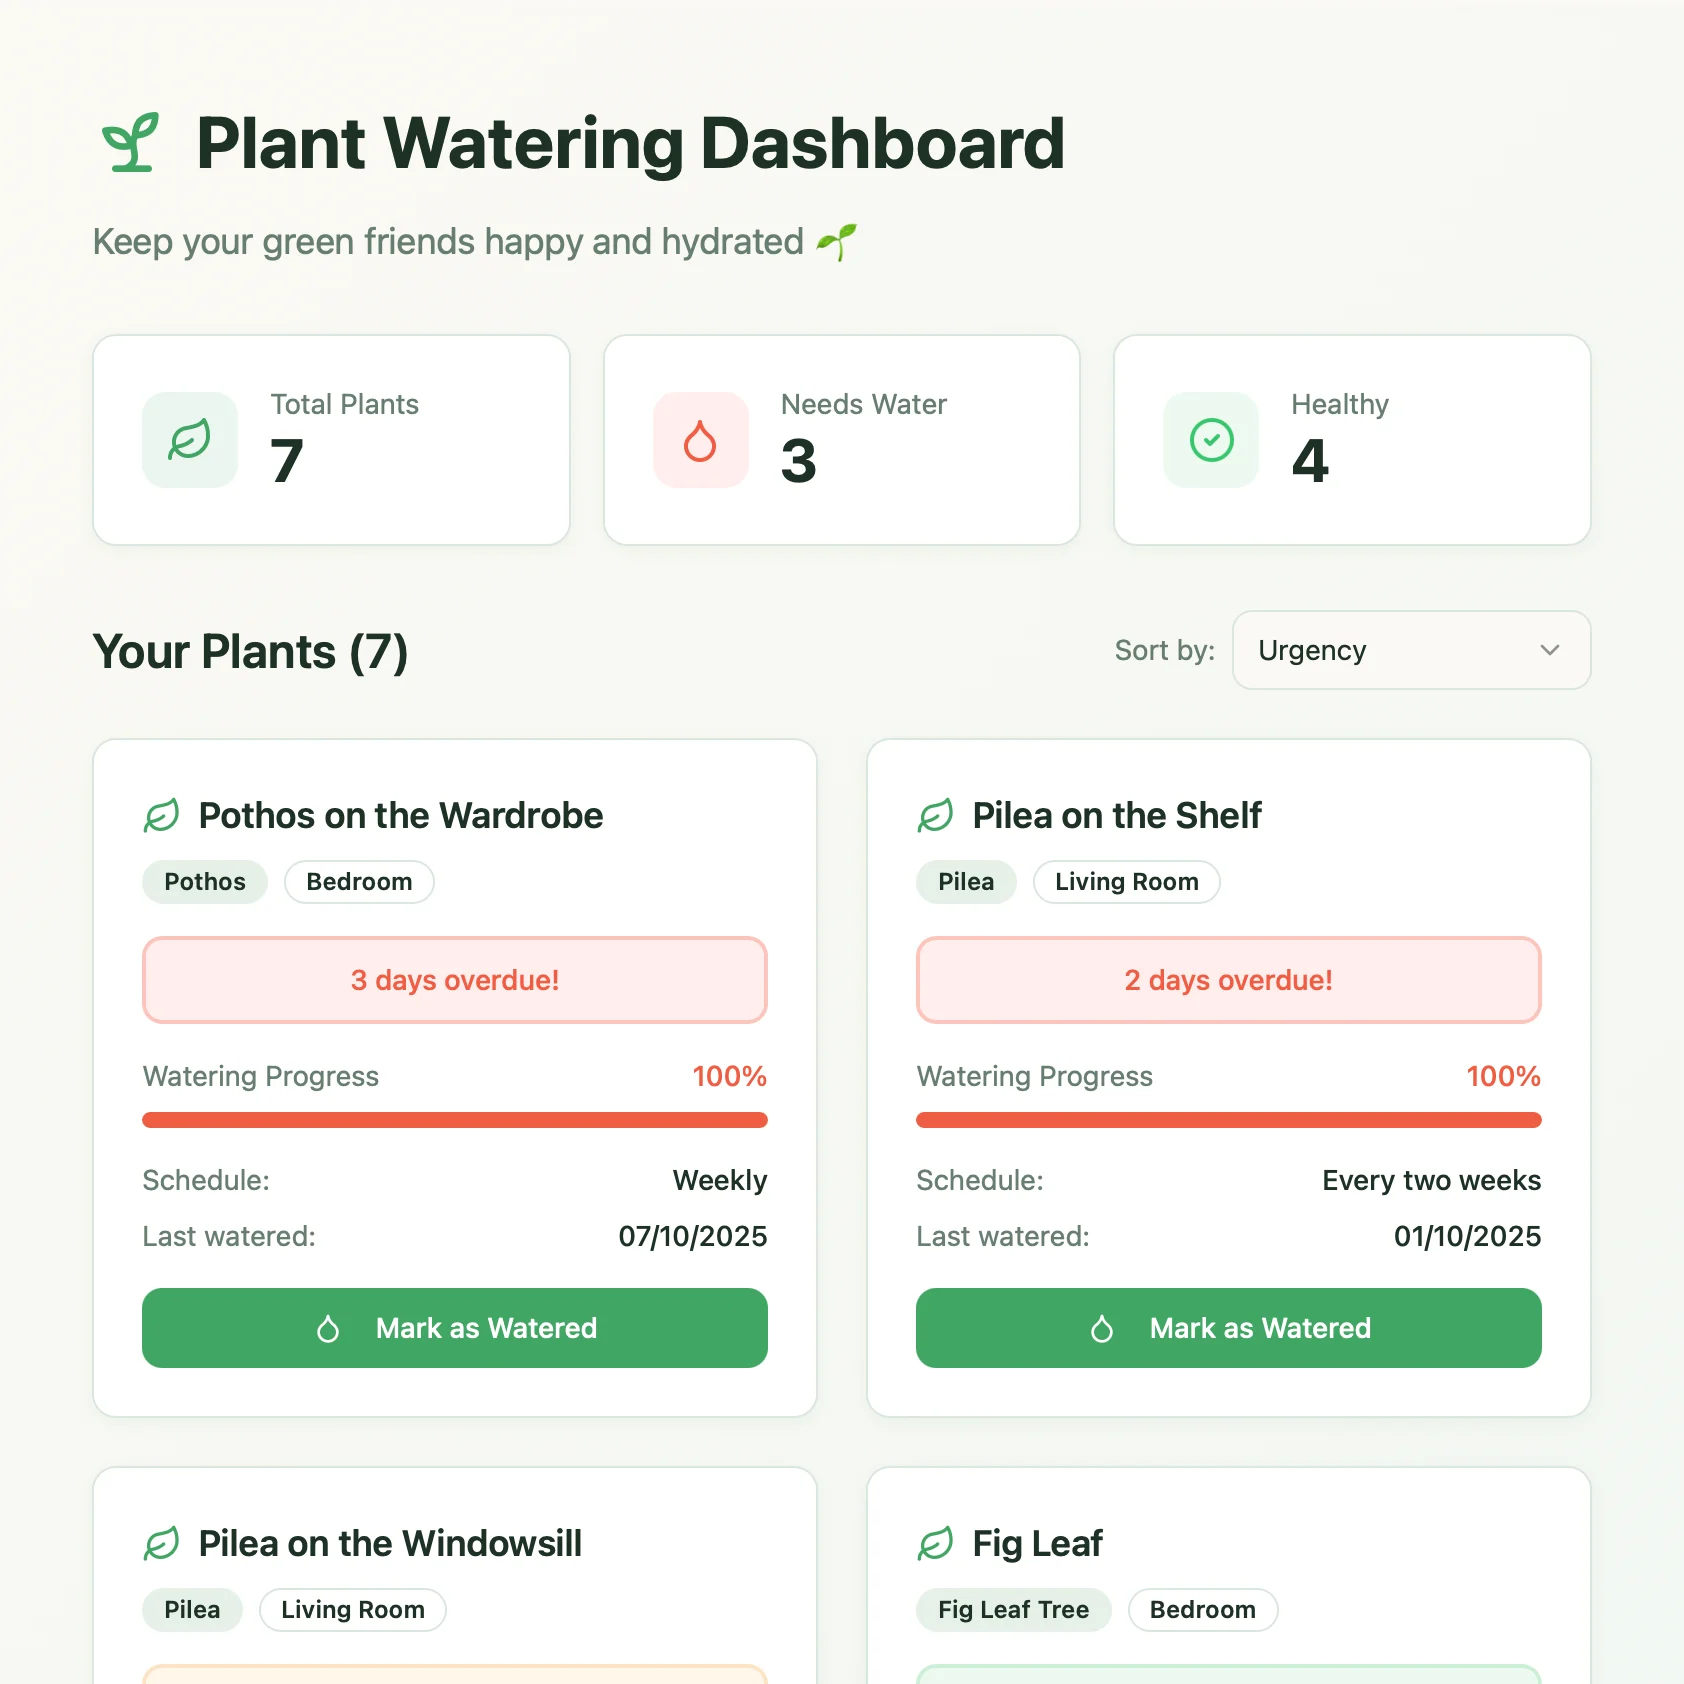
Un panel de cuidado de plantas en vivo creado con Lovable. Extrae los horarios de riego y consejos de cuidado de tu documento de Craft.
Saber más